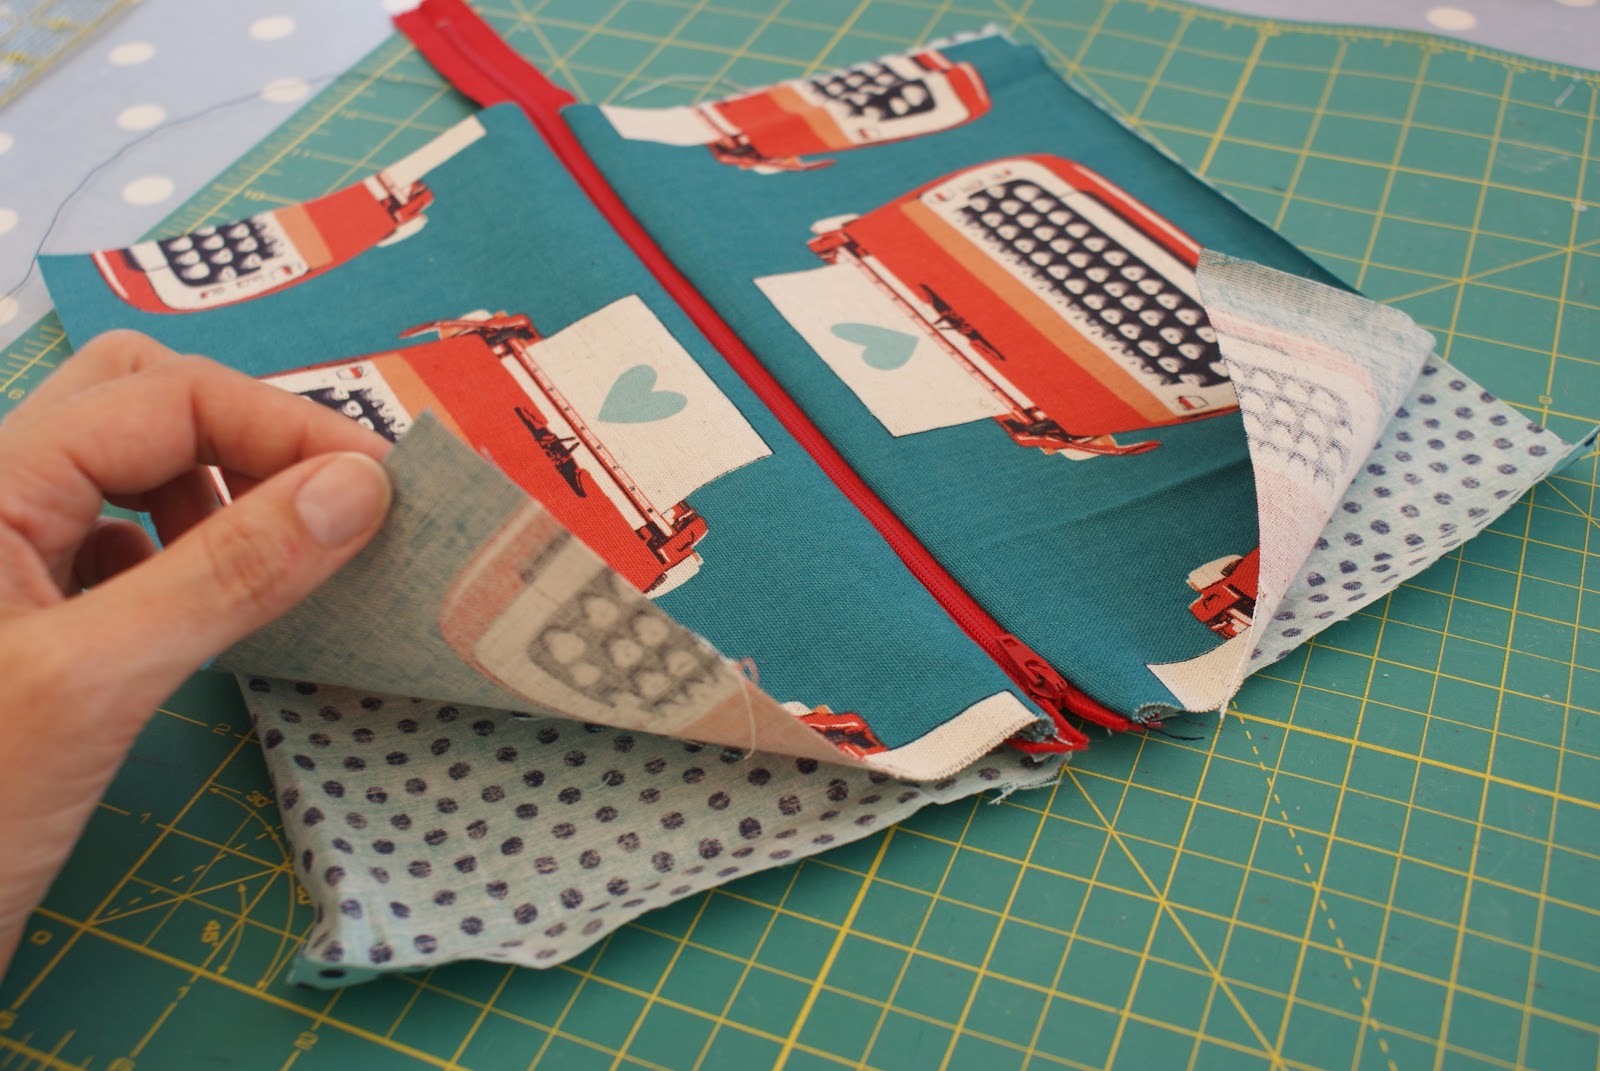
Zippered Pencil Case Pattern - Repeat step 4 and topstitch. With the wrong side up, stitch the remaining lining panel to the zipper tape. Web place the zipper gusset on the pencil case body, with the ends align to the center markings. Cut your fabric into rectangles that are 9.5″ x 5.5.”. Diy pencil pouch in 10 minutes. Clip at seam allowance on the markings. Position the zipper face up in the middle of both pattern pieces and pin in place. First, be sure that the zipper is unzipped halfway. Instead of grommets this 3 ring pencil pouch uses loops made from fabric to secure it inside your binder. First we’ll make the loop tag.
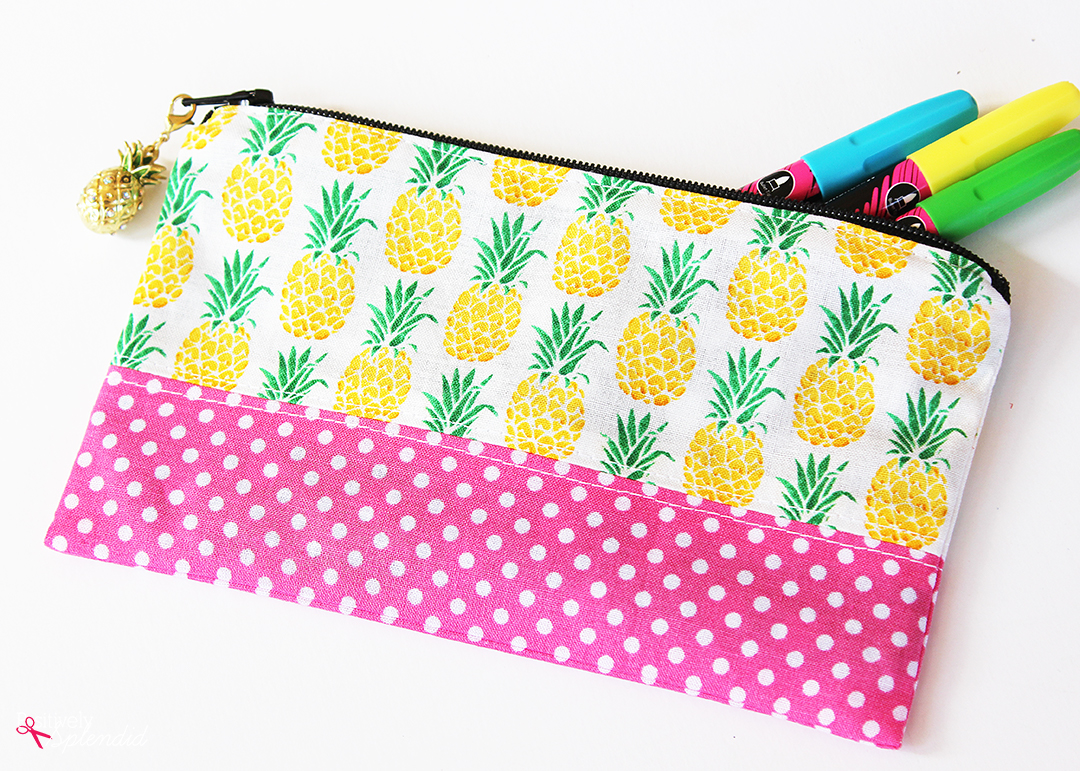
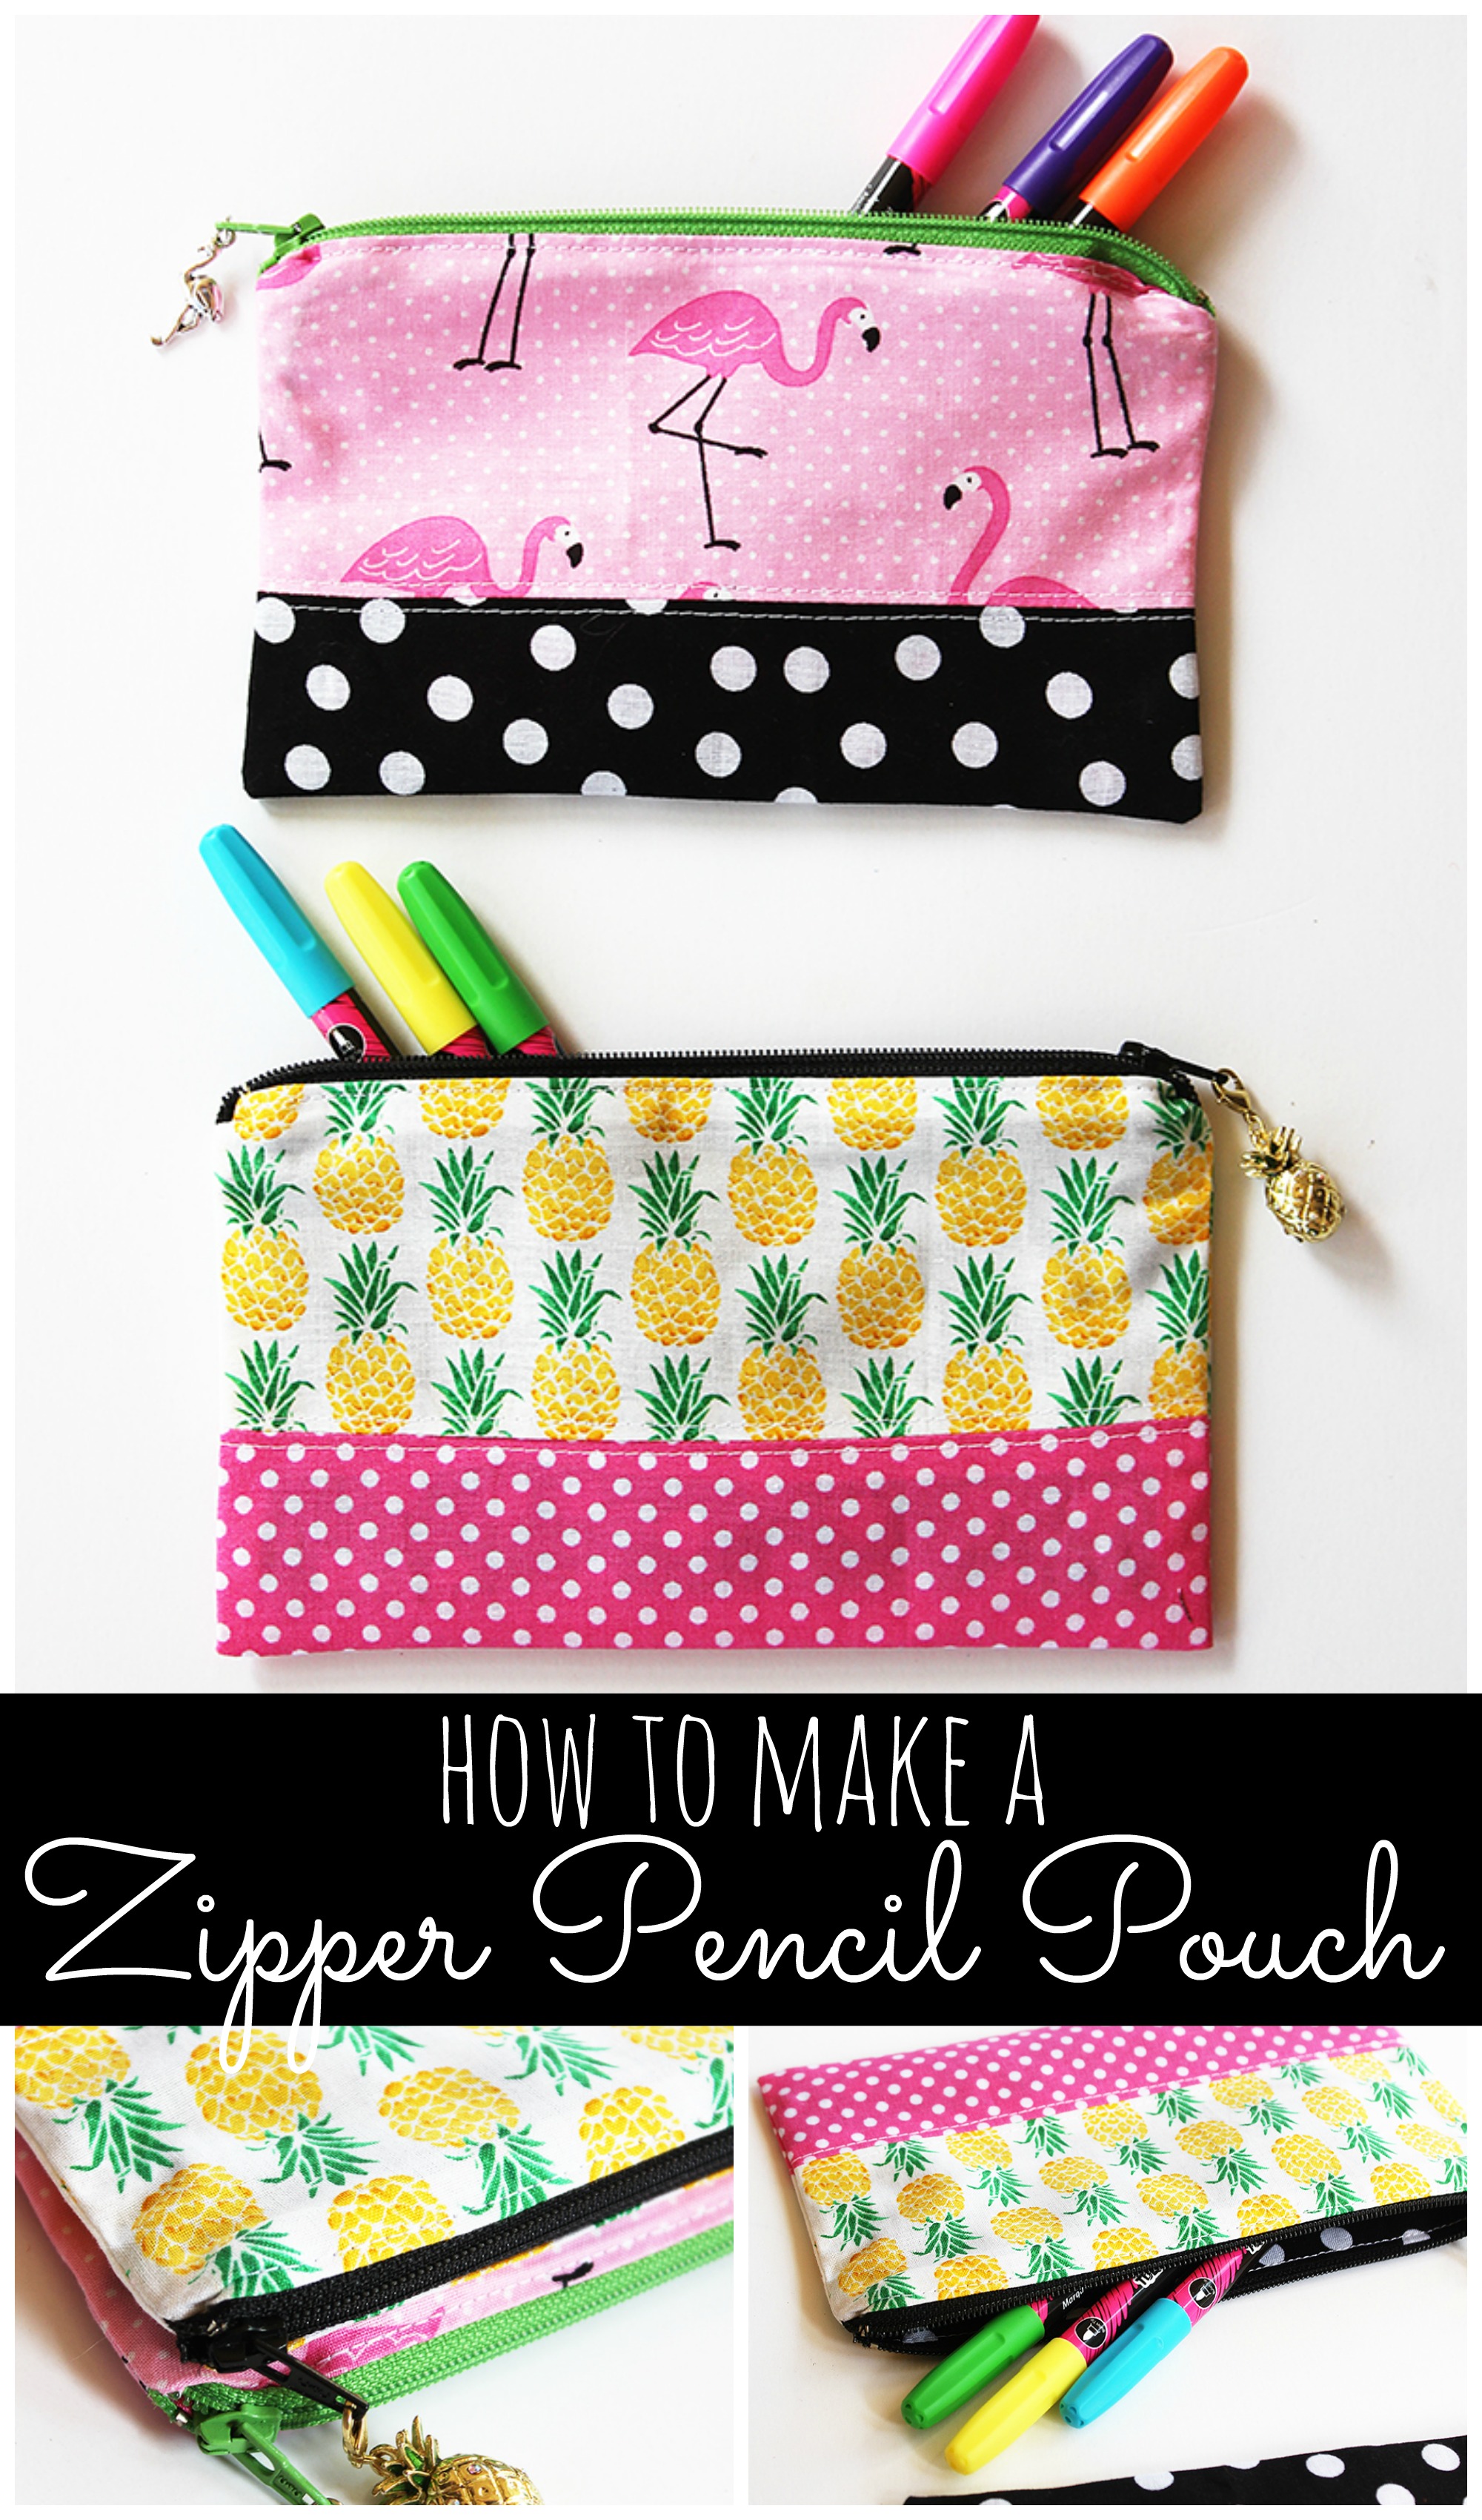
Zipper Pencil Pouch Sewing Tutorial Positively Splendid {Crafts
Follow my instructions and you will be a happy owner of a cute pouch in no time. Web diy triple zipper pencil case | large.
Zipper Pencil Pouch DIY Sewing Tutorial by Positively Splendid
Web add monograms, favorite colors and fabric patterns, binder holes, and more. You can tuck a little surprise inside it. With the wrong side up,.

Zippered Pencil Case Pattern SwanFamilyPatterns
Web sewing the zipper. You won't need a pencil case pattern, just these cutting instructions: If you wish to make a pouch that contains. No.

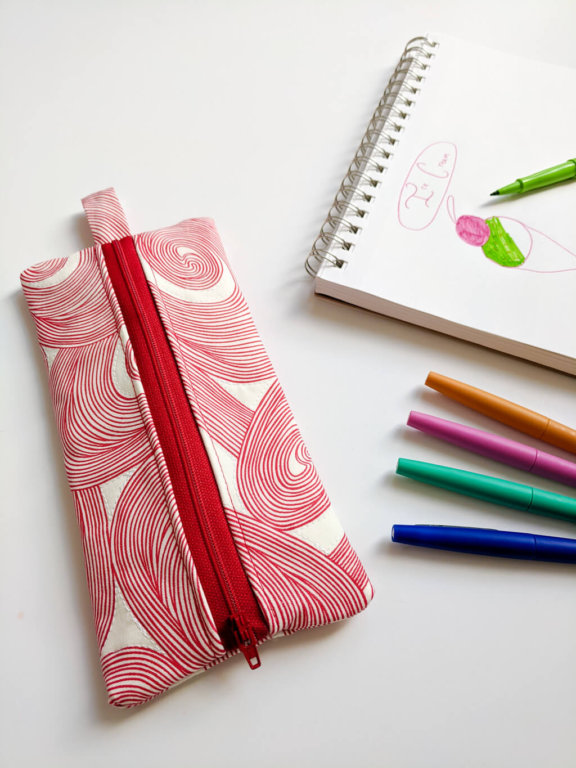
Tutorial Simple zipper pencil pouch Sewing
First we’ll make the loop tag. 2½” (6.5 cm) by 2½” (6.5 cm) by 8¾” (22 cm). Click on each of the pictures to go.

DIY COOL PENCIL CASE Zippered Pen Pouch Tutorial & Sewing Pattern
You won't need a pencil case pattern, just these cutting instructions: The rings allow it to attach inside for easy access and the vinyl material.

Zippered Pencil Bag Pattern
This is an excellent option for anyone who is constantly working from a folder. First, be sure that the zipper is unzipped halfway. Web 3.

Zippered Pencil Case 10 Steps (with Pictures) Instructables
Then fold each long edge in to the middle and press again. Make a zipper panel for the body of the pencil case. Web place.
Easy pencil case sewing pattern free tutorial with zipper for beginners
The ribbon and vinyl zipper pouch is easily customized by making a bigger ribbon loop to fit your. One 7 by 9 (18 x 23cm).
The Dining Room Drawers Zippered & Lined Pencil Case Tutorial
Place the right sides together of the zipper panel and front pocket and sew with an allowance of about 3/8″. Arch the line a zipper.

The Dining Room Drawers Zippered & Lined Pencil Case Tutorial
This zipper pouch is similar to the pencil cases that you might have had in school and it is also super easy to customize, which.
First We’ll Make The Loop Tag.
Web using your zipper foot, sew along top edge using a 3/8″ seam allowance. Place a ribbon loop on the intersection point of the zipper, pin & sew to join. Now fold in half, one more time and pin. Reversible tote and zipper pouch.
For Each Zipper Pencil Pouch, Cut The Following Pieces:
Web how to make this pencil case. Web pencil pouch sewing patterns with vinyl. Web free pencil case patterns and tutorials. Sew the pencil pouch sides.
Make A Zipper Panel For The Body Of The Pencil Case.
Clip at seam allowance on the markings. Unzip is about half way. Then fold each long edge in to the middle and press again. These diy pencil cases are also all fantastic scrapbusters, so grab those old jeans or fat quarters and get sewing!
Sew Along The Zipper Tape Edges To Secure The Zipper To The Pencil Case.
Web pin and place and stitch along the pinned edge. Web learn how to sew these fabulous skinny zipper pencil pouches.please use #sotakhandmade when sharing your projects on social media :)instagram: Arch the line a zipper tape at the marking, the zipper ends should meet and intersect at the other marking on line b. Web this video walks you through how to complete the zippy pencil case / pouch.