Tie Dye Patterns Spider - Then, apply the three colors of dye in sections, as follows. Web then crumple or fold your shirt into the design pattern. Then, scrunch smaller sections of the fabric together randomly. Place on a rack or tray and pile ice on top of the shirt. You will be in awe after creating this project. Web twisting the hoodie into a spiral for the spider tie dye pattern. To make a crumple tie dye aka “scrunch” or “nebula” design: You can use squeeze bottles, but i find that a spray bottle gives me more control and more even results. An easy guide.this is a dark dye exa. Shibori designers may also tie the fabric around miscellaneous items which offer resistance and contribute to the uniqueness of the final product.
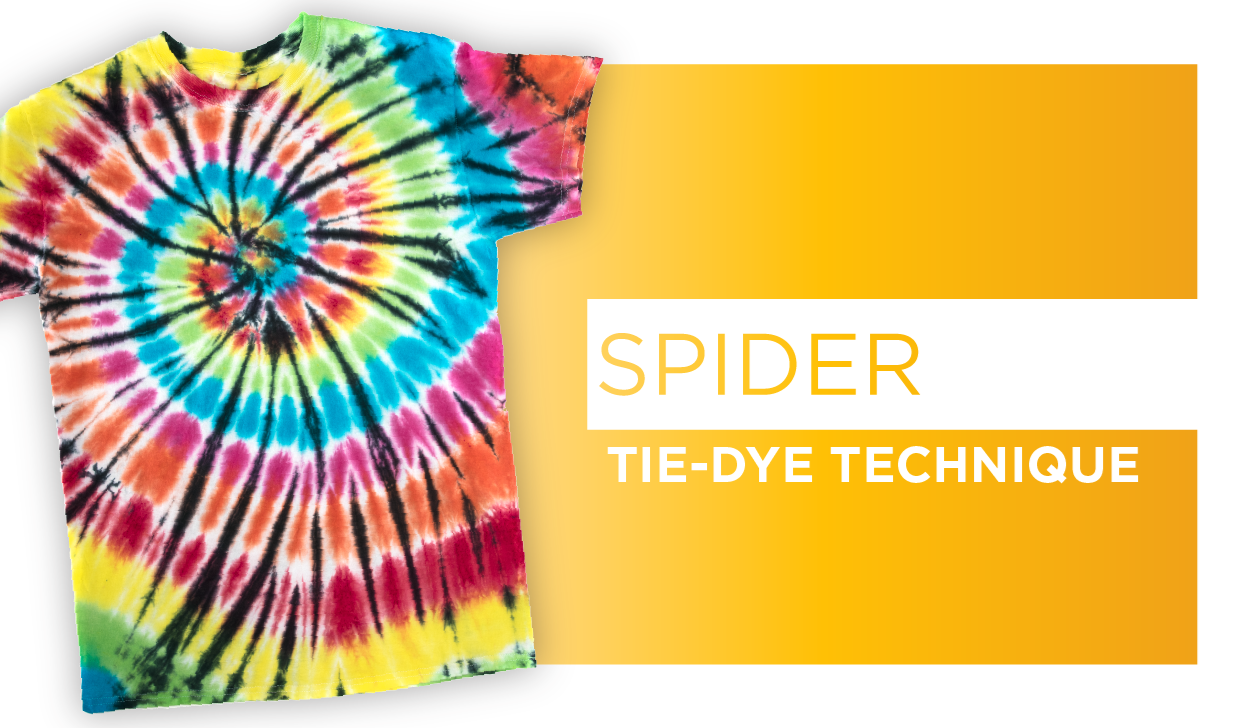
spider tiedye technique Tie Dye Your Summer
An easy guide.this is a dark dye exa. Web use the patterns on this page by first learning the basic process. Let set 6 to.
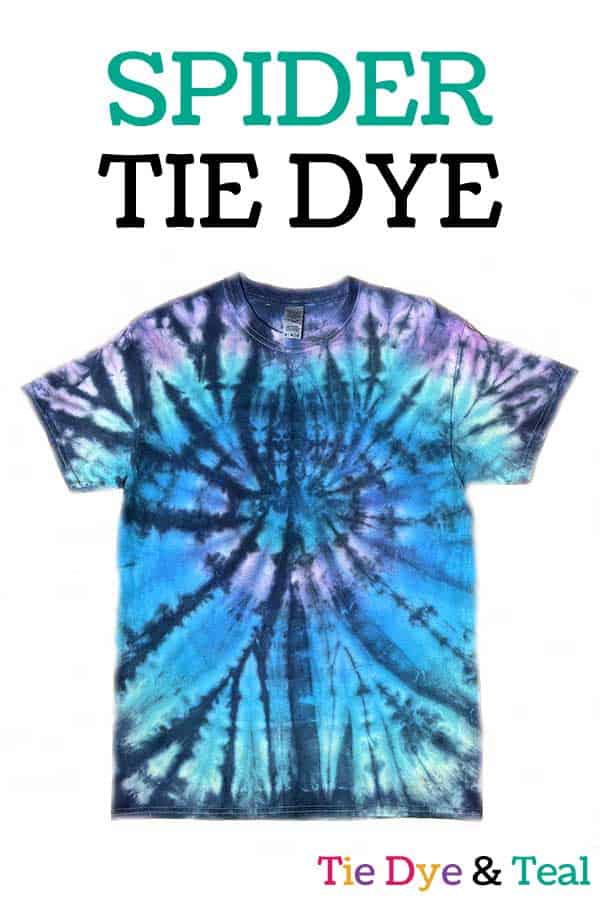
How To Spider Tie Dye Tie Dye And Teal
Apply black dye to one side of spiral, completely covering other colors. It looks complex, but is really quite easy for beginners! Then, dip the.

Picture of Spider TieDye Technique in 2022 Tie dye diy, Tie dye
Since making this video, i have made a few others for the spider design, so if you are. Cover with plastic wrap to keep damp..
Rainbow Spider Tie Dye XLarge Etsy
Use plastic buckets to contain dye and make cleanup easy. To tie dye, first, fold or crumple fabric and tie it with string or rubber.
Spider Tie Dye Etsy
Once the hoodie is completely twisted up, you’re ready to secure it with rubber bands. This design resembles long spider legs, but there is nothing.

Tie Dye 2 XL V Neck 'spider Variation' Purple Green Etsy Diy tie
Apply color b in sections 2 and 5. Keep scrunching and folding, gathering all of the fabric into a relatively flat, tight disk. For those.

Spider Red Blue Tie Dye T Shirt How To DIY YouTube
Place dye bottles, a bucket, a roll of paper towels, and sealable plastic bags at each tie dye station. To tie dye, first, fold or.

TieDye Pattern Halloween Spider “Two Minute” Microwave Method YouTube
Web twisting the hoodie into a spiral for the spider tie dye pattern. Fold and tie the shirt according to the pattern. If, for example,.

How to Make an Easy TieDye Spider {Tutorial} Just a Little Creativity
Shibori designers may also tie the fabric around miscellaneous items which offer resistance and contribute to the uniqueness of the final product. This design resembles.
![DIY Tie Dye Spider Shirt [Long Tutorial] 51 YouTube](https://i.ytimg.com/vi/tUtJI414k5Q/maxresdefault.jpg)
DIY Tie Dye Spider Shirt [Long Tutorial] 51 YouTube
Web use the patterns on this page by first learning the basic process. Rinse under warm water before. Black overdye spider technique t. The folds.
An Easy Guide.this Is A Dark Dye Exa.
The folds and ties act as a resist, preventing the dye from saturating the fabric evenly. Web grab your favorite tie dye supplies and prepare to make one of the coolest designs out there. Let set 6 to 8 hours, rinse thoroughly and wash separately. Shibori designers may also tie the fabric around miscellaneous items which offer resistance and contribute to the uniqueness of the final product.
Fold And Tie The Shirt According To The Pattern.
Then, scrunch smaller sections of the fabric together randomly. Place the first rubber band around the spiral by carefully sliding it under/over the hoodie and across the center of the spiral. You can use squeeze bottles, but i find that a spray bottle gives me more control and more even results. Web twisting the hoodie into a spiral for the spider tie dye pattern.
If The Ice Will Not Stay On Top Of The Shirt, You Can Create A “Wall” With Aluminum Foil Or Cardboard To Place Around The Shirt.
Web then crumple or fold your shirt into the design pattern. Then, dip the fabric in buckets of dye, or apply the dye with squirt bottles. Since making this video, i have made a few others for the spider design, so if you are. Scrunch or crumple tie dye.
The Spider Tie Dye Design Is A Gorgeous Way To Combine Bright Colors With A Darker Dye.
Wet, then wring out a cotton shirt. Once the hoodie is completely twisted up, you’re ready to secure it with rubber bands. Add the second and third rubber bands as shown below, so it. You will be in awe after creating this project.