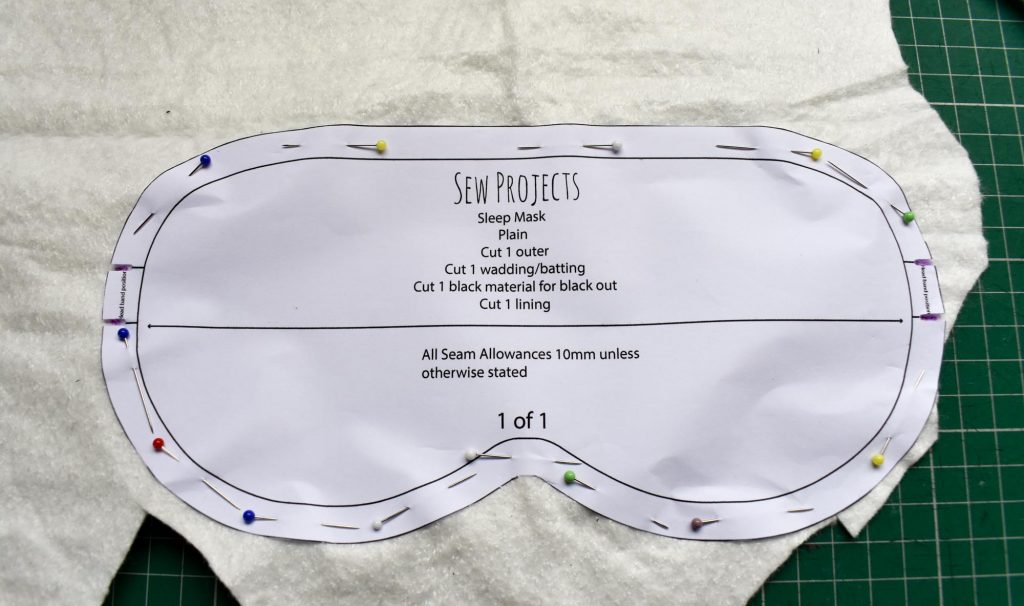
Sleep Mask Pattern Free - Here are all three layers pinned and ready for sewing. Using the guide on the pattern, begin sewing at the top of the sleep mask. Sew each mask piece to some cotton batting. Press white face piece in position on the main front piece. Now that the strap is complete, we can sew the lining to the wadding piece. In order to create the mask, you’d have to use 2 different layers of fabric. Print out the sewing pattern and cut out the pattern. Take the fabric strip and fold it in half lengthwise, with right (pretty sides) together and pin it. Put the back and front fabric pieces with. For small projects like this, i love to use spray glue to baste.
Sew a Quick and Easy Sleep Mask Tutorial and Free Pattern Sew Projects
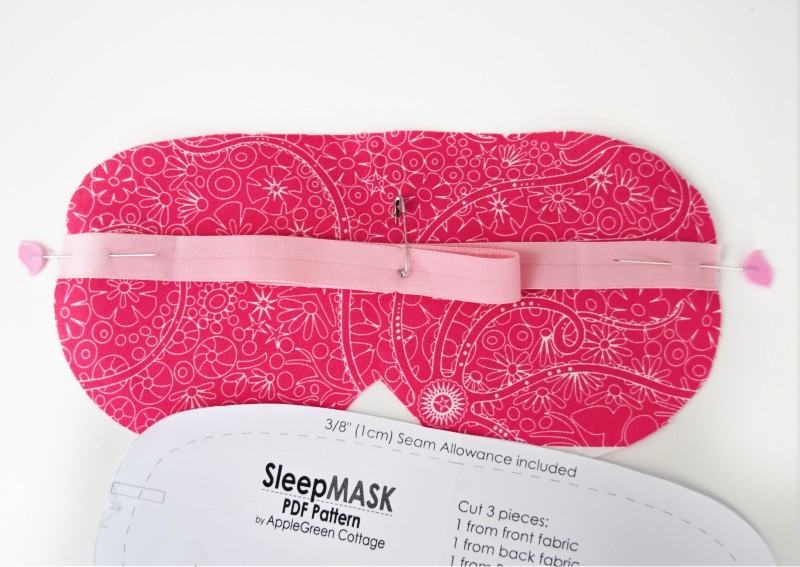
Take the fabric strip and fold it in half lengthwise, with right (pretty sides) together and pin it. Press the fusible fleece with the glue.

Diy Sleep Mask Free Pattern AppleGreen Cottage
Using the guide on the pattern, begin sewing at the top of the sleep mask. This is a great project when you have little time.

Free Sleep Mask Pattern & Tutorial! The Creative Curator
Sew the 2 mask pieces together, right sides facing each other. Web pin the right sides down to the right side of the outer fabric.
Quick and Easy Sleep Mask Tutorial with Free Pattern Sew Projects
Next, lay one of the fabric pieces of the sleep mask right sides up on your table. The ends of the straps should be lined.

FREE Oversized Sleep Mask Pattern for Beginners PDF + Video
Remember to leave an opening for turning the sleep mask right side out. Make sure the elastic strap fits comfortable around your head. At this.
Quick and Easy Sleep Mask Tutorial with Free Pattern Sew Projects
When sewing, adjust the needle position downwards again so that you can raise the presser foot and turn the fabric in difficult places. Print out.
Diy Sleep Mask Pattern AppleGreen Cottage
Sew all four layers together with a 1cm seam allowance. It is also ideal for beginners and kids who would like to make something simple..

free sleep mask sewing pattern CalenFynlie
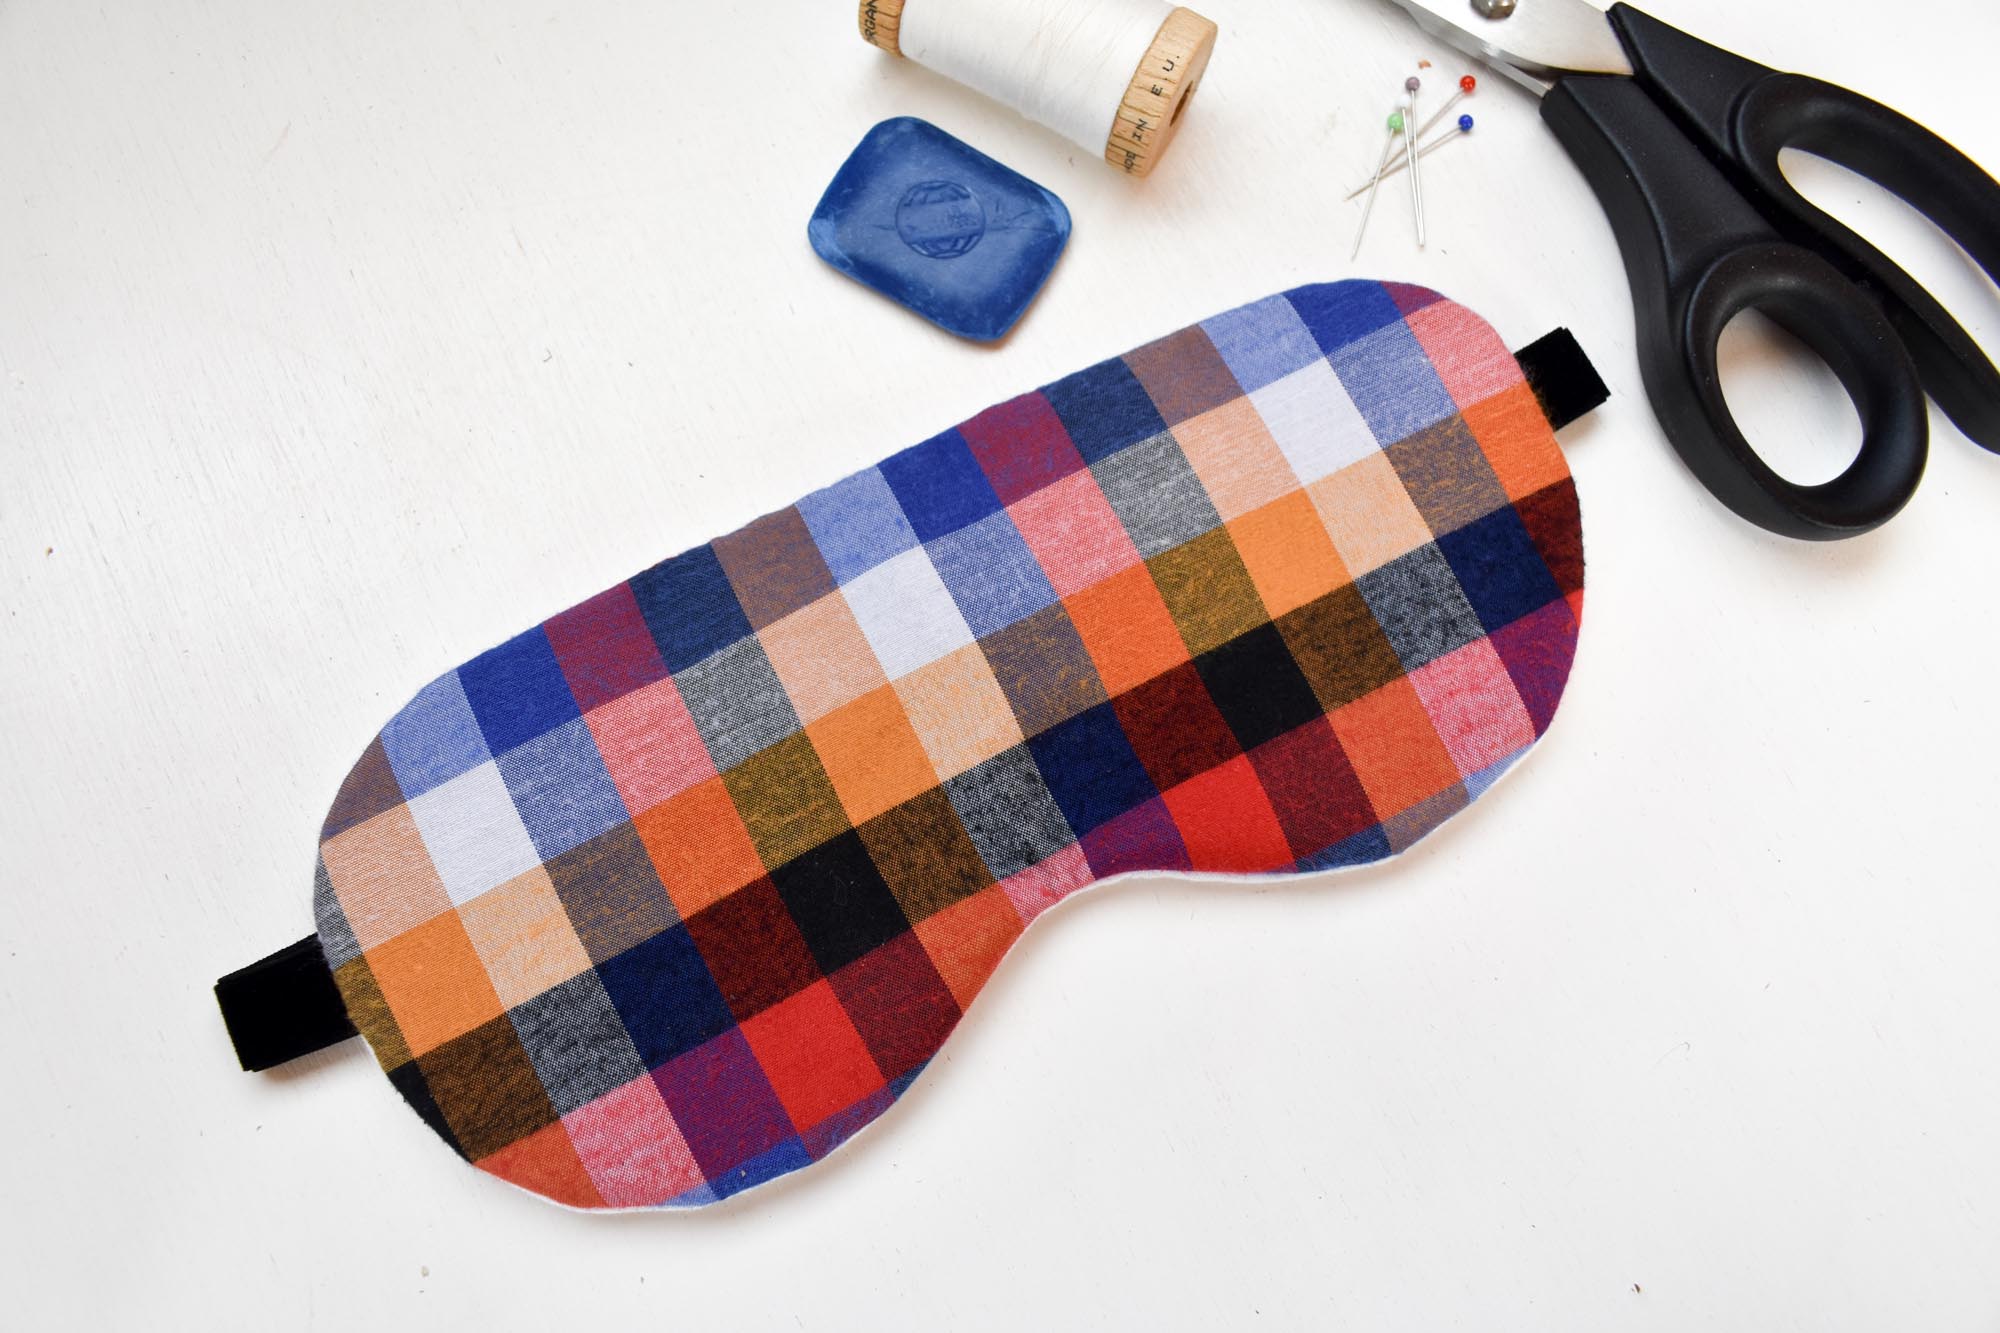
Time to complete under an hour. With a warm iron, press around the edges, and press the raw edges of the opening at the top.

DIY Sleep Mask Pattern Sew Simple Home
For small projects like this, i love to use spray glue to baste. Put the back and front fabric pieces with. Using the guide on.
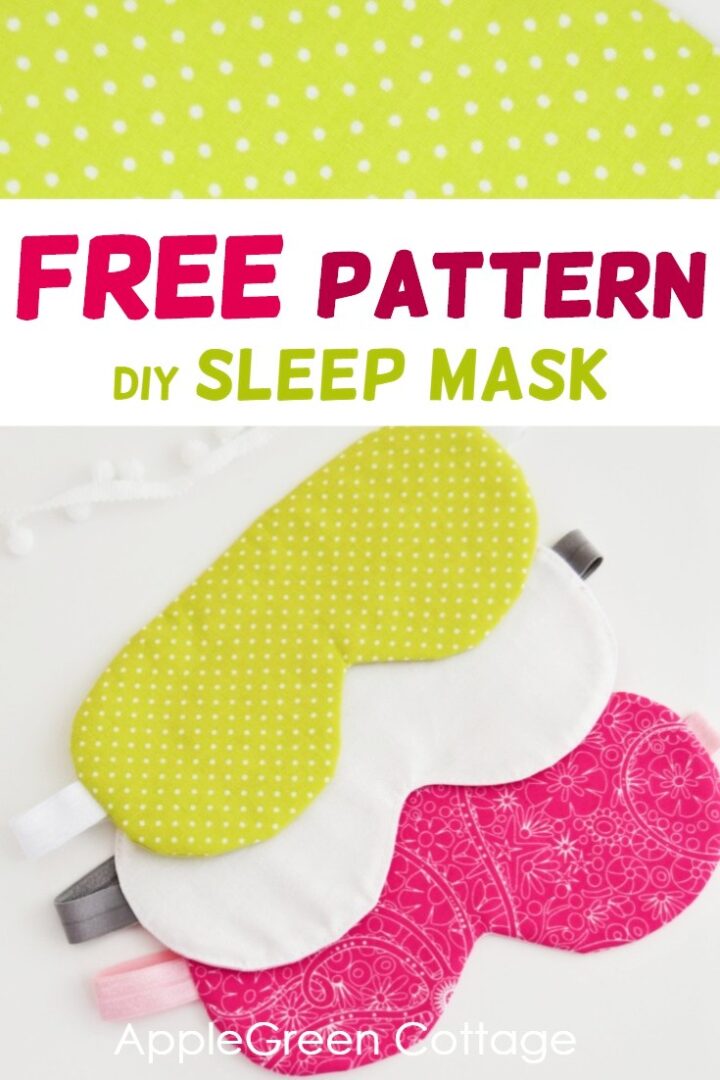
Diy Sleep Mask Free Pattern AppleGreen Cottage
Use the provided pattern to cut 2 of the satin and 1 of the batting. Now that the strap is complete, we can sew the.
Clip The Curves Of The Face And The Ears At The Corners, Leaving The Gap Unclipped.
Lay your 8.5” x 5” rectangle of front fabric on to your batting, wrong side towards the batting, and baste as desired. Using the guide on the pattern, begin sewing at the top of the sleep mask. Web easy sleep mask tutorial (free pattern) cut. If you prefer, you can use sewing clips too.
Now Pin All Layers Together.
The wrong side of your outer fabric will be up. So your mask is easier to handle. Clip all the way around the eye mask, right up to the stitching (but not through it!). Baste the elastic at the sides in the position marked on your pattern piece on the right side of the front.
Put The Back And Front Fabric Pieces With.
Take the fabric strip and fold it in half lengthwise, with right (pretty sides) together and pin it. Cut a length of elastic 10″ long. Time to complete under an hour. Sew each mask piece to some cotton batting.
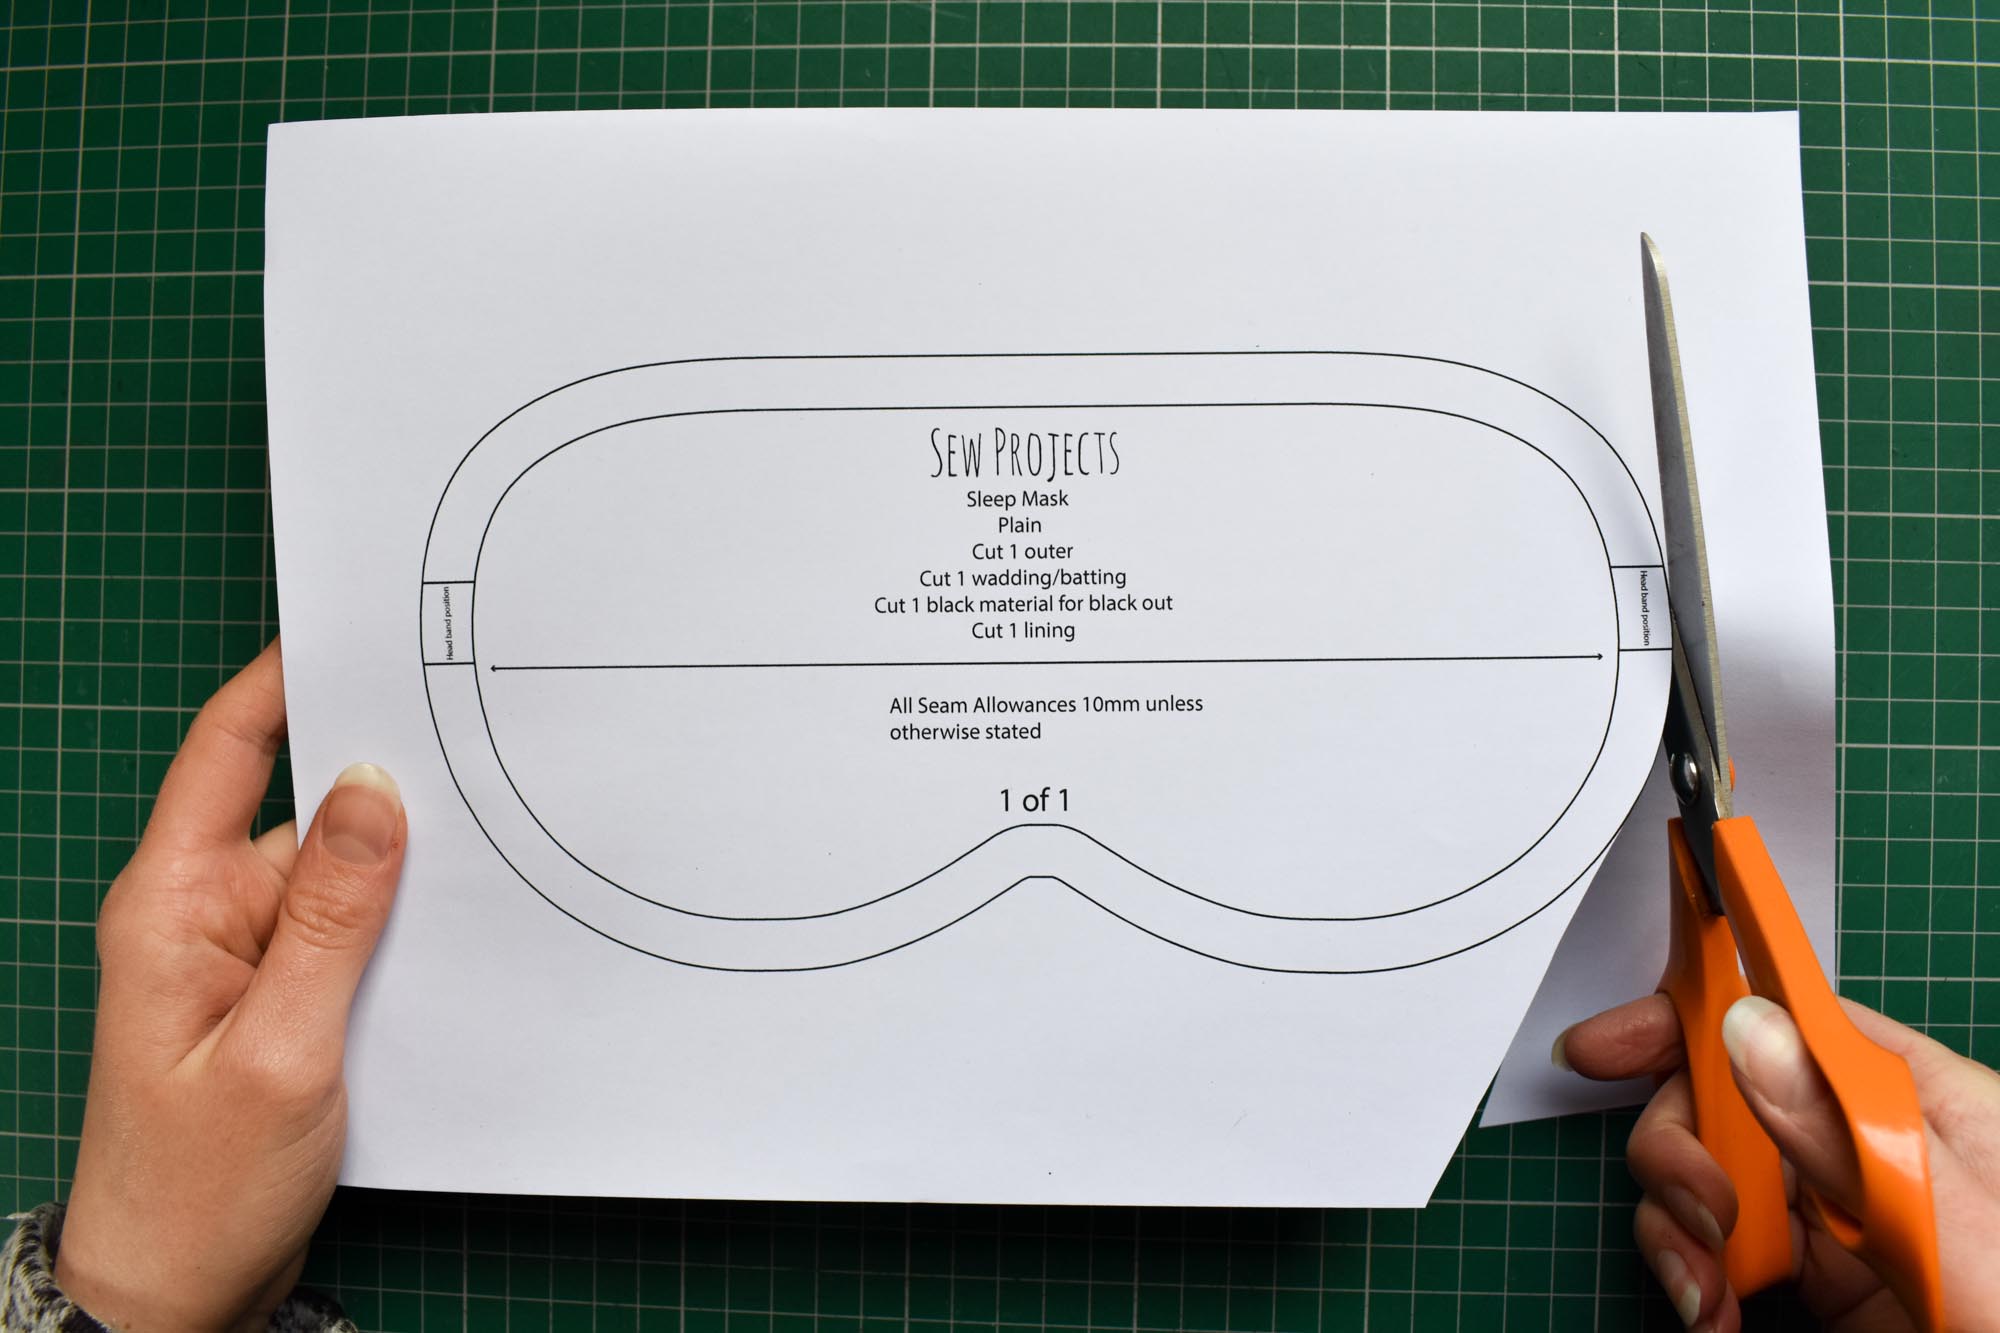
Print Out The Sewing Pattern And Cut Out The Pattern.
Pin one layer of the main fabric to the batting with the right side of the fabric facing up to you. Web the sleeping mask sewing pattern and tutorial will take only 30 minutes to make! I like to use glue stick to keep the layers from shifting while sewing. Web using your turning tool, turn the mask right side out.