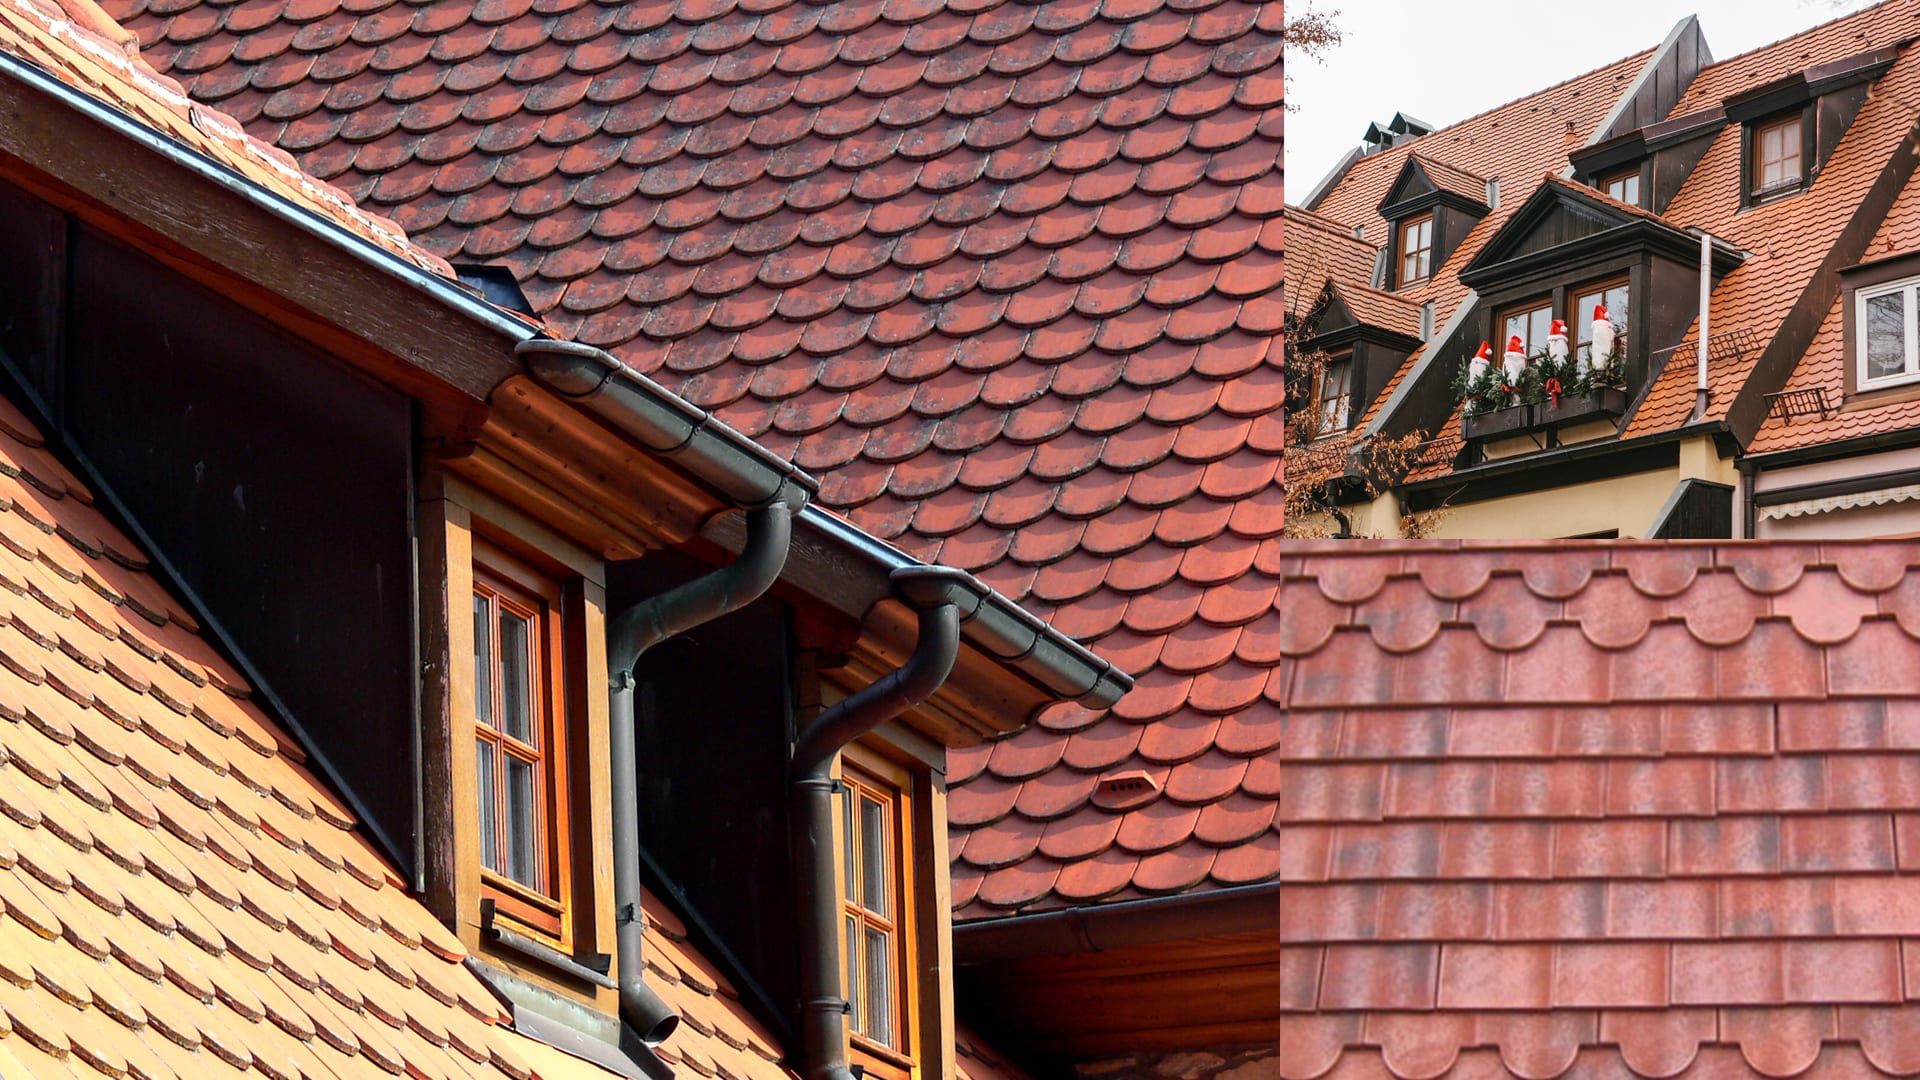
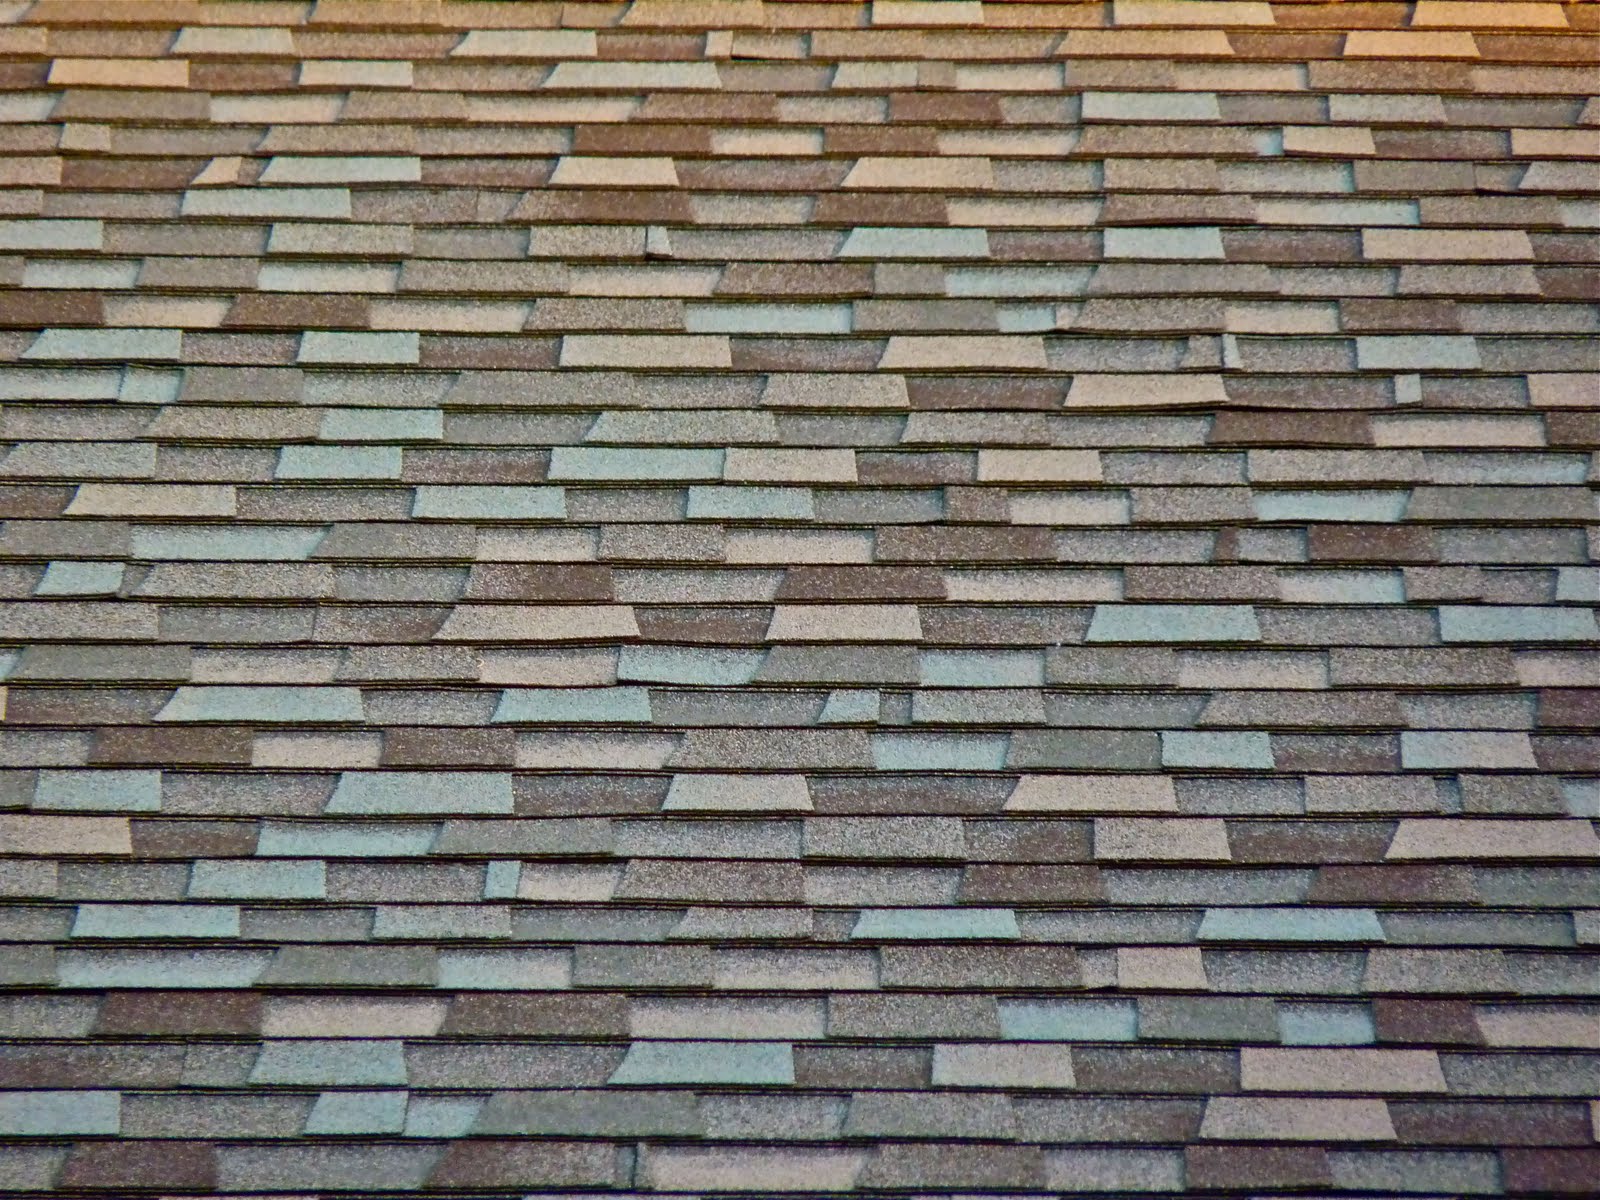
Shingle Pattern - Also make sure each shingle is on the center of. Use these to line up adjacent shingles and successive courses. [2] cut six inches off the length of the first starter shingle nailed on, then use the rest of them full size. There are many different styles of roof shingle but, for the most part, the installation pattern comes down to installing successive shingle courses, each of a certain predetermined exposure, installed in straight lines parallel to the bottom edge of the roof. Web trudefinition® duration® designer in aged copper. For each row, make sure your shingles overlap the row underneath by 2/3 of the total length. Continue each course across the roof with full shingles butting ends loosely. Place a glue strip along the rake edge and drip edge, and then attach your starter shingle, nailing it into place. Snap a horizontal chalk line over the starting row to use as a guide. Web continue to line the bottom of your roof with shingles.
A Helpful Guide to Roof Shingle Patterns Residential Roofing IKO
This guide was developed to help claims adjusters and underwriters identify manufacturers of installed shingles. They say everything is bigger in texas, so if you.

Shingle Roofing Patterns for Easy Installation at Mask Blog Spot
To start installing shingles, line up aluminum drip edge flush with the edge of the roof and make a pencil line at the top on.
A Helpful Guide to Roof Shingle Patterns Residential Roofing IKO
Secure each shingle with roofing nails at the top edge of the tile. Apart to get the keys to line up. Place a glue strip.
Download Roof Shingle Pattern Royalty Free Stock Photo and Image
Web asphalt shingle patterns identification guide. This guide was developed to help claims adjusters and underwriters identify manufacturers of installed shingles. Pull the drip edge.
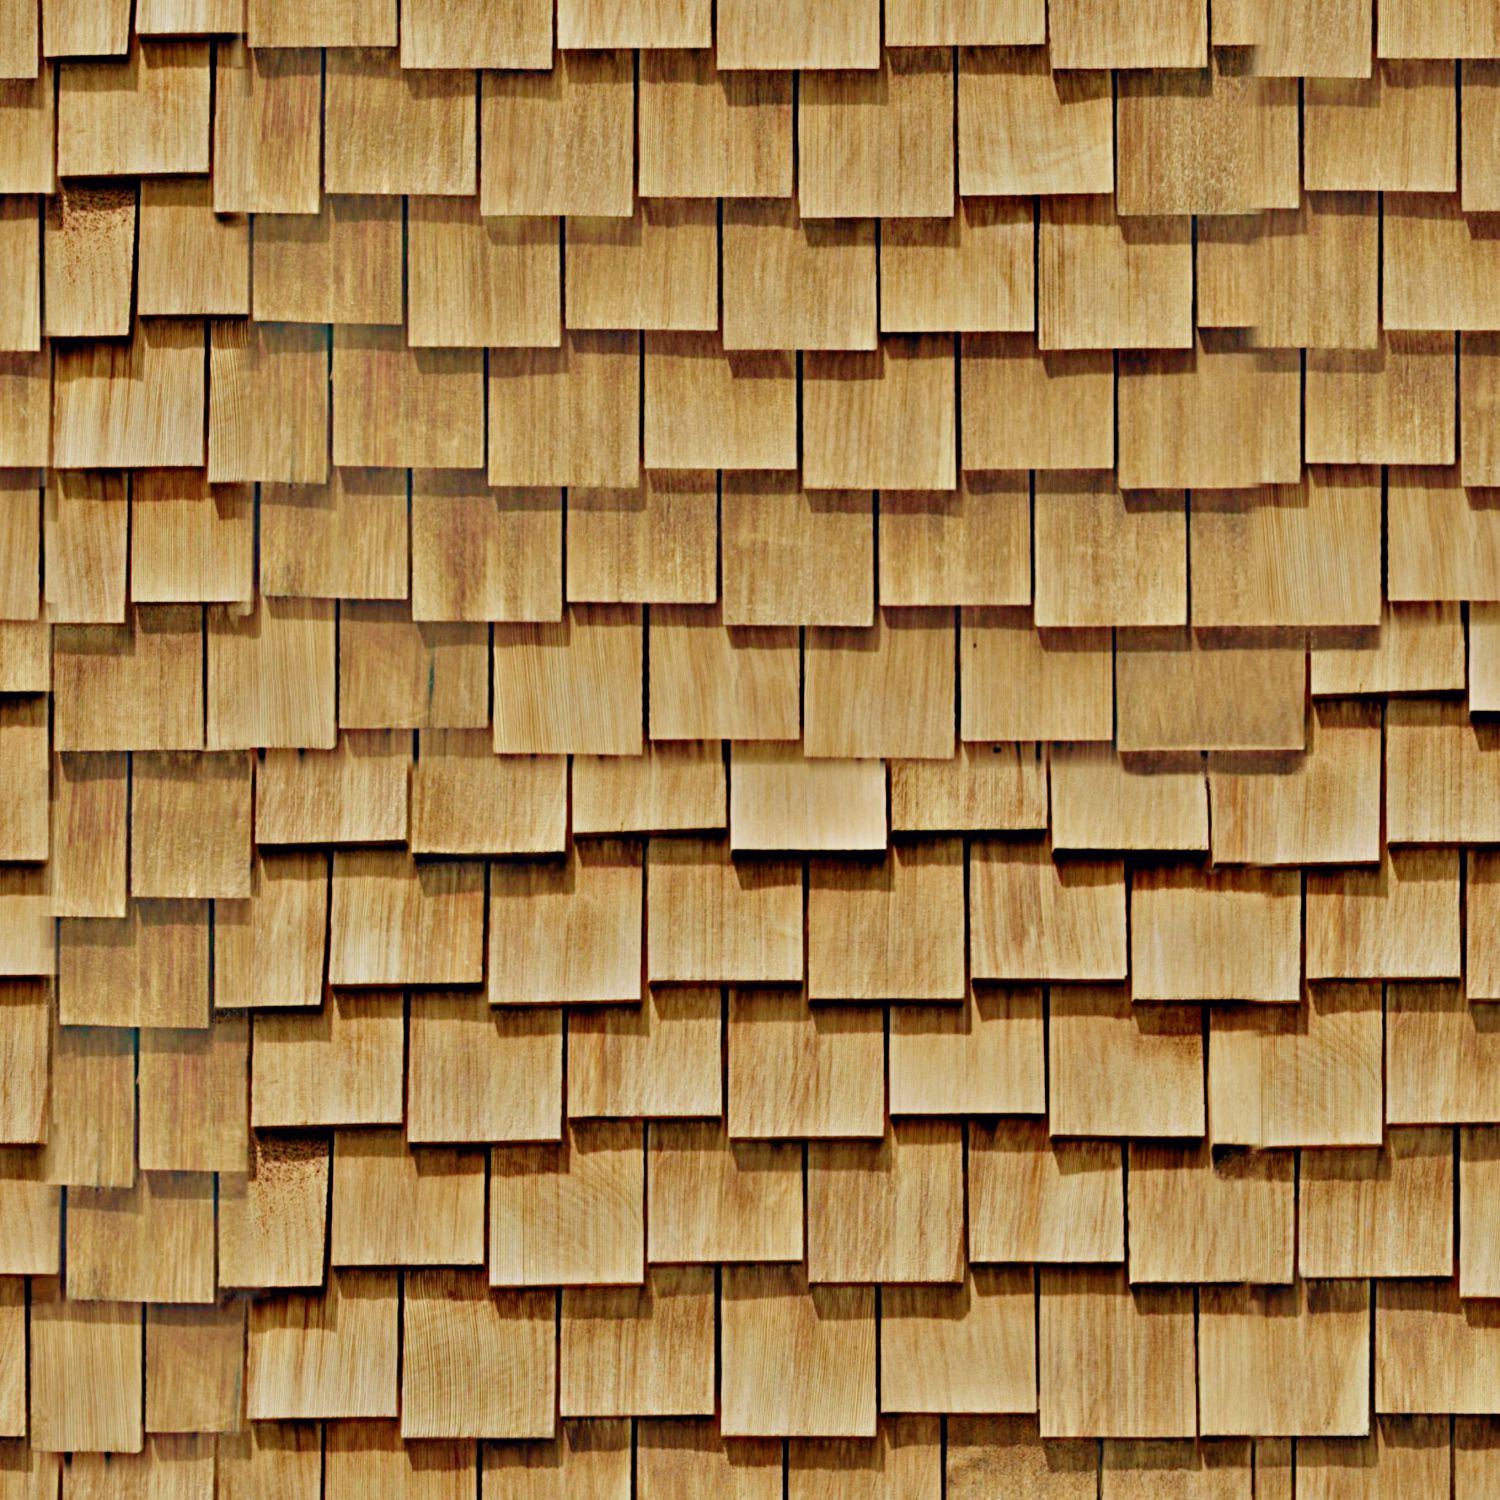
Cedar Shingles Pattern
That ensures the gap in the shingle. Also make sure each shingle is on the center of. Web what shingles looks like. You can try.
A Helpful Guide to Roof Shingle Patterns Residential Roofing IKO
Keep your nails on either side of the gap. There are many different styles of roof shingle but, for the most part, the installation pattern.
13 Shingle Designs Ideas Architecture Plans
So, your next course of shingles should cover the nails by 1 inch vertically. Also make sure each shingle is on the center of. Lay.

Roof Shingle LayOut and Nailing Patterns GutterBrush
Follow the guideline specified by the manufacturer as each shingle style has its own cut pattern. Using the chalk line, snap a line between the.
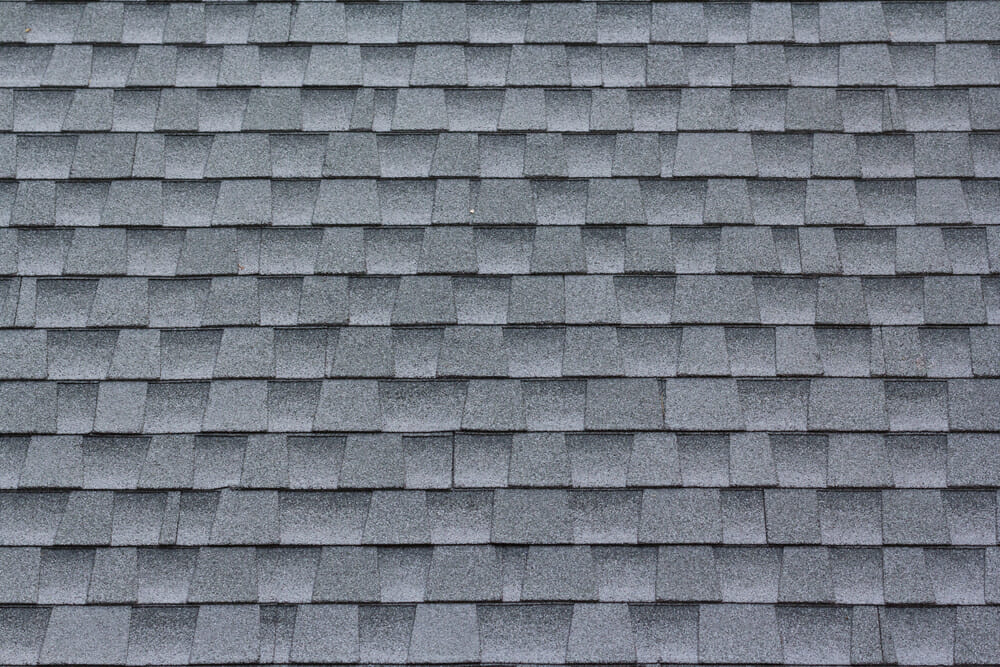
A Quick Guide to Architectural Shingles Roofs for Life, Inc
This row should peek over the eaves by about a half inch (1.3 centimeters). You can try to do the math to determine how many.

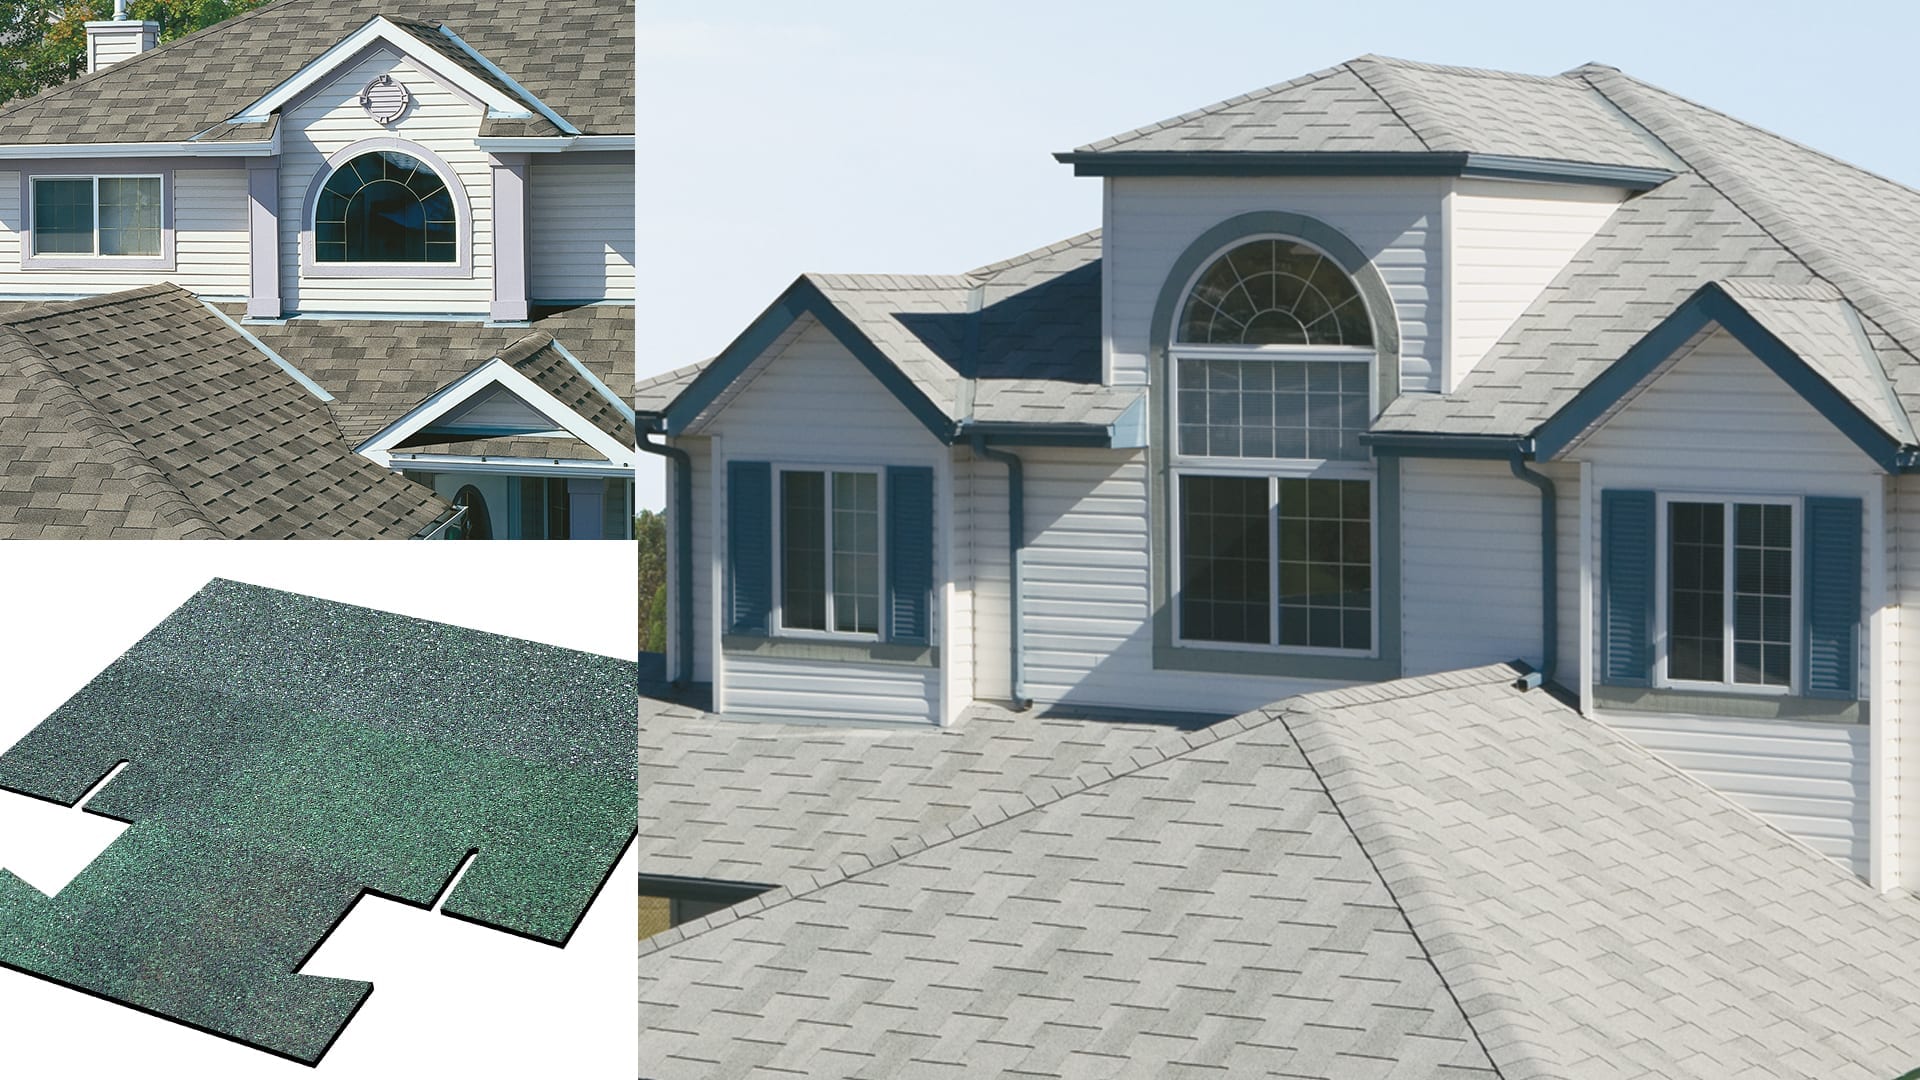
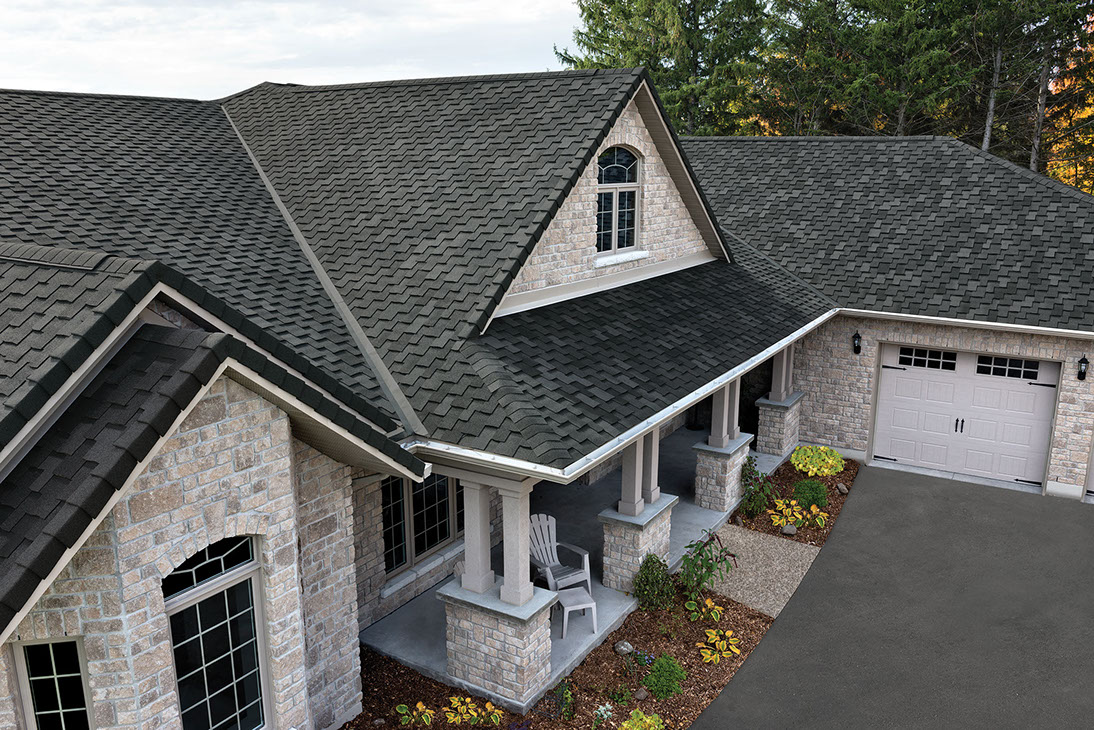
Choosing The Right Shingle Color For Your Roof Allegiant Roofing
Place four (4) fasteners in the high nailing area, evenly spaced across the shingle, with the outer fasteners 1 (25 mm) from each edge. For.
To Start Installing Shingles, Line Up Aluminum Drip Edge Flush With The Edge Of The Roof And Make A Pencil Line At The Top On Each End Of The House.
Web every 5 inches, make a new mark until you get to the top of the roof. Next, continue layering your shingles, row by row. This row should peek over the eaves by about a half inch (1.3 centimeters). Trim off 10″, 20″, and 30″ respectively, from the left end of the starting shingle and apply to overhang rake edge by 1/4″ to 3/4″.
On Average, You Can Expect To Pay:
They say everything is bigger in texas, so if you really want to. Place two (2) fasteners in the low nailing area, no more than Owens corning roofing has a wide variety of roof shingle colors that range from a softer, highly blended look in their oakridge® line to a higher level of color saturation and contrast in their trudefinition® duration® line. Place a glue strip along the rake edge and drip edge, and then attach your starter shingle, nailing it into place.
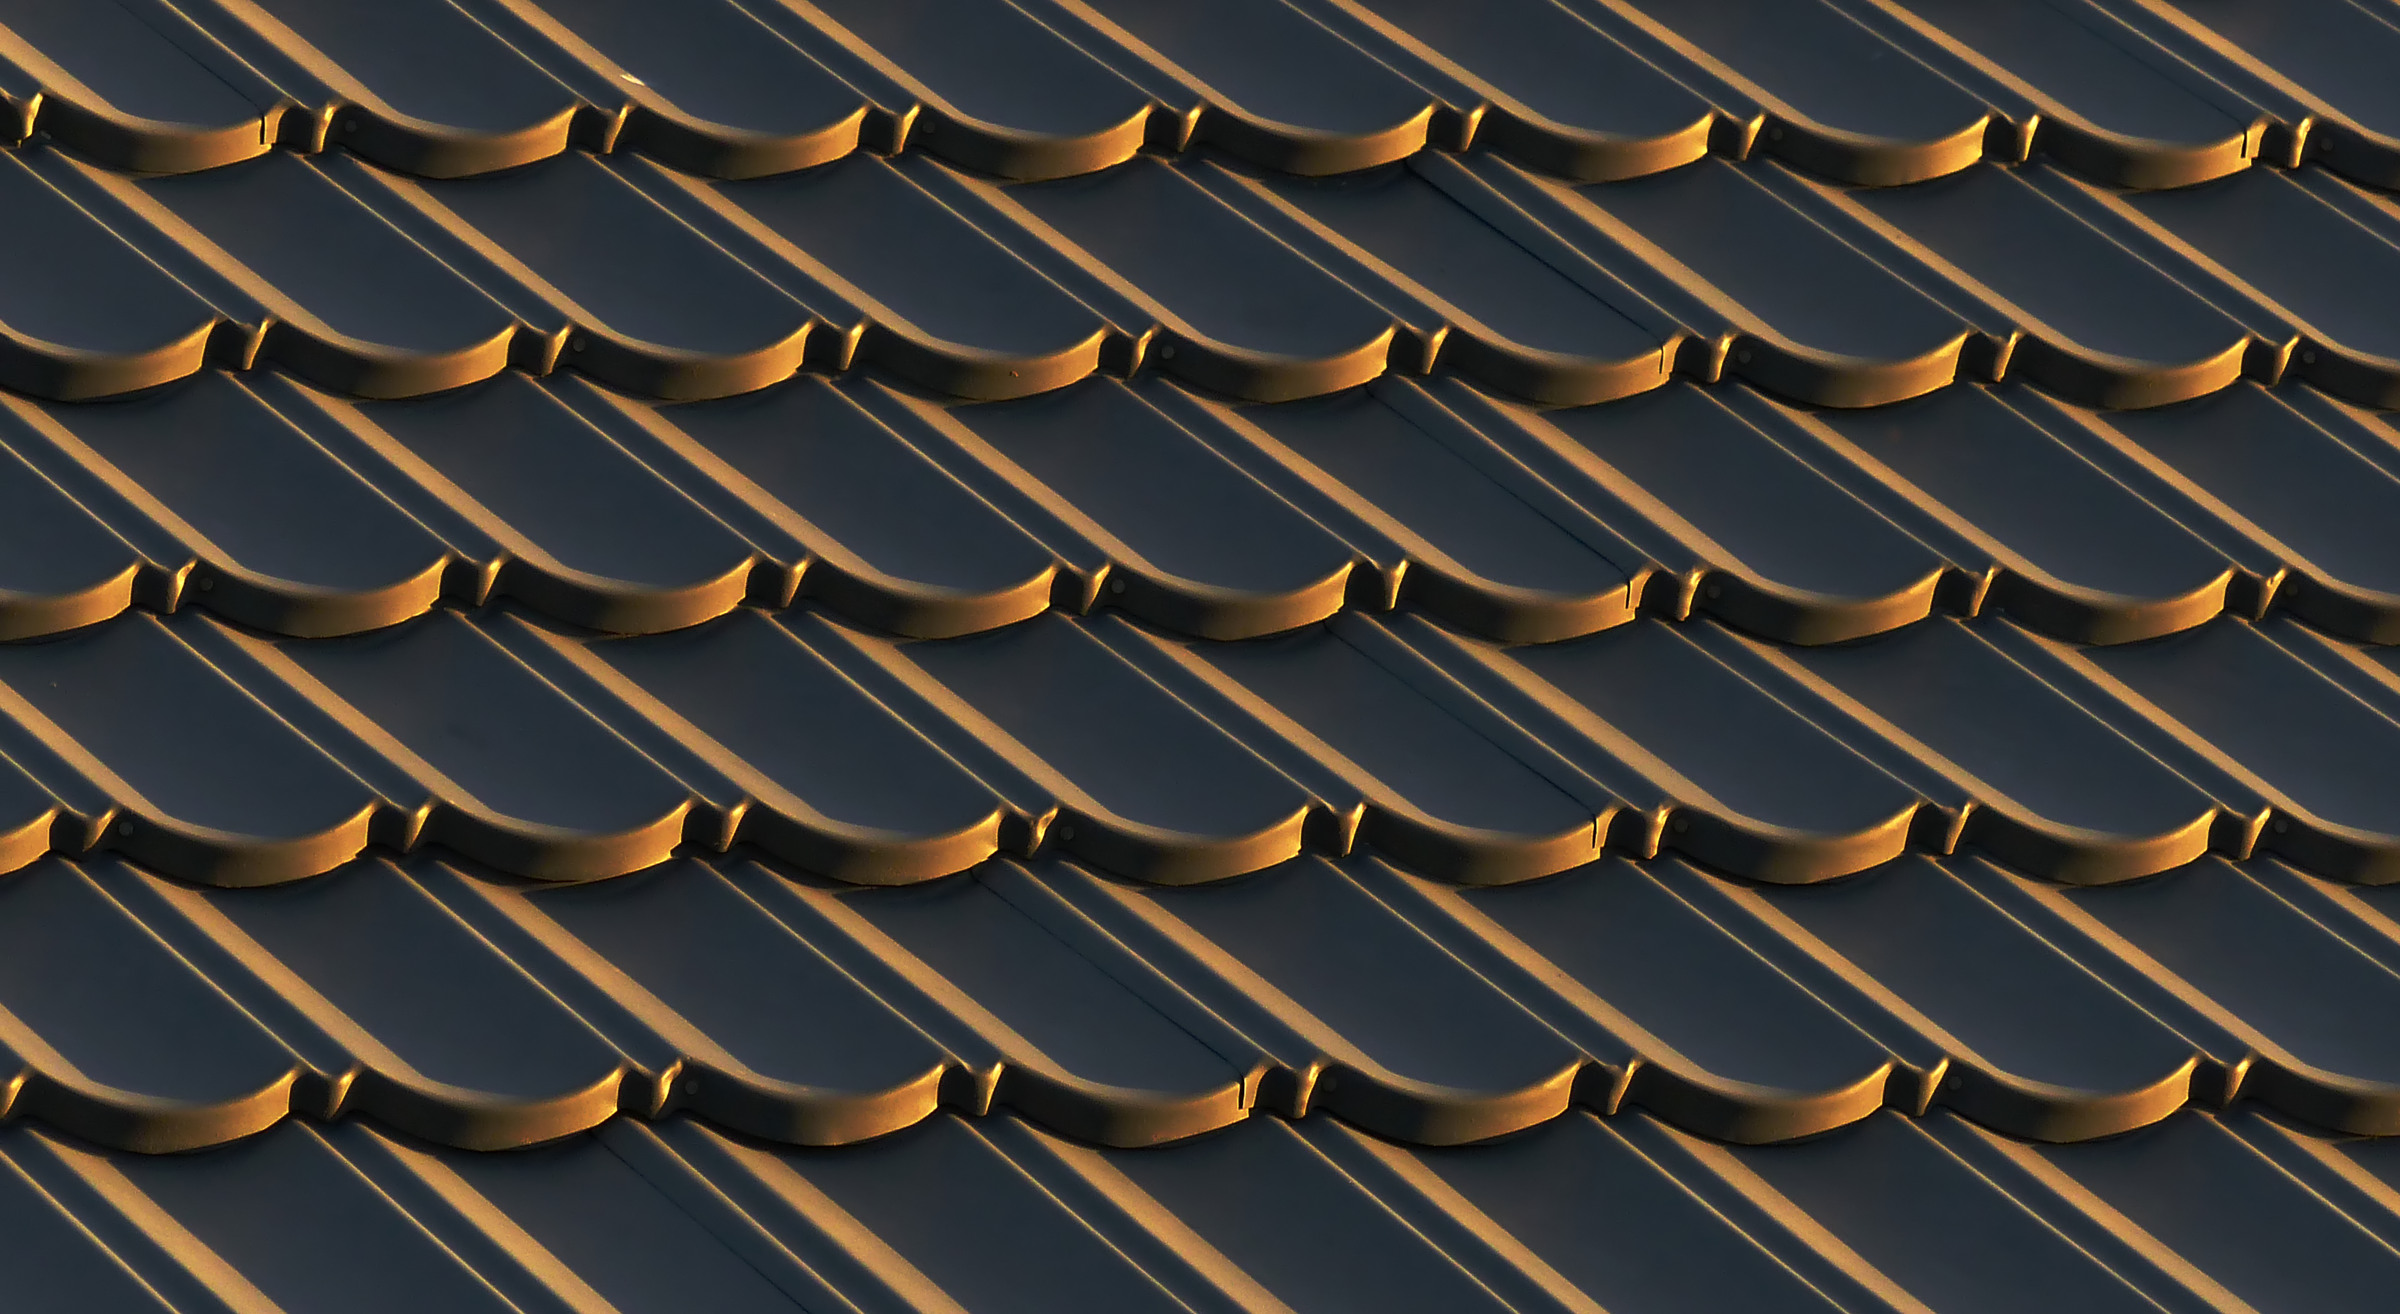
There Are Many Different Styles Of Roof Shingle But, For The Most Part, The Installation Pattern Comes Down To Installing Successive Shingle Courses, Each Of A Certain Predetermined Exposure, Installed In Straight Lines Parallel To The Bottom Edge Of The Roof.
Web installing roof shingles in 11 steps: Use these to line up adjacent shingles and successive courses. This pattern is suitable for a wide range of architectural styles and provides a clean and classic look. Use the chalk line to snap a straight line vertically every 6 inches.
It Consists Of Uniformly Shaped Rectangular Shingles With Three Tabs That Give The Appearance Of Individual Shingles.
Web then secure another nail an inch above each cutout. That ensures the gap in the shingle. Web what shingles looks like. If you are using a power nailer, drive nails by squeezing the trigger and bouncing the nailer's tip onto the shingle.