Sewing Pattern Cloak - With right sides together pin along the short side of the cape (the selvedge edges). Sewing the hood onto the cloak. Also available in adult sizes here. Web sew the hood of the cloak: Pin the two collar pieces right sides together and sew the ends and straight edge. Sew with a ½” seam allowance. Hem the center front of the cloak and hood with a 1/4 inch double fold hem. Web attach your front panels to the back at the shoulder/side seams and sew up the center back seam. Web neck lay front pieces (right side down) on the back of the cape, lining up the shoulders. Fold your fabric’s right sides together and pin the pattern in place.

17 DIY Hooded Cloak Sewing Patterns (FREE Pattern)
A half inch of collar should overlap on either side. Sew together along the interior neckline using a.5 inch seam allowance. Now onto attaching your.

Easy Custom Hooded Cloak · How To Make A Cape / Cloak · Sewing on Cut
Also available in adult sizes here. Close the opening shut with hand stitching. Web with this free sewing pattern, you can craft a charming cloak.

Easy Cloak · How To Make A Cape / Cloak · Sewing on Cut Out + Keep
A half inch of collar should overlap on either side. To round the top edge, use a plate to trace a curve. Web to make.
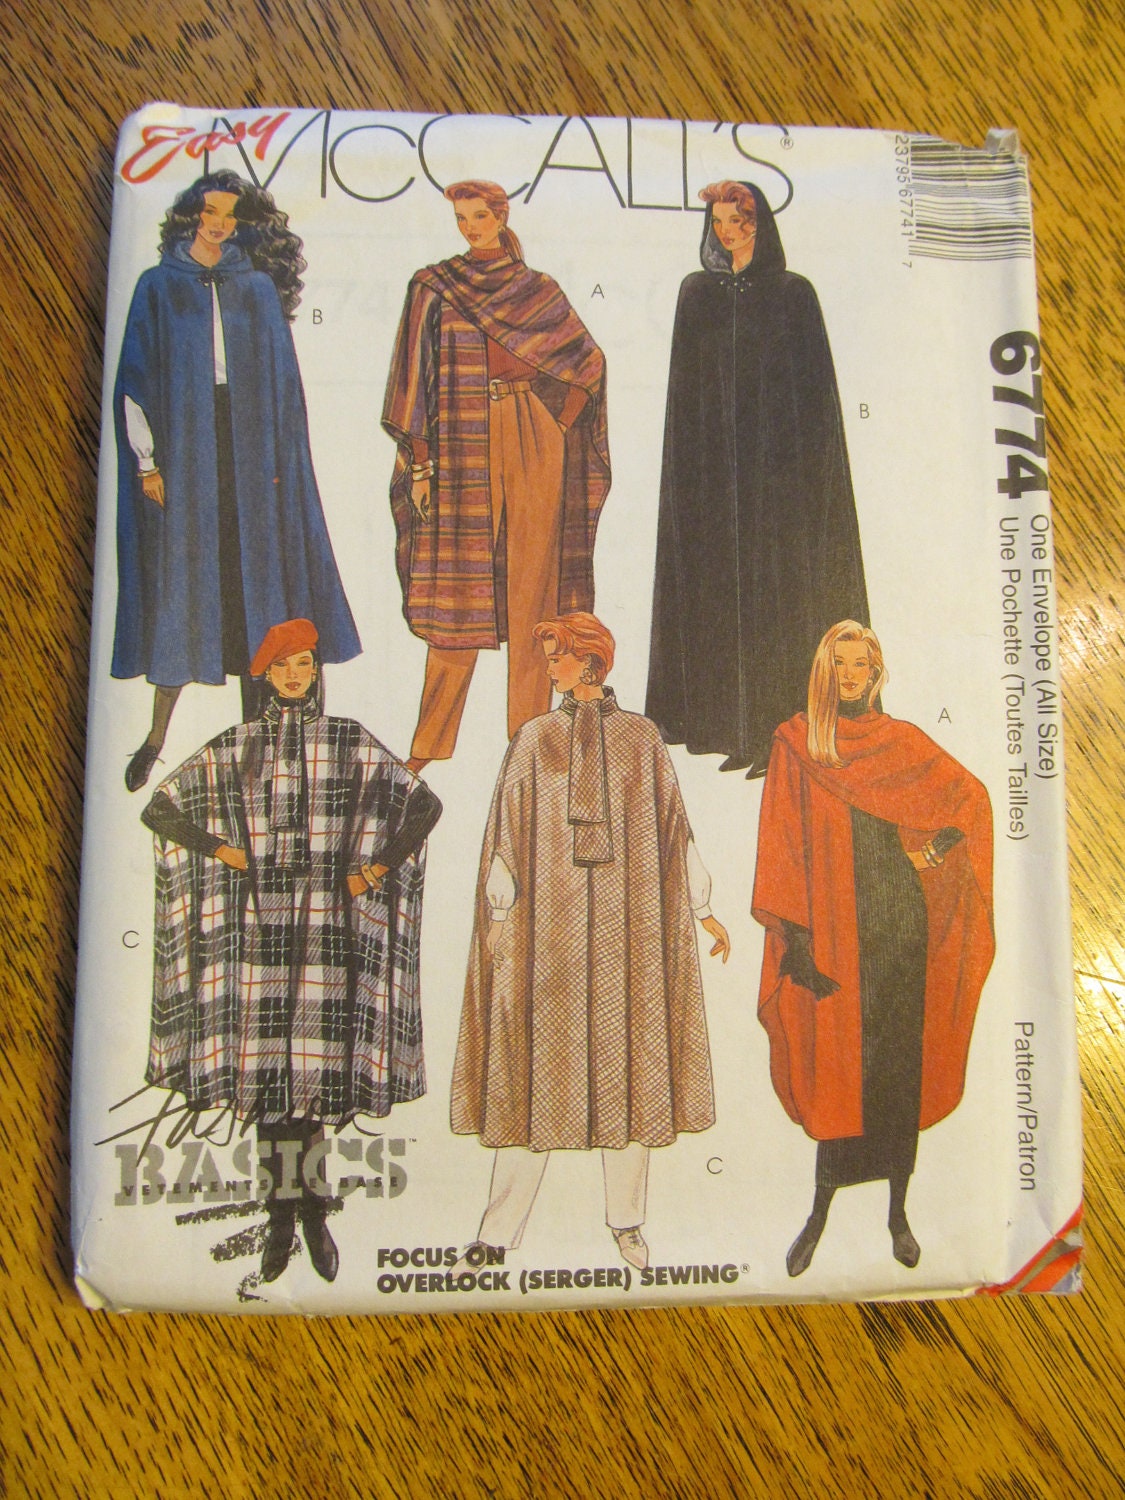
UNCUT Sewing Pattern EASY to SEW Cloak / Cape with Hood or
To round the top edge, use a plate to trace a curve. The cloak and hood should look complete, except they are not yet sewn.

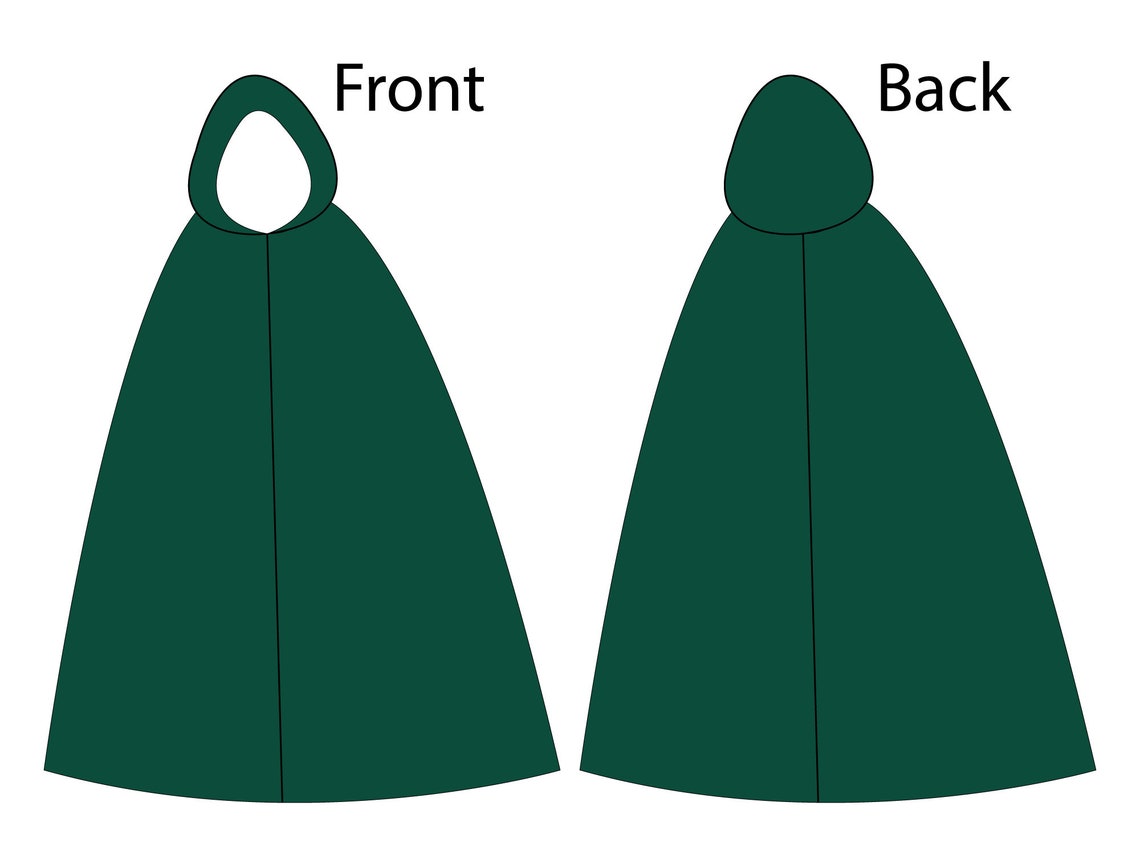
Cloak Sewing Pattern Step by Step PDF Guide
Take the pattern piece for the hood and cut two pieces. A half inch of collar should overlap on either side. Fold your fabric’s right.

24+ Marvelous Photo of Cloak Sewing Pattern
With right sides together, sew the right side of the front to the back of the cape, using a.5 inch seam allowance. Sew with a.

Pin by Leanna Wright on Sewing ideas in 2021 Cloak pattern, Sewing
Set your lining aside for the time being. Draw a rectangle with a width of 50 cm (shoulder to top of the head) and a.
XSXL Hooded Cloak PDF Sewing Pattern Medieval Cosplay Etsy
Web cape sewing pattern | sew mens womens halloween outfit | costume cloak cape medieval renaissance cosplay fantasy | size fits most plus 10314 (1.4k).

DIY cloak Cloak pattern, Diy sewing, Tinker clothes
The bottom of your hood should fit perfectly onto the cloak if measured correctly, so just pin them together. The bottom edge of the hood.
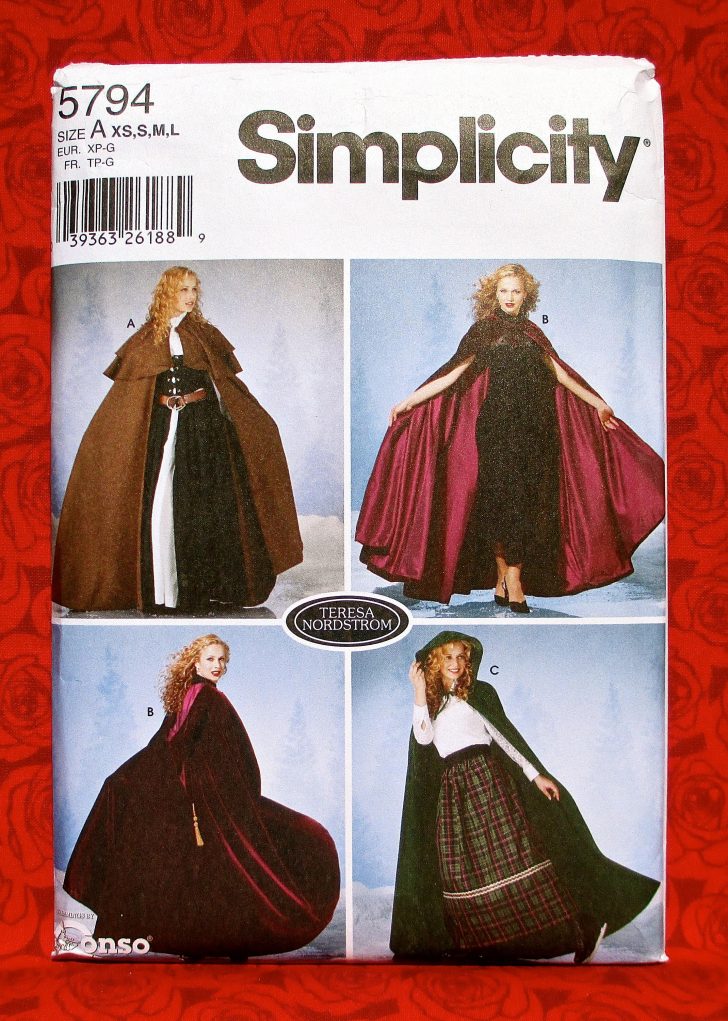
Cloak Sewing Pattern Simplicity Sewing Pattern 5794 Long Cape Cloak
To create the hood pattern: Take the pattern piece for the hood and cut two pieces. Now it’s time to sew the cape pieces together..
Attaching The Hood To The Cloak.
Find the open area, and fold 0.5 in (1.3 cm) of the fabric into the cloak so that the raw edges are hidden. Like with the hood, the two cape pieces need to be sewn together to make one long rectangle. Web fold over another 1/2 inch towards the wrong side of the fabric to hide the raw edge, press. Turn the whole thing inside out through the opening.
Line Up The Two Pieces And Pin Them Together.
Turn the hood right side out and iron flat. Clip the corners and trim the seams to reduce bulk. Sew together using a.5 inch seam allowance. Web sew the hood of the cloak:
Place A Few Pins To Hold The Fabric In Place, And Then Sew Over The Pinned Area.
Stitch together at the outer edge, right sides together. Sew from collar to hem (dashes line line)repeat this same process with the right side of the cape. The cloak and hood should look complete, except they are not yet sewn together. There will be a lip of paper (.5 inches) that hangs over the edge of the fabric.
There Is The Interior Of The Hood And The Exterior Of The Hood, And We Will Add A Cape To Each Side.
You’ll want the two pieces to be mirror images of each other. Ith 3 yards of black satin, it is easy to sew the bulk of this cape, and printing the logo is as easy as using a search engine. Web the simple cape sewing pattern makes it fine for anyone who is at a loss for a fancy dress outfit. The bottom of your hood should fit perfectly onto the cloak if measured correctly, so just pin them together.