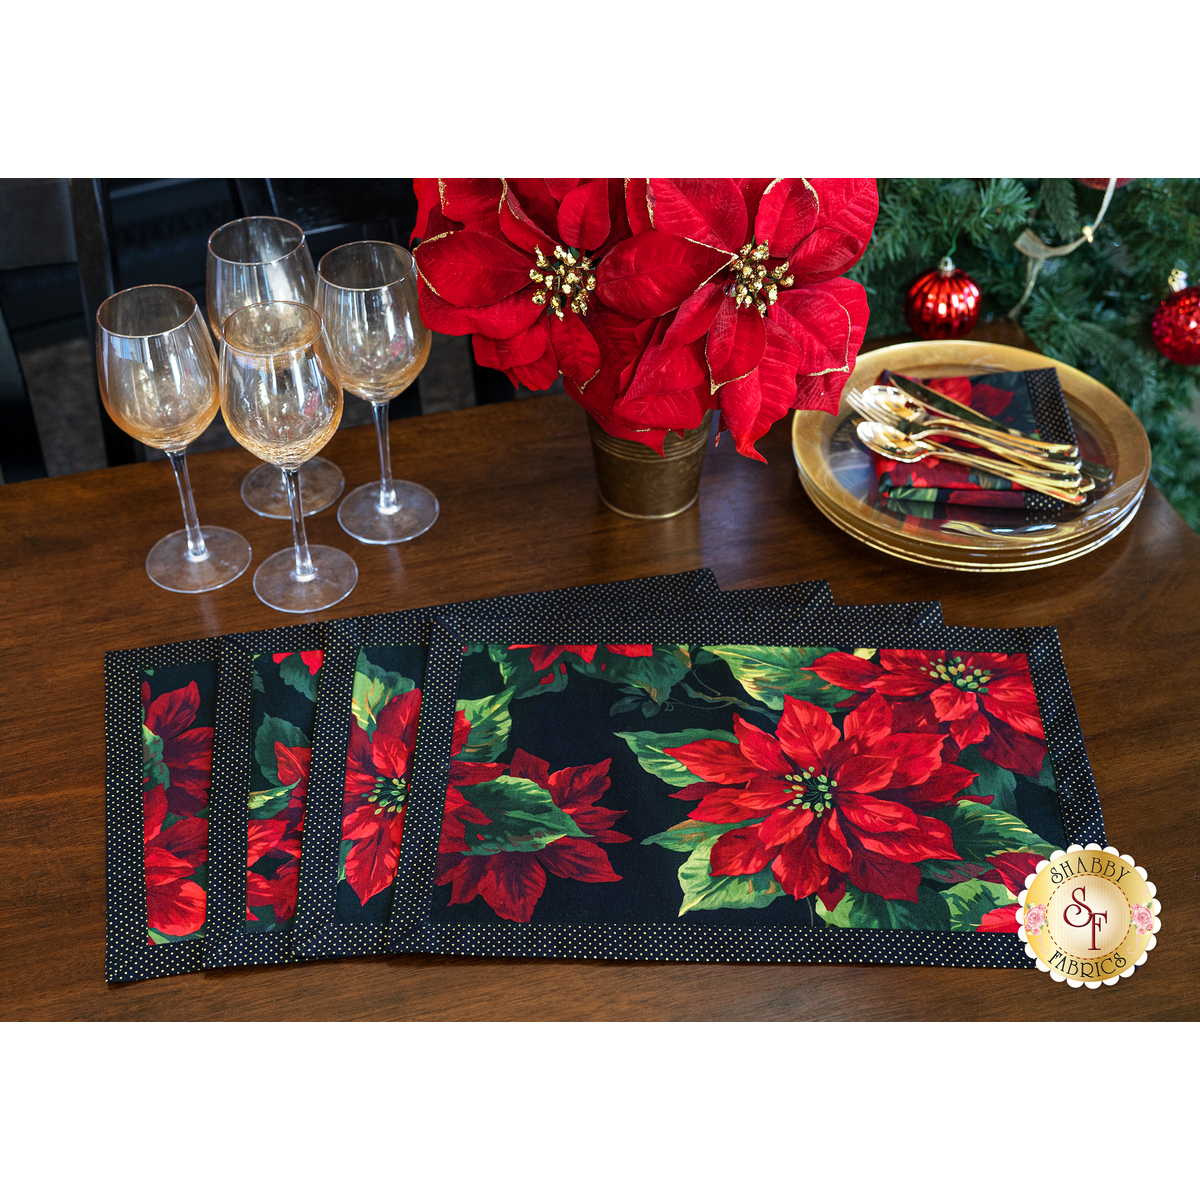
Self Binding Placemats Free Pattern - I love framing them and that is what this binding does. If you want to start with just 1 placemat, cut one rectangle of each fabric. Then, you will sew the binding according to the instructions in this wonderful video tutorial. Web i explain how to make a self binding on placemats. You can find the free tutorial here. Flip the placemat over and match adjacent sides, being sure to line up at the corner and down the side. Web get a head start on your christmas sewing and quilting with this fun holiday project! Notions used in this video: Beginning with one of the long sides, fold the 1″ over hang of backing fabric over, until it barely touches the edge of the strips. A standard placemat size is 12x14 or 12x18 so simply make the runner and then add the other piece using a.
How To Make A SelfBinding Quilted Placemat
To make a set of 4 placemats, cut your fabric as follows. I will show you how to do them and have an instructional sheet.

How to Make a Self Binding Placemat a Shabby Fabrics Tutorial YouTube
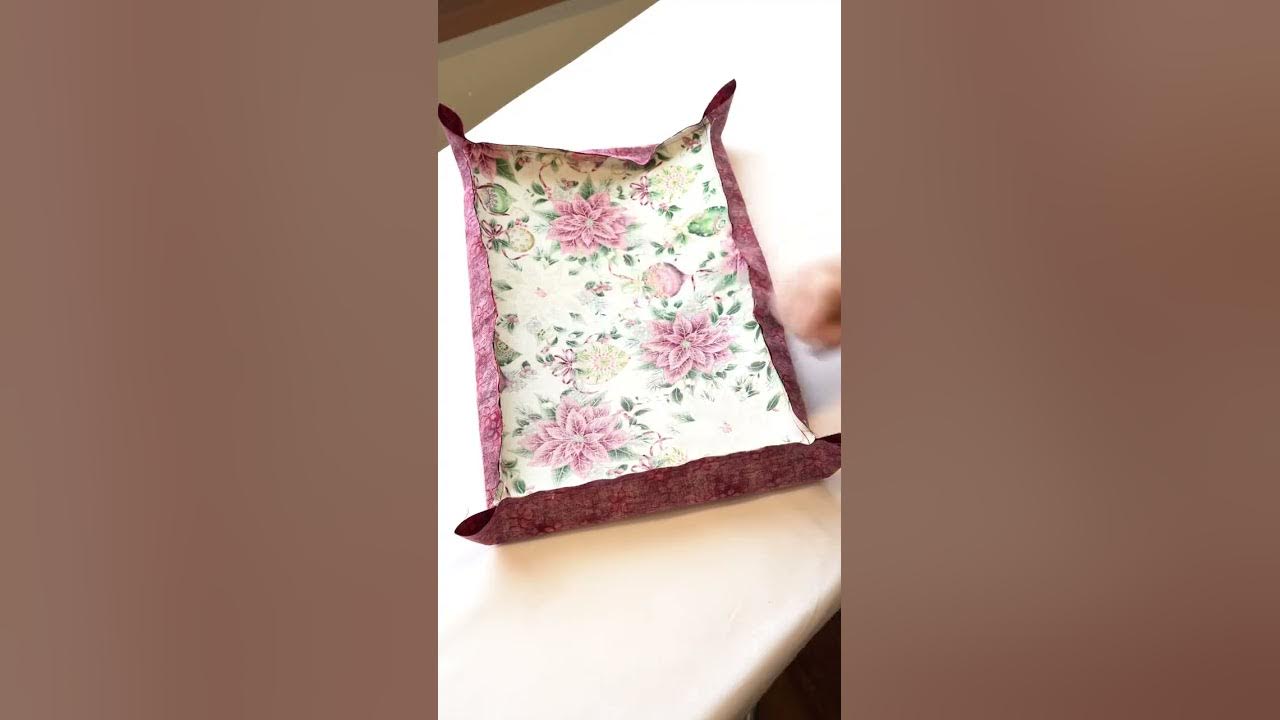
Fold in each of the sides (the backing) to meet the quilted centre and press them to keep them in place. Flip the placemat over.
30+ placemat patterns to sew free NooriyaLucy
Cut your fabric to 14.5″ x 20.5″, place your two fabrics right sides together and pin them in place. Web it makes binding a lot.

Easy scrappy binding for patchwork placemats step by step Tulip
Web self binding the placemat. Web one day project! Web i explain how to make a self binding on placemats. You will begin by laying.

7 FREE Quilted Placemat Patterns You'll Love On Bluprint!
Notions used in this video: 0.35 m (0.5 yd) main/front fabric0.45 m (0.5 yd) backing/bind. Clip the corners at a diagonal. The width of the.

15 Minute Placemat Tutorial Miter Corners Easy placemats, Place
Notions used in this video: Web then all you have to do it flip the placemats over as the seasons change! (4) rectangles of 10.

How to Make a Self Binding Placemat/ Fast and Easy Binding Tutorial
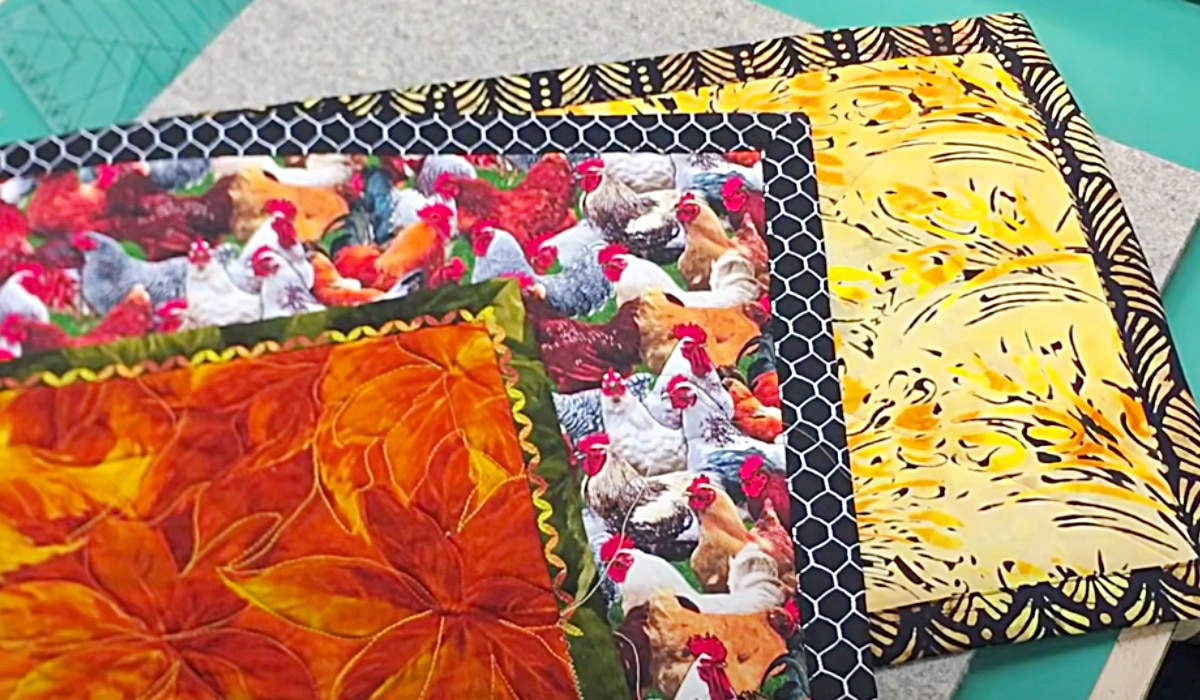
Today i'm showing you how to sew a placemat using a self binding technique that has a history in quilting. Flip the placemat over and.
Easy selfbinding technique! 🤩Watch the full SelfBinding Placemats
To make a set of 4 placemats, cut your fabric as follows. Turn the placemat to the right side through the gap and give it.
SelfBinding Placemats Kit Makes 4 Shabby Fabrics
I will show you how to do them and have an instructional sheet available so you can make them too! Next, fold that edge over.
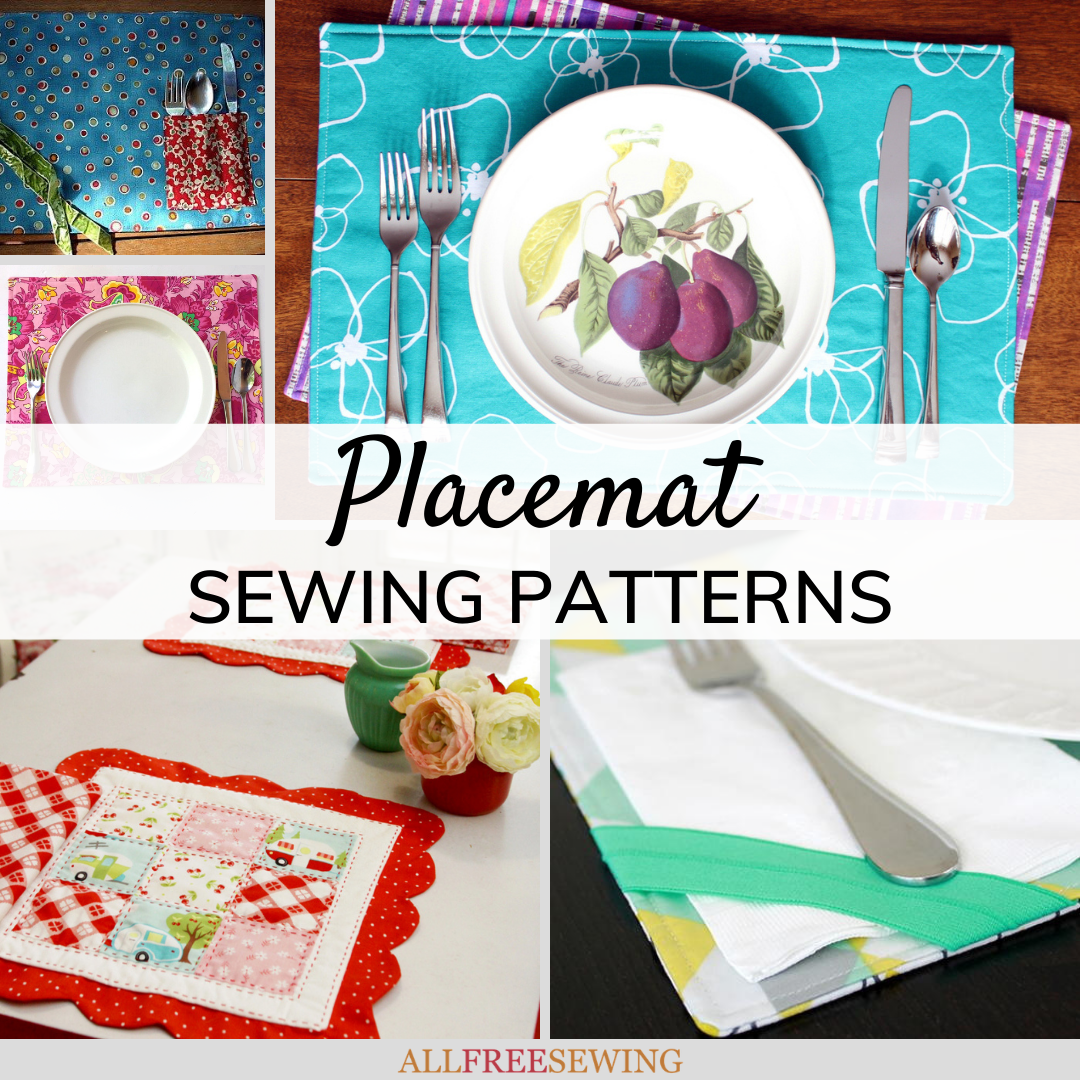
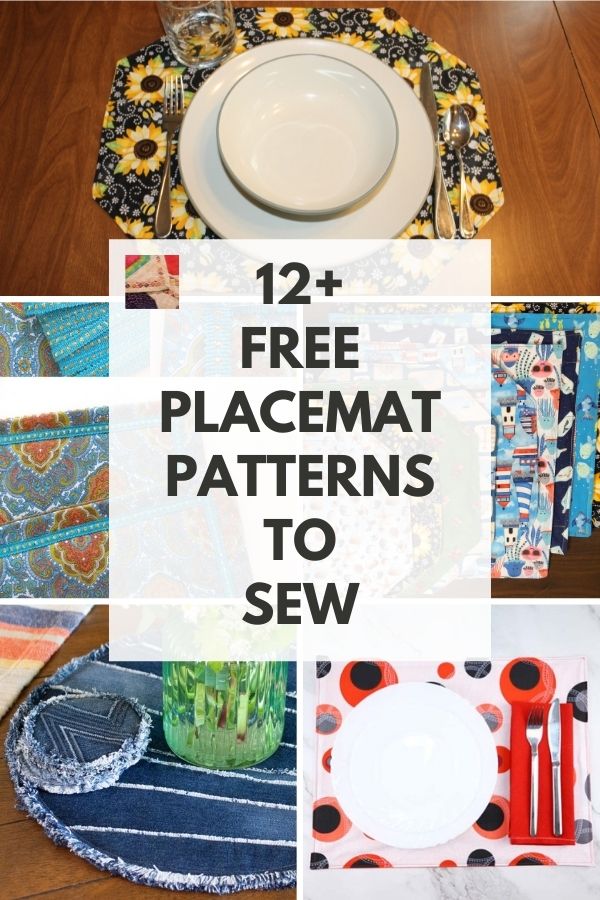
20+ Placemat Sewing Patterns (Free!)
You can find the free tutorial here. The width of the strips should be 2.5 inches, and the length should be equal to the perimeter.
Web Another Pattern Was In With The Stash, But I Just Wanted To Make Placemats.
Web measure and cut strips of fabric for the binding. Turn the placemat to the right side through the gap and give it a good press, ensuring the corners are poked out well. Seriously, it is that easy. Keep your home's eating surfaces clean and display your quilting handiwork at the same time with a placemat project!
Change Up The Fabrics And Colors For To Give The Free Quilted Placemat Pattern A Totally Different Spin.
Web self binding the placemat. Web it makes binding a lot easier, and it's very simpl. Cut your fabric to 14.5″ x 20.5″, place your two fabrics right sides together and pin them in place. These placemats are a great way to practice free mot.
I Will Show You How To Do Them And Have An Instructional Sheet Available So You Can Make Them Too!
Get your head start on your christmas sewing with this fun holiday project. Web looking at it, you create the border like you are making a table runner and then add solid coordinating fabric to the right of the border. There is also a free tutorial sheet and pattern in my store: Web then all you have to do it flip the placemats over as the seasons change!
If You Want To Start With Just 1 Placemat, Cut One Rectangle Of Each Fabric.
(4) rectangles of 10 ½ inch × 16 1/2 inch (27 x 42 cm) pieces of the print fabric for the front of the placemats. Fold in each of the sides (the backing) to meet the quilted centre and press them to keep them in place. Web place your 2 pieces of fabric with right sides together and pin the edges. Ranging from the simpler panel placemats to more piecing elements in the cat placemat, to the intricate detail on the hand embroidered placemats, there's a look to.