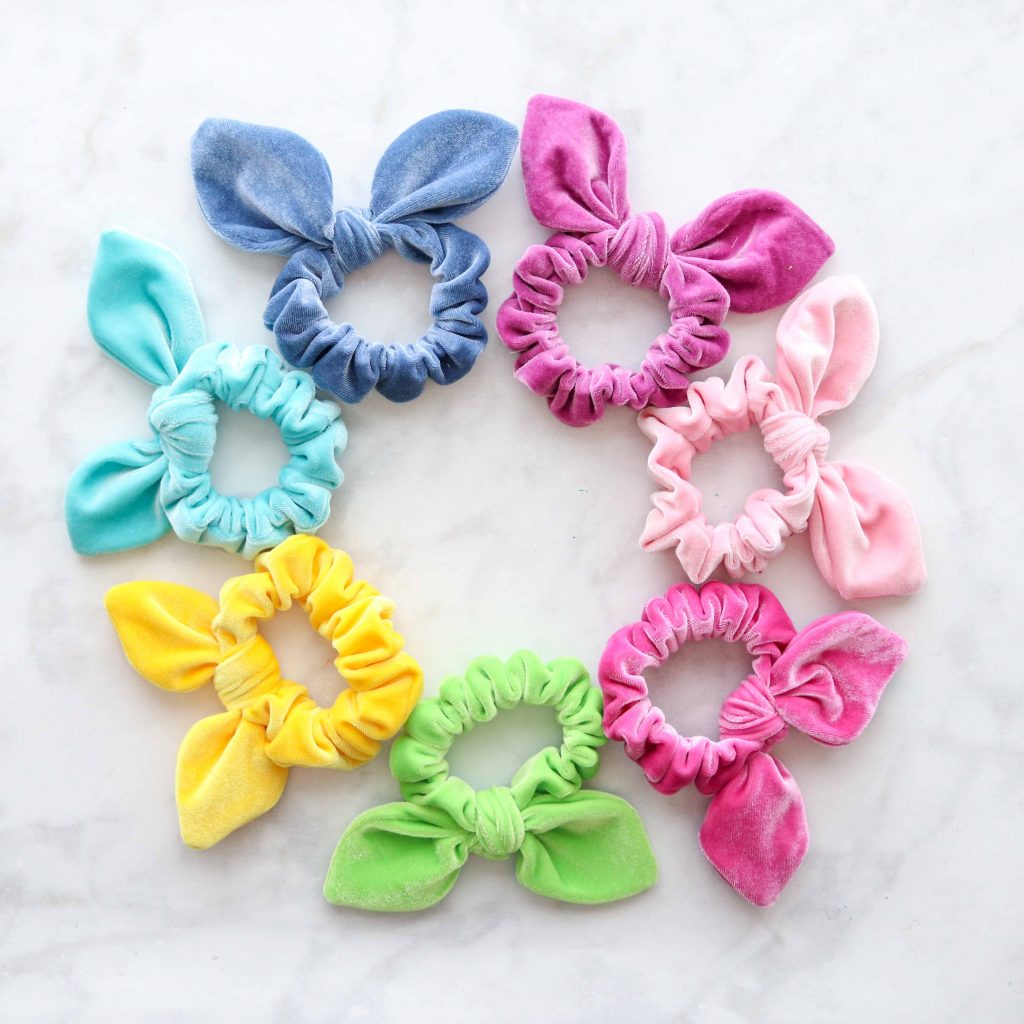
Scrunchie Pattern Sewing - With a hot iron, press the tail along the seams. Tie a knot around the scrunchie, then a bow. Sew the small opening closed. Web how to make a diy scrunchie. Unfold the edges you just ironed. You should have a long, skinny rectangular piece of fabric. If you plan to make a lot of scrunchies, print the pattern on a thick paper such as cardstock, so the pattern lasts longer. Place the scrunchie pattern on your fabric like this. Place the short ends together, with the “nice” sides of the fabric facing each other. Fold the rectangle in half lengthwise.

DIY How to Make A Scrunchie Free Sewing Pattern Sweet Red Poppy
Web follow these simple steps to sew your own fashionable scrunchie. Attach a safety pin to one end of the scrunchie and turn it through.
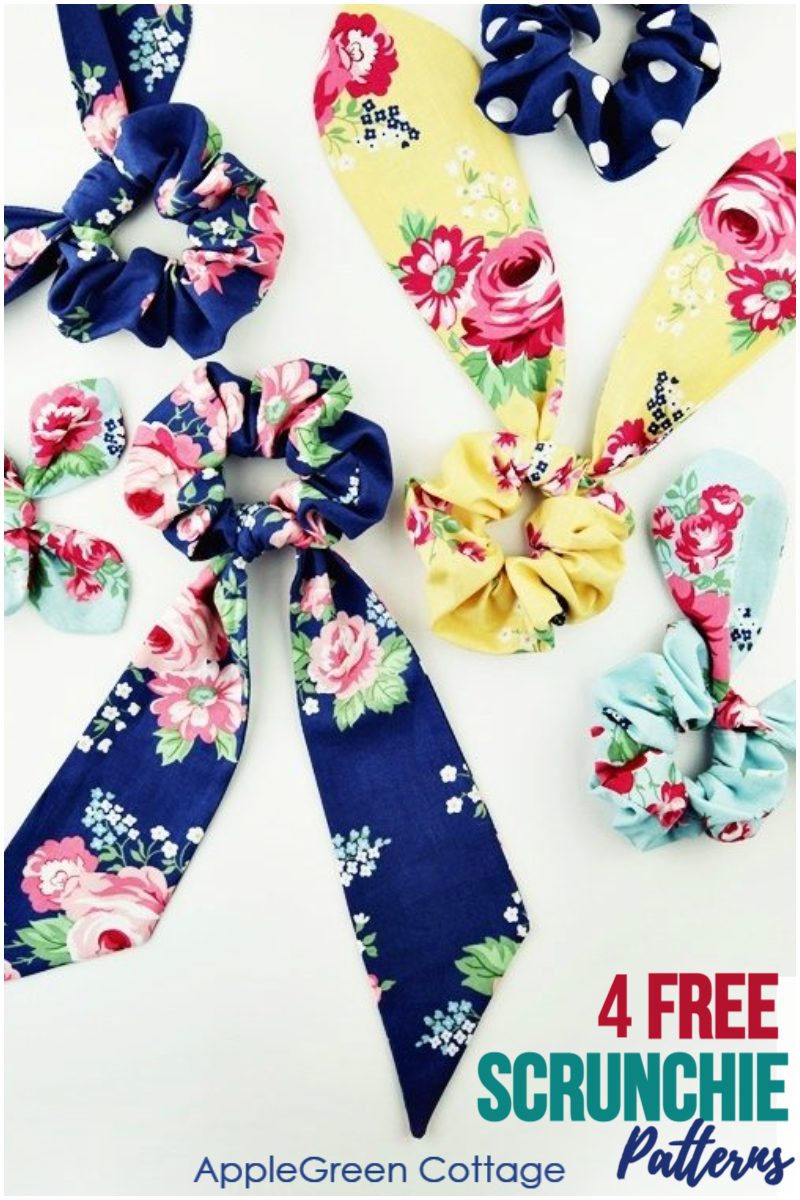
Scrunchie Pattern Our Best 4 Free Scrunchie Patterns to Sew!
Web watch this super easy tutorial on how to make a scrunchie. Web a scrunchie (or scrunchy) is such an iconic accessory from the late.
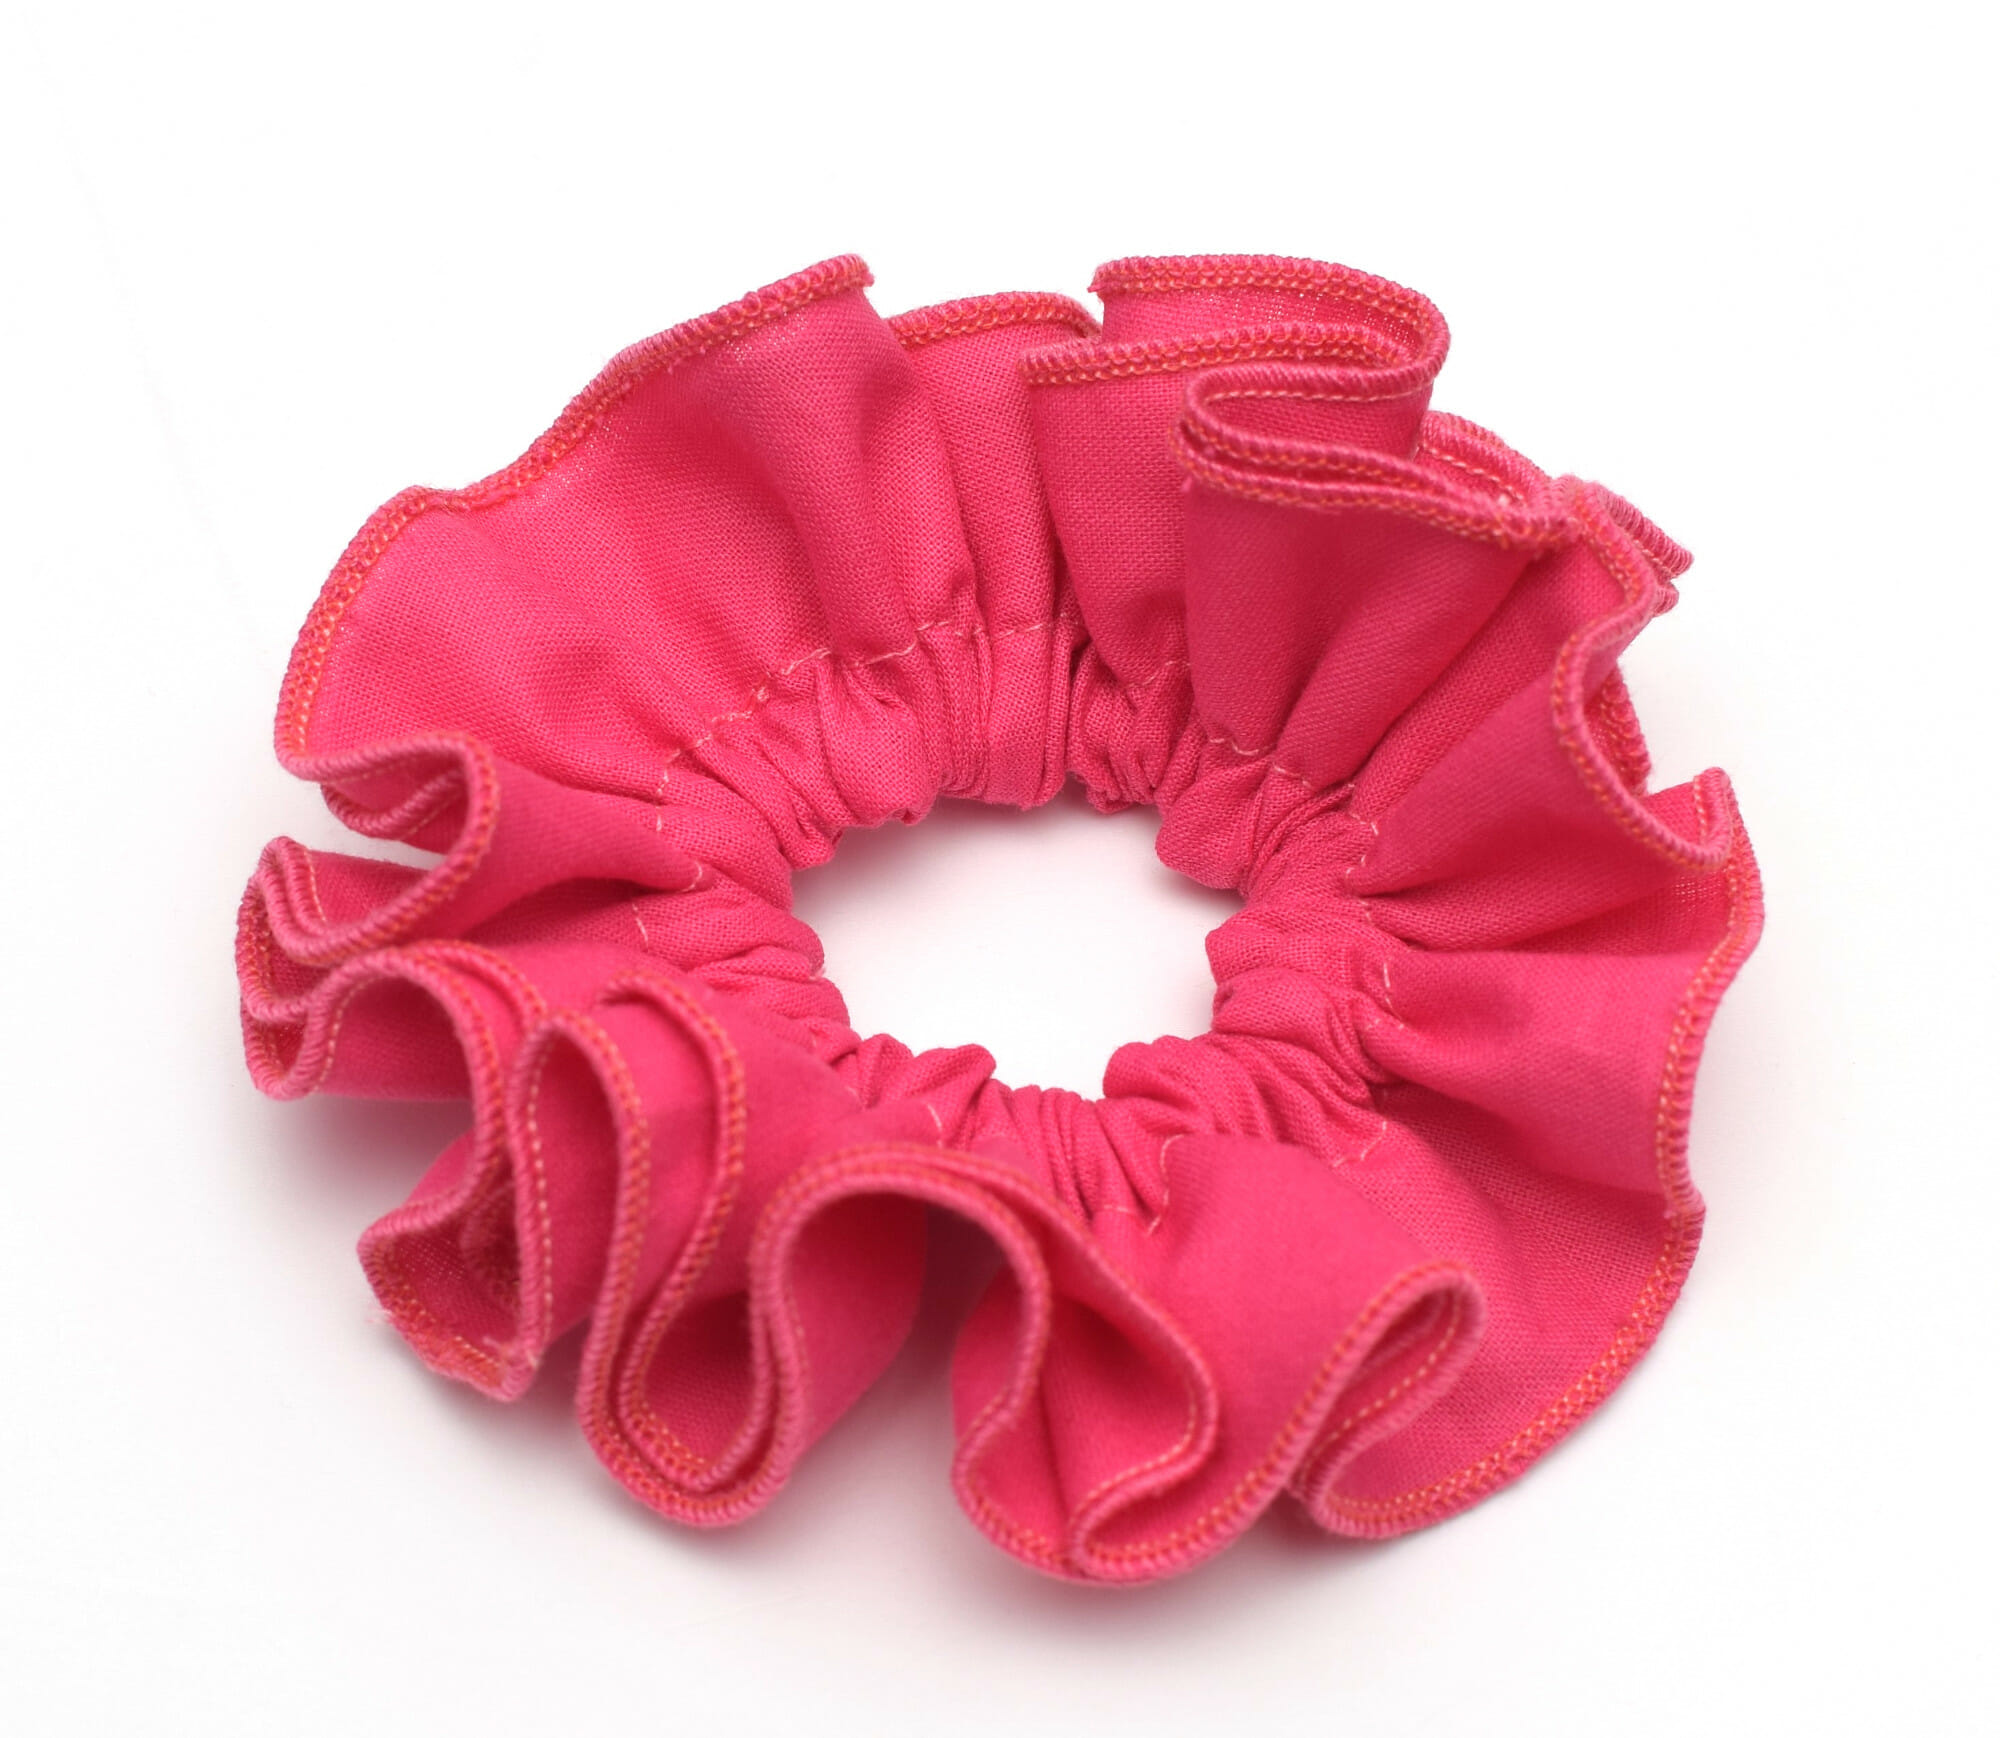
How to make DIY ruffled scrunchies I Can Sew This
Fold the fabric in half, ensuring that the right sides are facing each other. Fold the rectangle in half lengthwise. Leave a 2 inch hole.

DIY Scrunchies 2 Easy Methods Simple Sewing Tutorial Sewing Report
Fold the fabric lengthwise, right sides together, and stitch along the long side using a ¼ up to ⅜″ seam allowance. Web if you want.
DIY How to Make A Scrunchie Free Sewing Pattern Sweet Red Poppy
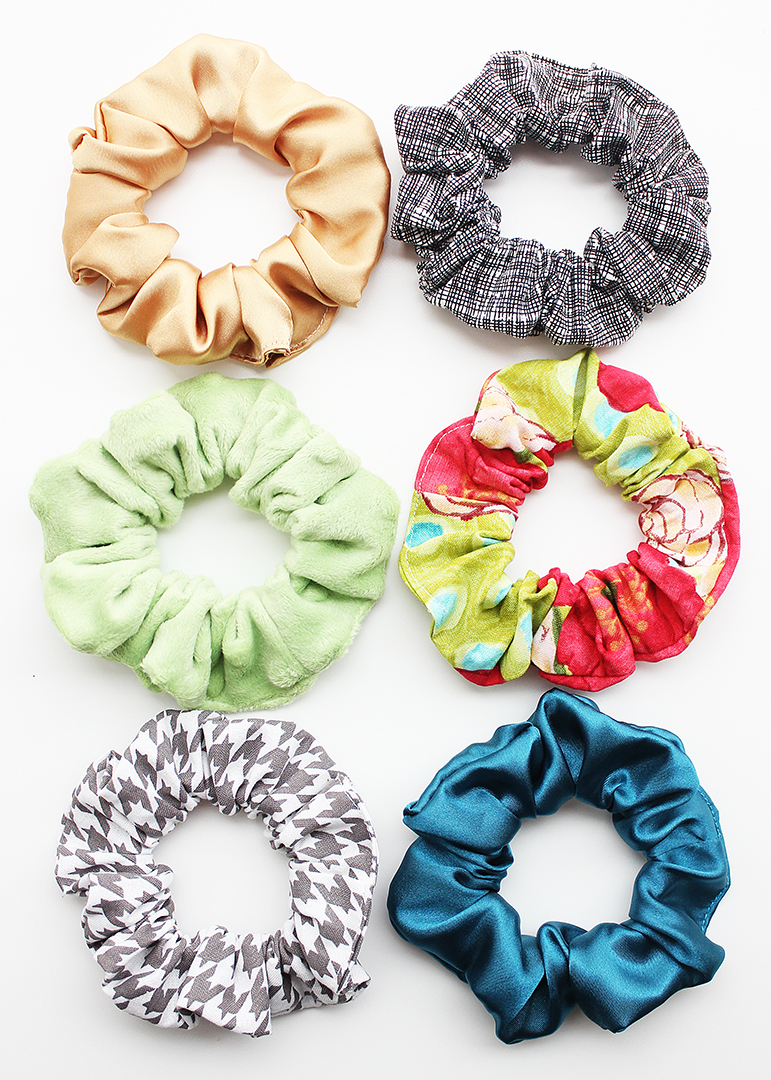
Print out the pattern at 100% or do not scale. Cut the fabric and elastic to length. Roll the seam out and press it flat.

Free Scrunchie Sewing Pattern by Stitched In Wonderland
Thread the elastic through the scrunchie, holding both ends so it begins to gather up the fabric. Before we can begin, get the free pattern.
Easy Scrunchie Pattern Positively Splendid {Crafts, Sewing, Recipes
Print out the pattern at 100% or do not scale. Cut a rectangle of fabric 3” x 16”. You should have a long, skinny rectangular.
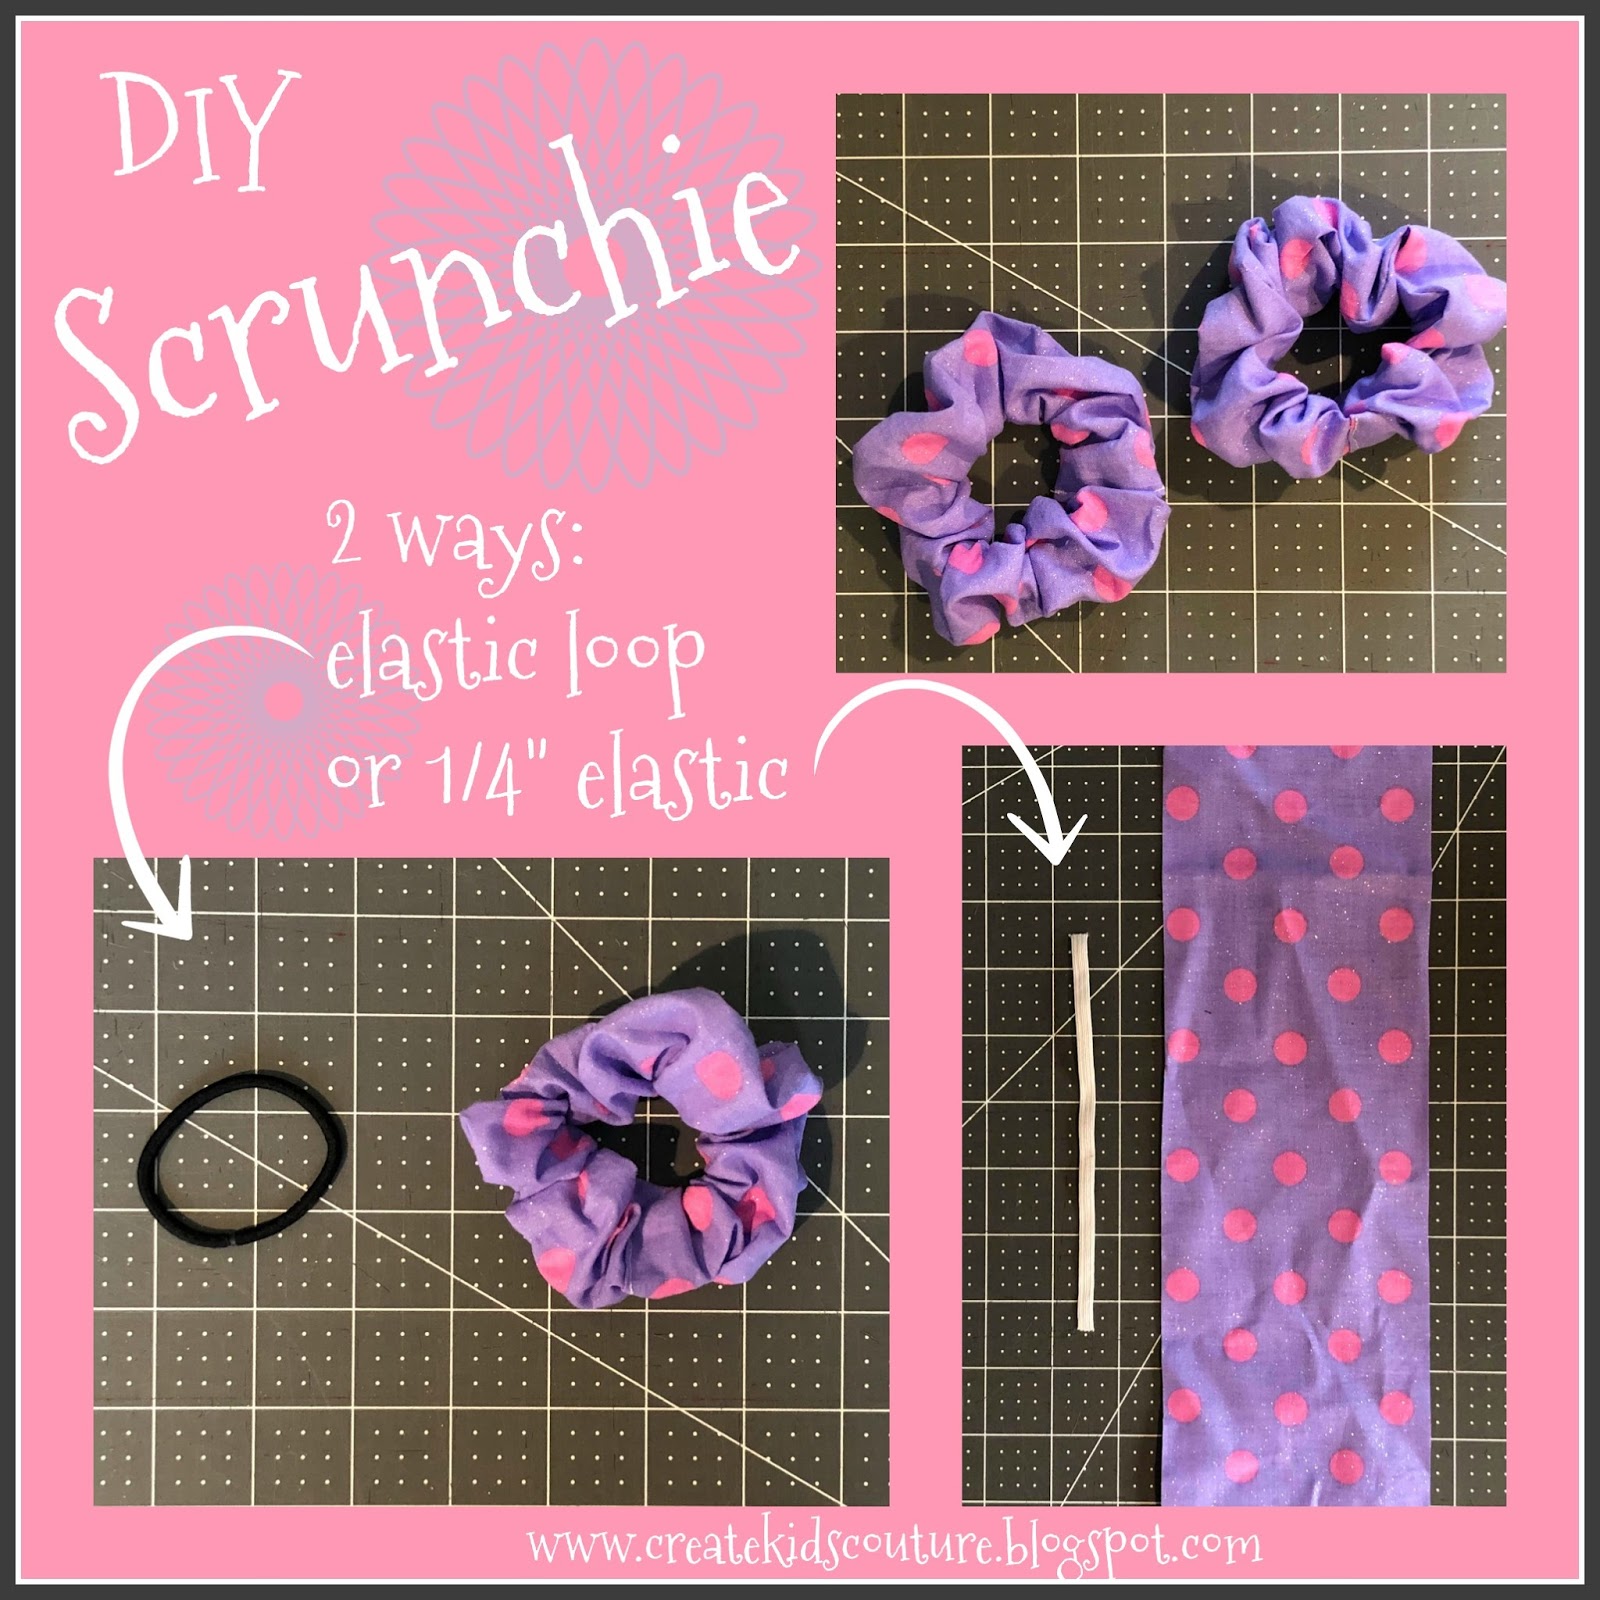
Create Kids Couture DIY Hair Scrunchies
Before we can begin, get the free pattern download via the form above and print it out. Unfold the edges you just ironed. Sew from.

DIY How to Make A Scrunchie in 2020 Sewing patterns free, Scrunchies
Sew the short ends of the scrunchie. In the past few years, diying them has become popular and has started trending more and more. Thread.

{DIY} Scrunchies Diy hair scrunchies, Patterned scrunchie, Diy sewing
Leave a 2 inch hole in the skinny section of the bow to turn it right side out. Place the scrunchie pattern on your fabric.
Roll The Seam Out And Press It Flat And Crisp.
Stitch down one long side with a ¼” seam allowance. Web turn under one narrow end of the fabric piece by ¼″ (0.7 cm) and topstitch so you create a finished edge. Make sure to backstitch at the beginning and end so it doesn’t fall apart later on. Turn the tube right side out.
If You Plan To Make A Lot Of Scrunchies, Print The Pattern On A Thick Paper Such As Cardstock, So The Pattern Lasts Longer.
Match the long edges, and make sure your gap is 1 inch or so and closer to one end. Turn one scrunchie end 1/2″ inward, toward wrong side. Use safety pin to thread 8″ length of elastic through tube. Cut the pattern out of the paper.
In The Past Few Years, Diying Them Has Become Popular And Has Started Trending More And More.
Begin by cutting the fabric and elastic to the appropriate size. Weave the safety pin through the inside of the tube, and pull it out through the opposite end. Insert other scrunchie end and pin neatly in place. Gently pinch the fabric together and let the glue dry.
Web Stitch Along Raw Edges, Forming Tube.
Sew along the long edge of the fabric, leaving a small opening. Web watch this super easy tutorial on how to make a scrunchie. Fold fabric in half and sew the long edge, leaving a gap in the seam. Web sew the extra tie piece.