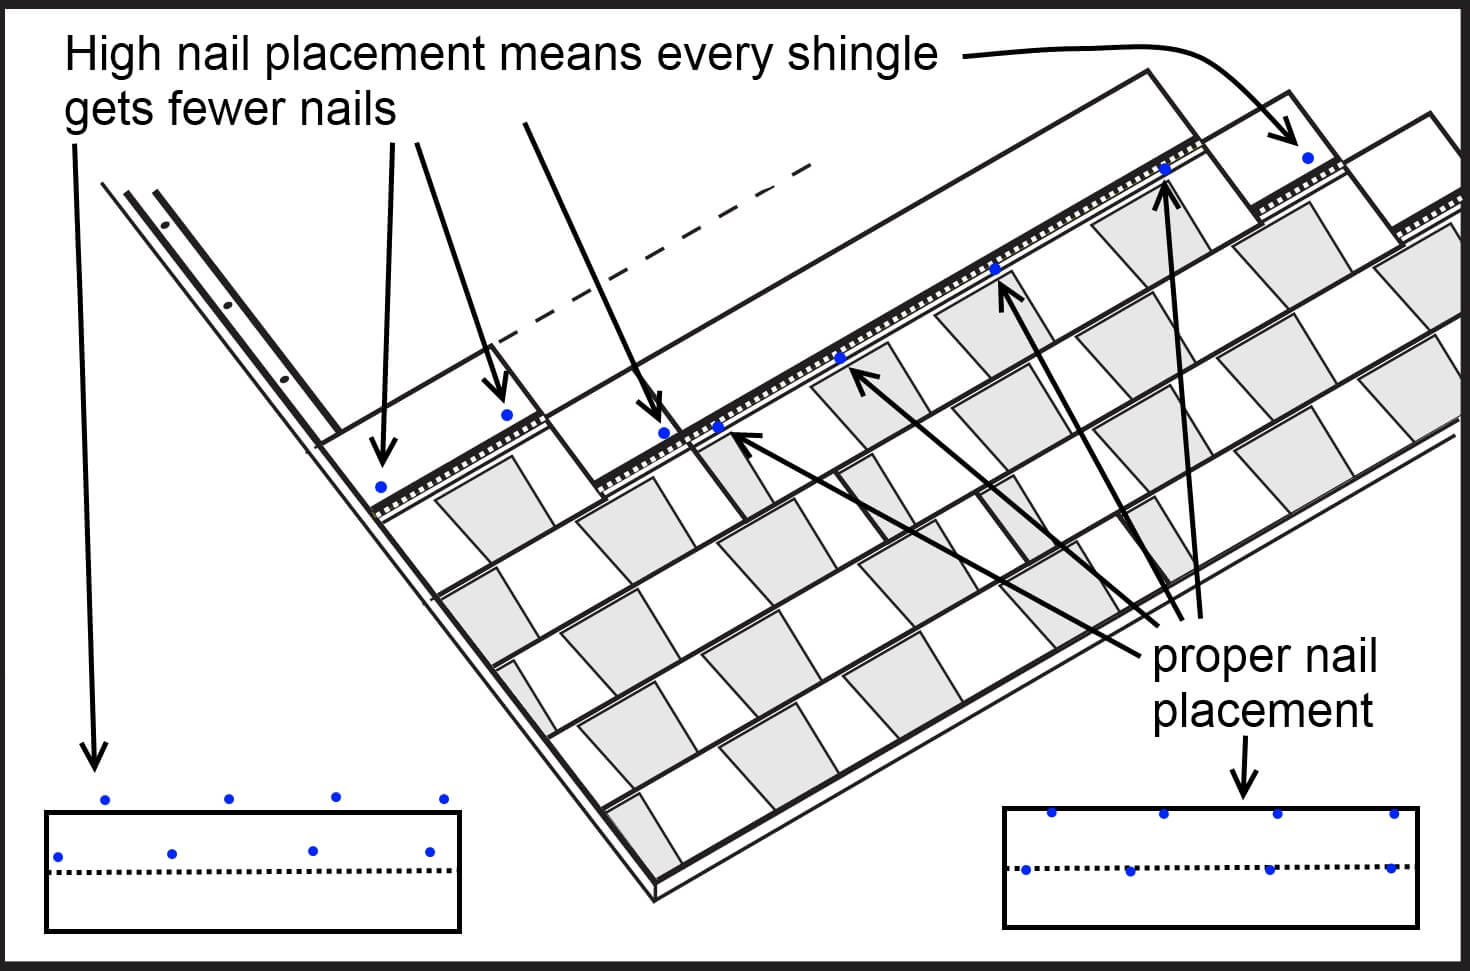
Roof Shingle Nail Pattern - Web when nailing shingles, roofers mostly choose from among these four common types of roofing nail: Nails must not be exposed (visible) on the finished roof. You want them away from the middle of each individual shingle. These shingles must be installed in a specific way to always yield the hexagonal pattern. Another disadvantage of racking a roof is the zipper appearance that the pattern can display in the finished roof. At intermediate supports, fasten panels 12 inches on center. This row should peek over the eaves by about a half inch (1.3 centimeters). That ensures the gap in the shingle. Web included below is a copy of iko’s nailing instructions found on each package of iko three tab shingles. Properly fastened shingles resist both high wind uplift damage as well as “slipping” which can occur when a very steep roof is fastened inadequately and gravity pulls the roof shingle out of place causing the.

Asphalt Roof Shingling Basics JLC Online
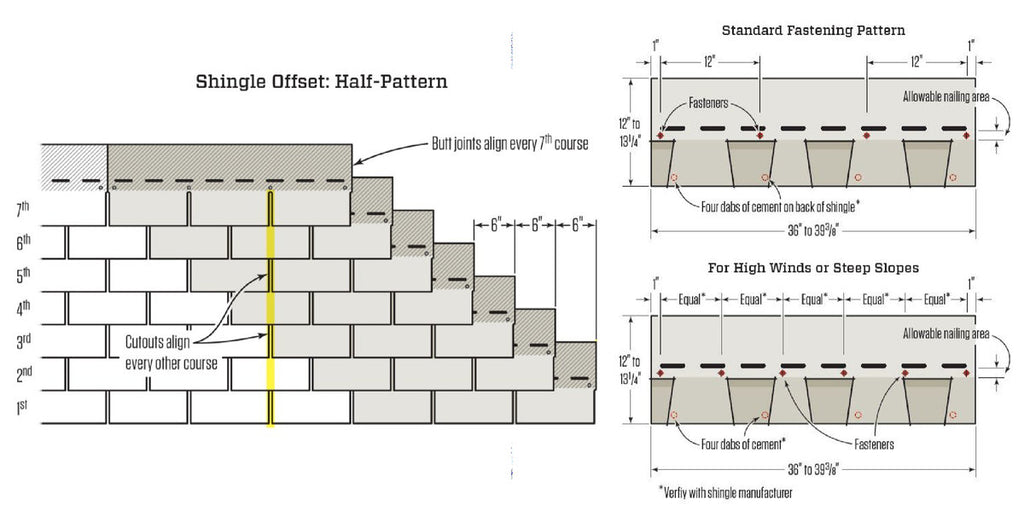
Trim off 10″, 20″, and 30″ respectively, from the left end of the starting shingle and apply to overhang rake edge by 1/4″ to 3/4″..

The standard nailing for asphalt shingles is a fournail pattern, with
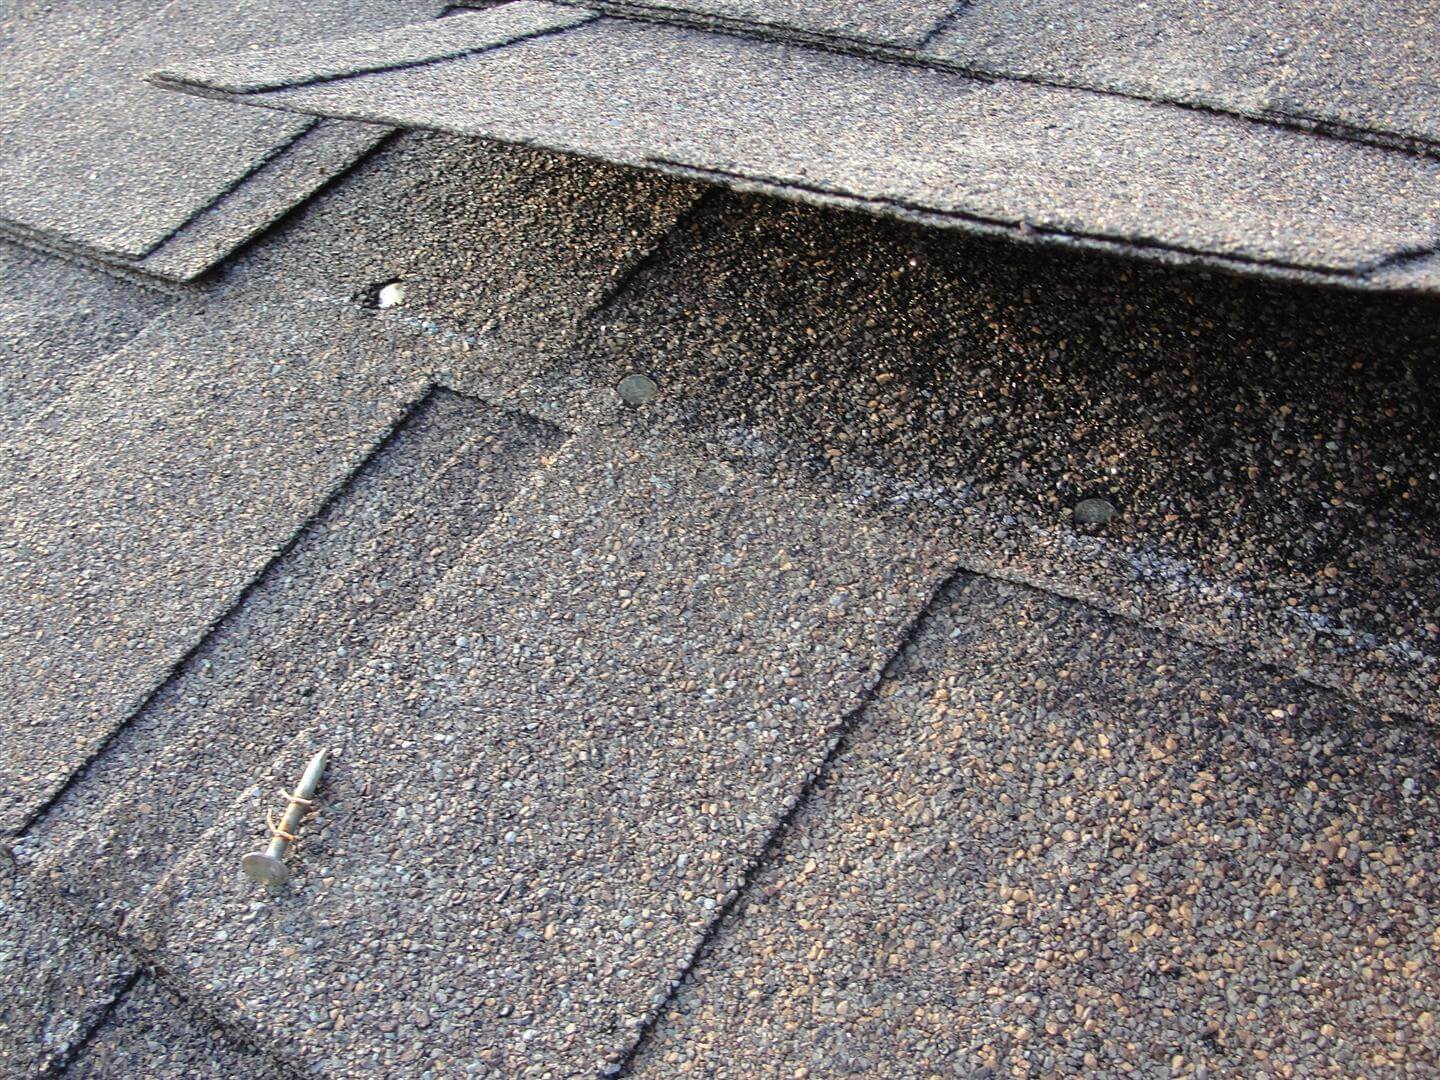
Web all nails must be driven straight with the heads flush to the shingle surface, never cutting into the shingle. Trim 6 1/2 inches off.
Roof Shingle LayOut and Nailing Patterns GutterBrush
As you continue, follow the pattern of lining a full shingle up against the next and then nailing it into place. You want them away.

How to Shingle a Shed With 3 Tab and Architectural Shingles
Nails must not be exposed (visible) on the finished roof. In high wind areas more fasteners may be required. So, your next course of shingles.

Roof Shingle LayOut and Nailing Patterns GutterBrush
Continue each course across the roof with full shingles butting ends loosely. Steep slope use six nails and four spots of asphalt roofing cement for.
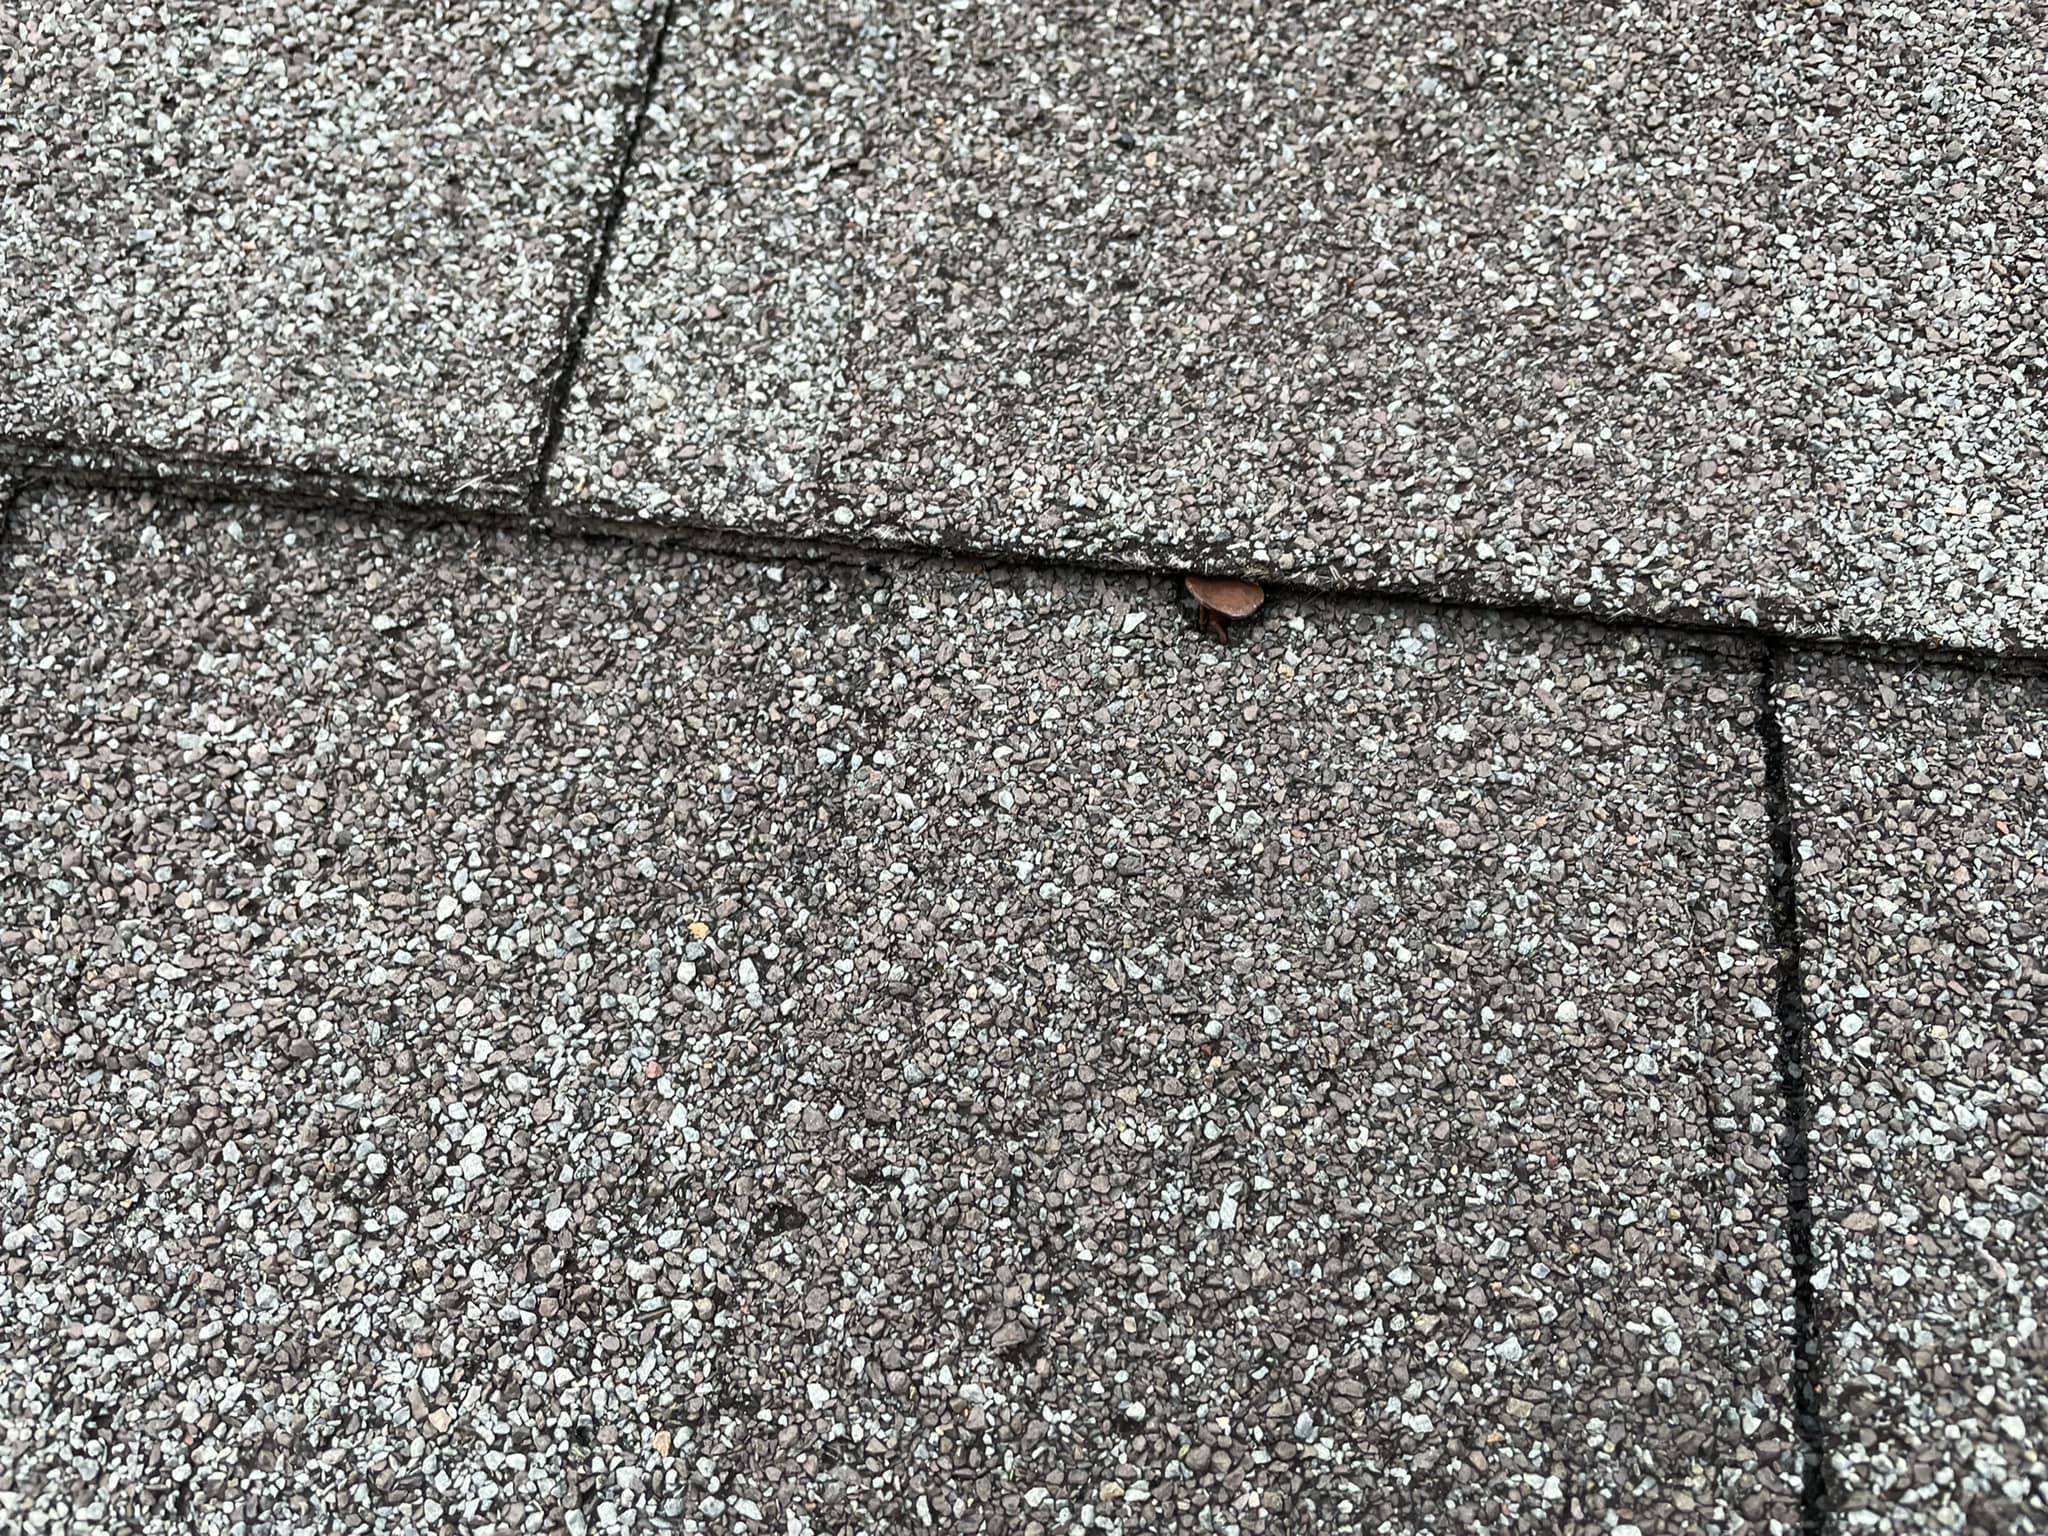
Improper Shingle Nailing
So, your next course of shingles should cover the nails by 1 inch vertically. Obviously, the roof nails are intended to hold the roof shingle.
Shingle Nailing Pattern McToolman
Iko armourshield shingles from europe offer a distinctive hexagonal shape, and also incorporate a shadow band for additional depth aesthetics. If you are using a.
Improper shingle nailing Structure Tech Home Inspections
Steep slope use six nails and four spots of asphalt roofing cement for every full shingle for every full shingle as shown below. Hammer one.

HOW TO INSTALL 6 NAILS PER SHINGLE YouTube
Keep your nails on either side of the gap. Fasten with two (2) nails, one (1) on each side, 3⁄4 (19 mm) behind the cutout.
Seaside Heights Roofers How to properly nailinstall GAF Timberline
Web set the air compressor and gun depth setting lower. As you continue, follow the pattern of lining a full shingle up against the next.
Snap A Horizontal Chalk Line Over The Starting Row To Use As A Guide.
Begin at the lower left corner of your roof, laying your first row of shingles. Nails must not be exposed (visible) on the finished roof. [2] cut six inches off the length of the first starter shingle nailed on, then use the rest of them full size. Trim off 10″, 20″, and 30″ respectively, from the left end of the starting shingle and apply to overhang rake edge by 1/4″ to 3/4″.
The Strikezone™ Nailing Area Provides An Up To 600% Larger Nailing Target¹ For Improved Accuracy, And Up To 30% Faster Nail Fastening.² By Nailing In The Strikezone Nailing Area, Nails Pass Through Two Courses Of Shingles For Secondary Fastening.
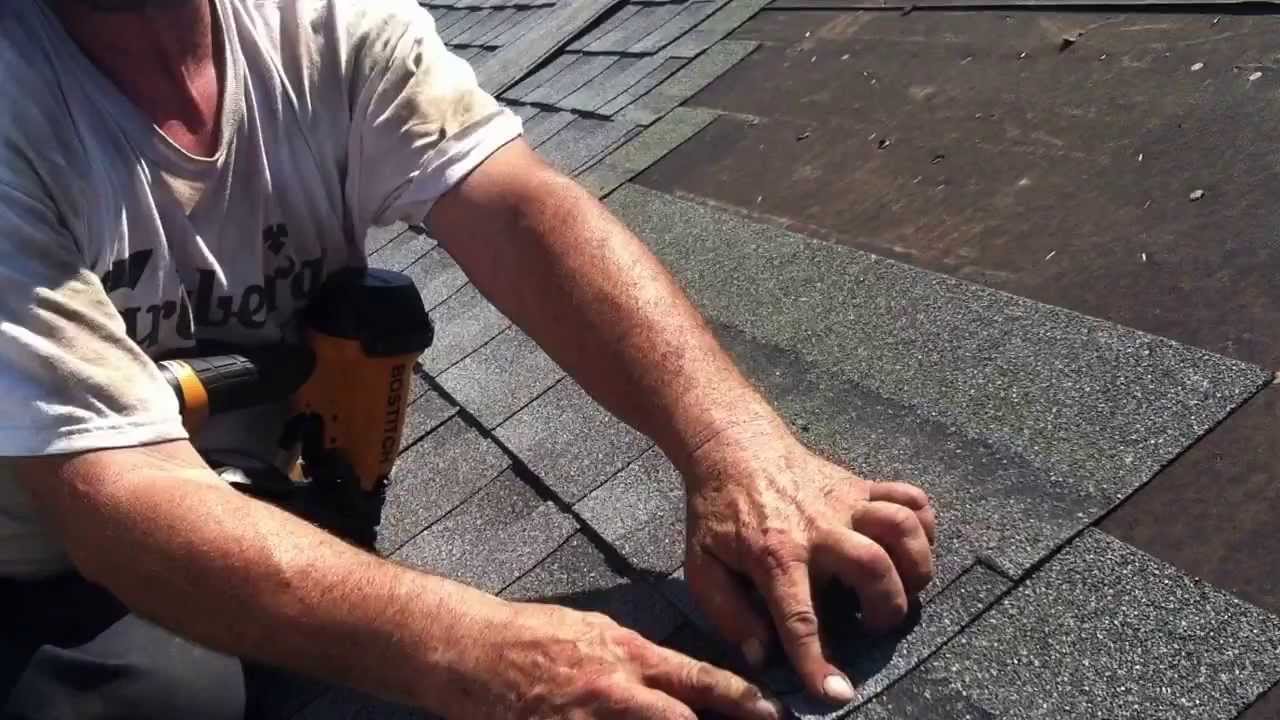
If you are using a power nailer, drive nails by squeezing the trigger and bouncing the nailer's tip onto the shingle. Web included below is a copy of iko’s nailing instructions found on each package of iko three tab shingles. That ensures the gap in the shingle. Use 5 fasteners for each shingle, placed 2 to 3 inches up from eaves edge.
Web All Nails Must Be Driven Straight With The Heads Flush To The Shingle Surface, Never Cutting Into The Shingle.
At intermediate supports, fasten panels 12 inches on center. Secure each shingle with roofing nails at the top edge of the tile. With the increased size and visibility of the nailing area, workers were able to fasten the. Then secure another nail an inch above each cutout.
These Shingles Must Be Installed In A Specific Way To Always Yield The Hexagonal Pattern.
Keep your nails on either side of the gap. Hammer one nail about 2 inches from each end of a shingle. Drive a nail at one end first, then drive the others. Install the second, third and fourth courses: