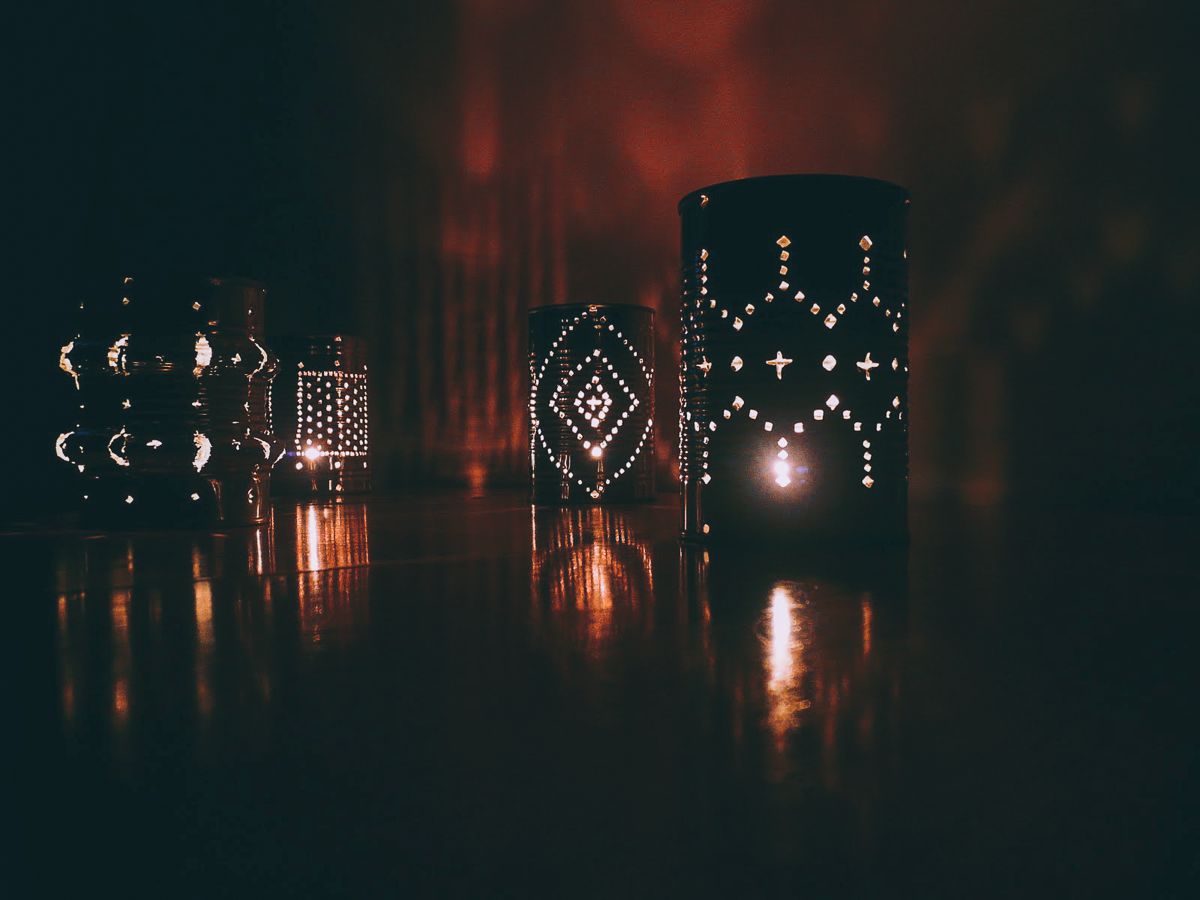
Printable Tin Can Lantern Patterns - Now you'll want to choose the shape that you want to create. With a hammer and an awl (for dotted lines) or a chisel (for wider slits), puncture the metal. Add a little sand to the bottom of can, place a votive in it and voila! Hook the ends through holes in the cans and crimp them into hooks with your pliers. Drill two holes at the top of the can directly across from one another that are large enough for the wire to go through. Once cans are dry, they are ready to use. Once you have finished your design place the tin. You can leave the can as is or paint them. I filled them with water and placed them in the freezer. Web fill each can with water and place in the freezer, allowing the water to freeze completely.

Printable Tin Lantern Patterns Printable Word Searches
Web what you need to make make punched tin can lanterns. Web help, carefully use the nail and hammer to make small holes all over.

printable tin can lantern patterns
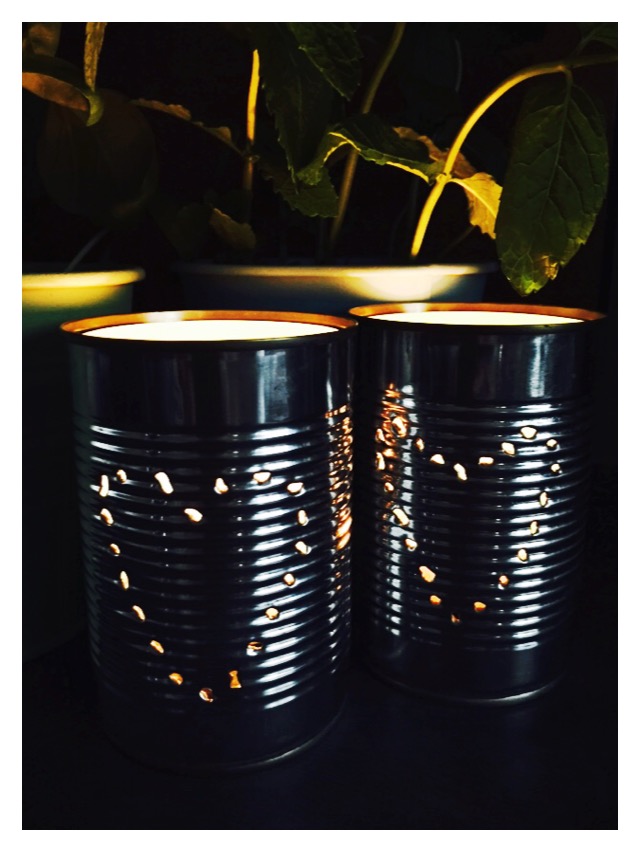
I used a star, but you can do whatever form you want for the holes. Directions for how to make lanterns: Empty cans (we used.

The Domestic Doozie Tin Can Lantern Tutorial
I gave each a coat of paint using a foam brush. The ice will stop the tin can buckling as you create the design. Drill.

Printable Tin Can Lantern Patterns
Web what you need to make make punched tin can lanterns. The patterns are sized for the average tin can size but could be enlarged.

19 DIY Tin Can Lanterns (Some with Templates) Guide Patterns
Around the can, securing with either tape in the back or use a rubber band. The more holes, the more light will shine through. With.
19 DIY Tin Can Lanterns (Some with Templates) Guide Patterns
Place the votive candle inside the can. Take out and with a hammer and screw (i found a screw had the sharpest point) place holes.

Printable Tin Can Lantern Patterns
Feed one end of the wire through one. Nails (we used 3 different sizes) pattern printed on paper (i found one online and simplified it.

printable tin can lantern patterns
Web help, carefully use the nail and hammer to make small holes all over the can. Now you'll want to choose the shape that you.
19 DIY Tin Can Lanterns (Some with Templates) Guide Patterns
Stuff the inside of the can with paper towels or an old rag. Web how do you stick? Directions for how to make lanterns: Remove.

Printable Tin Can Lantern Patterns prntbl.concejomunicipaldechinu.gov.co
I grabbed the drill and found a bit with the sharpest edge, i carefully drilled over each dot, creating a hole. Directions for how to.
Web I Drew My Pattern On The Cans Using A Sharpie.
With a hammer and an awl (for dotted lines) or a chisel (for wider slits), puncture the metal. Be sure to make the handles long enough that the heat from the candles doesn't burn little hands. Remove all labels and glue from the tin can and clean thoroughly. The ice will stop the tin can buckling as you create the design.
Sometimes Called “Poor Man’s Silver,” Due To Its Inexpensiveness, Tin Was Extremely Popular During The Colonial Period.
Nails (we used 3 different sizes) pattern printed on paper (i found one online and simplified it but you could freehand one) towel; A towel to stabilize the can during hammering. Feed one end of the wire through one. Then you just put the candles in them and set them in your chosen place.
I Gave Each A Coat Of Paint Using A Foam Brush.
(i put mine in our chest freezer.) when frozen solid, use a sharpie to outline a shape to punch, if desired (we weren’t that organized). Web here are the supplies you’ll need: Web tin can lanterns materials • clean empty can • black marker • hammer • nail • votive candle instructions 1. Once cans are dry, they are ready to use.
Directions For How To Make Lanterns:
Layer three or four thin coats until metal is no longer visible. Web once the water is frozen solid, cut a piece of paper to fit onto the height of the can. Stuff the inside of the can with paper towels or an old rag. Take out and with a hammer and screw (i found a screw had the sharpest point) place holes over your lantern.