Painting Checkerboard Pattern - Plan and sketch out your pattern. Remove any furniture, rugs, or debris from the area. Take photos of the potential project walls and sketch designs on top of the photos, she suggests. Web to begin, mow around the perimeter, then find one edge of your lawn and mow in a straight line, using something straight like a fence or wall as a guide if possible. Web place your tape horizontally using a single piece of tape as a spacer and move that spacer every line to keep your spacing even. Web how to paint checkerboard pattern in tight or small spaces. I had all the supplies so this project cost me nothing! Web a great tip is to start at the furthest point from the entryway to the room so you don't get stuck in a corner with no option but to walk over your wet paint. I butted the straight edge on the side to get the most accurate 90. You can now burnish your tape edges using either a clear coat or the same color as your base coat (mine is.

Tinkering Around Painting a Checkerboard without a Stencil
Web lay out your grid on the wall. The first step in painting a checkerboard floor is to prepare the surface. Cut in the edges.
How to Paint a Checkerboard Pattern Hunker
Applying your paint in the squares. Web lay out your grid on the wall. Some ( maybe obvious!) quick notes about the base coat: Depending.
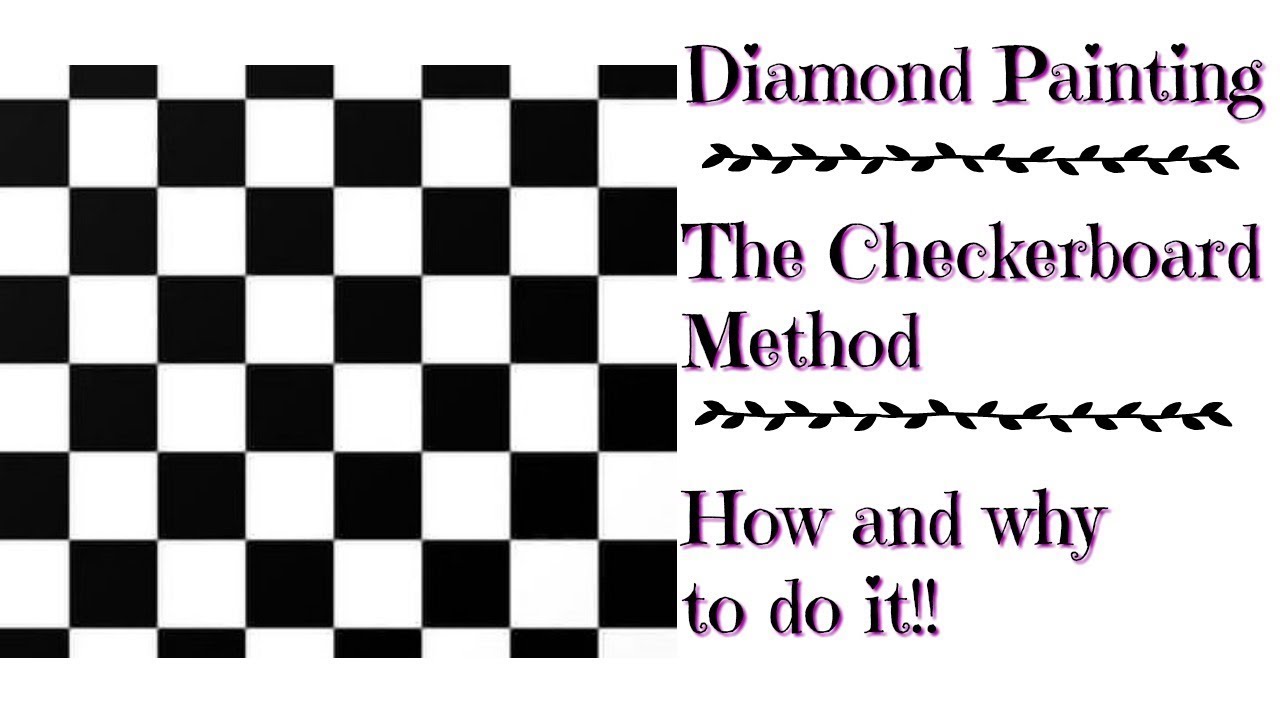
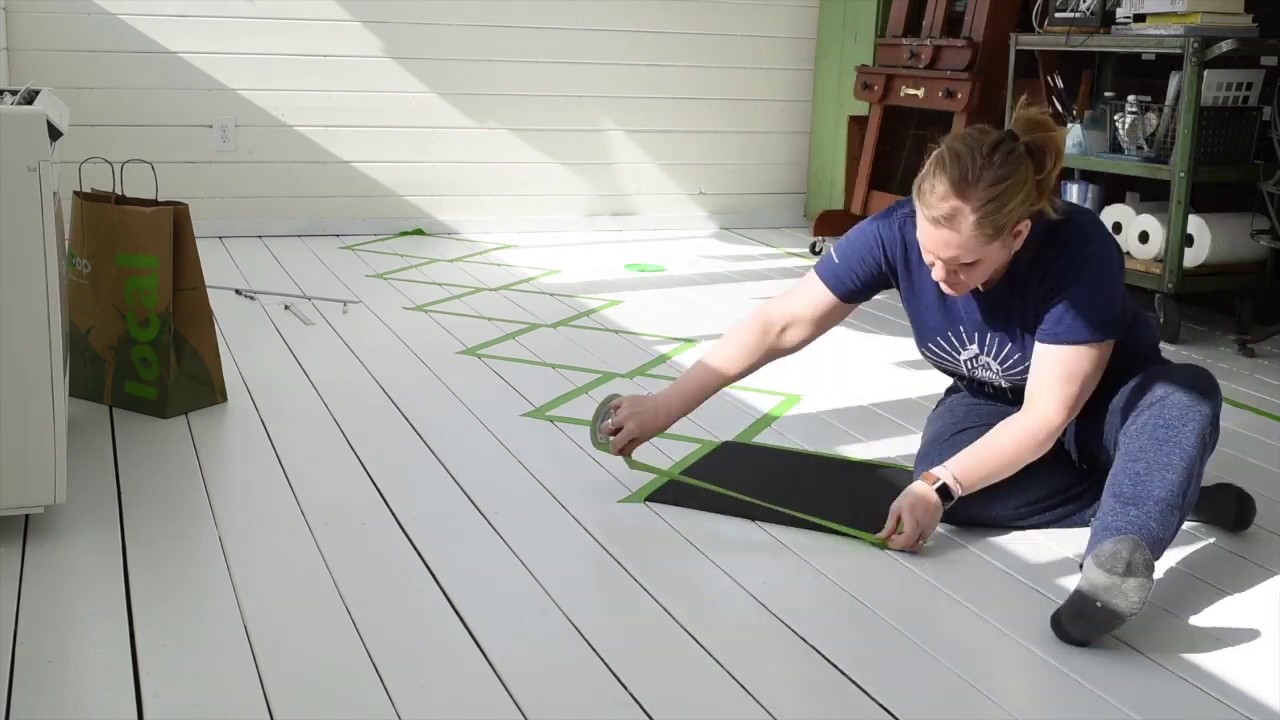
Diamond PaintingCheckerboard MethodHow and why to do it! YouTube
People who rely on dummies, rely on it to learn the critical skills and relevant information necessary for success. The base color should be one.

How To Paint A Checkerboard Pattern On Wood Floor Floor Roma
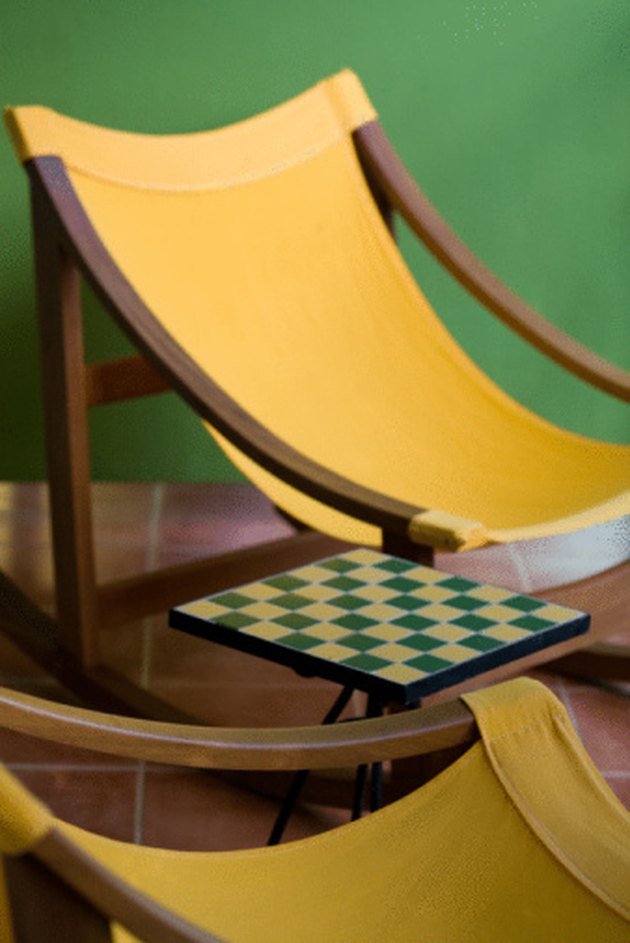
There is a choice of two patterns: Before diving into the checkerboard pattern, apply the base color on the entire table surface. Measure your wall.
How To Paint A Checkerboard Pattern On Wood Floor Floor Roma
Turn 180 degrees once you. Lay out your grid on the wall. Choose your pattern and mark out. Place the where you want to start,.
How To Paint A Checkerboard Pattern On Wood Floor Floor Roma
When you reach the end. Once everything is taped off, wipe off your chalk lines. To achieve this pattern, start mowing in a straight line.

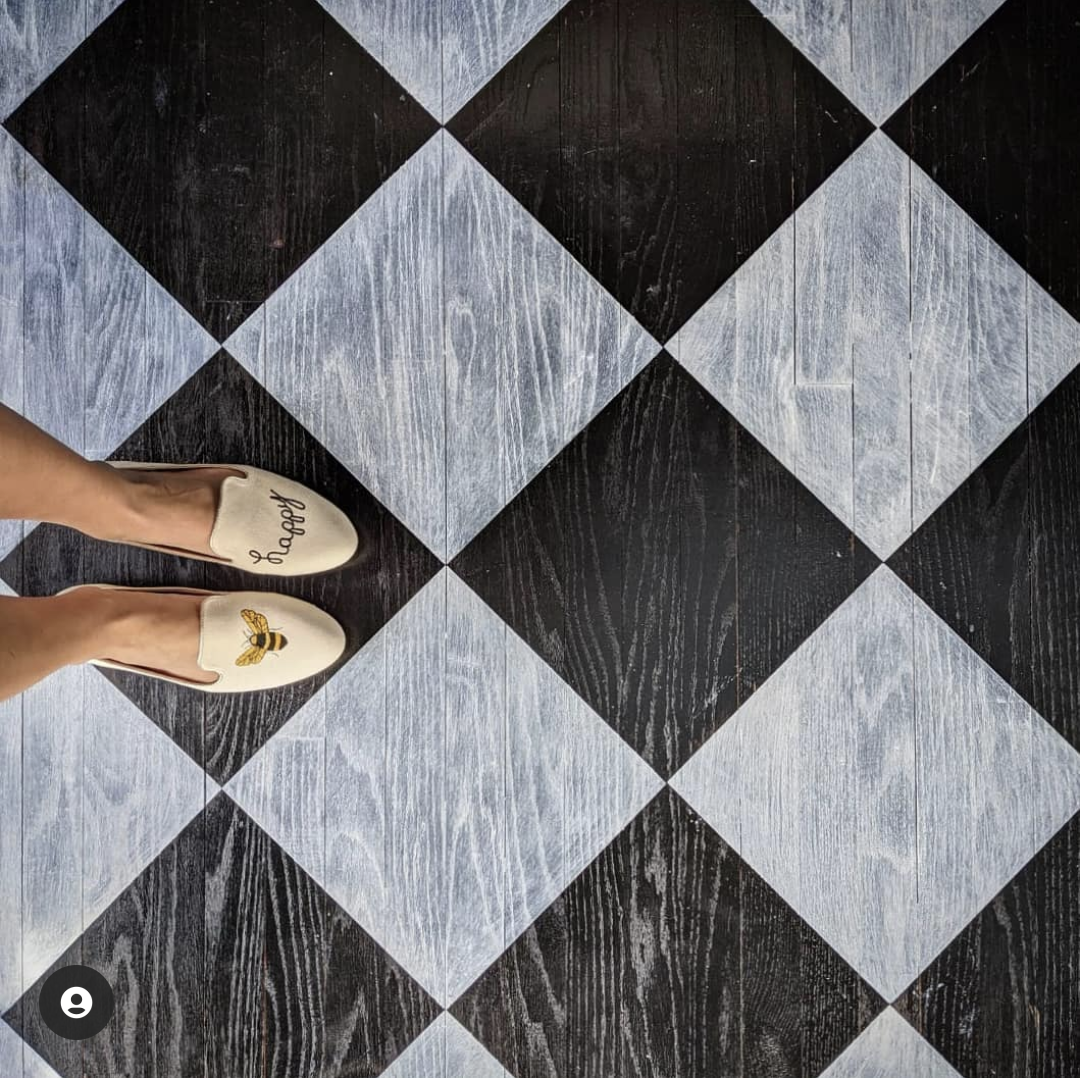
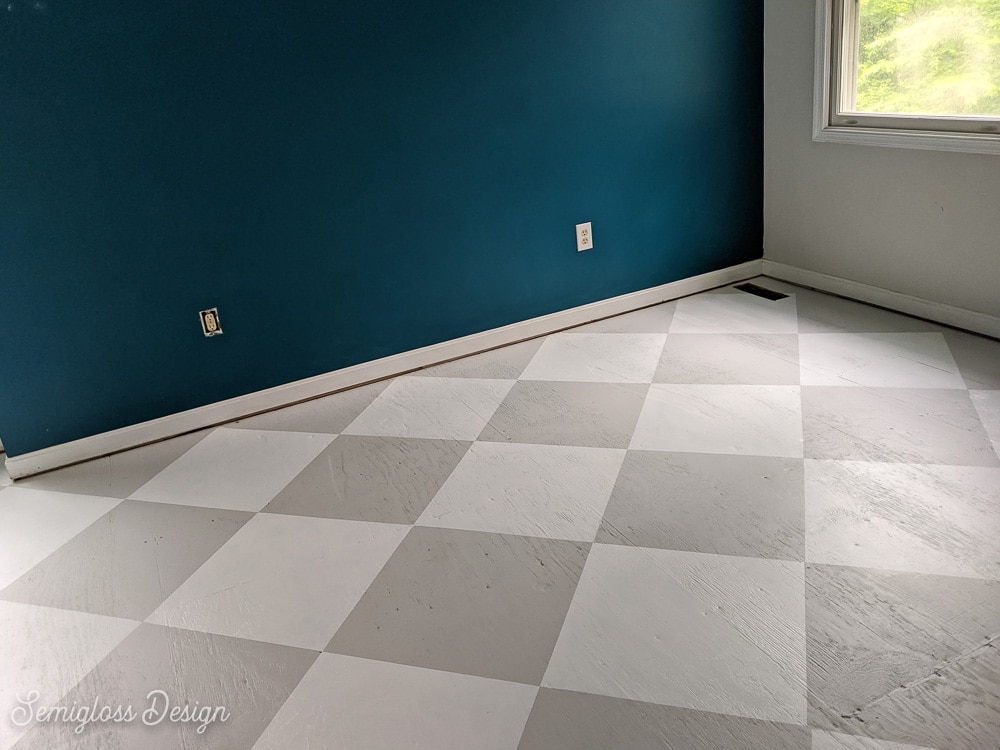
How to Paint a Beautiful Checkerboard Floor Peacock Ridge Farm
Web a great tip is to start at the furthest point from the entryway to the room so you don't get stuck in a corner.
How To Paint A Checkerboard Pattern On Wood Floor Floor Roma
Web starting with the base color. Apply the tape along the marked lines, making sure it adheres well to the wall. Once everything is taped.

Checkered Ceiling Tutorial Not JUST A Housewife
Doing this will give you an idea of how the finished outcome will look. Remember, the less you move your tile, the less chance for.

How To Paint A Checkerboard Pattern On A Table
Cut in the edges of the room with a paint brush. I had all the supplies so this project cost me nothing! Apply the tape.
Choose The Lighter Of The Two Colors In The Checkerboard Pattern.
Take photos of the potential project walls and sketch designs on top of the photos, she suggests. Web choose 2 paint colors for your checkerboard pattern. Web painting a checkerboard is an exciting and creative project that can transform walls, furniture, canvas, or floors into stunning works of art. You can now burnish your tape edges using either a clear coat or the same color as your base coat (mine is.
This Checkerboard Wall Is An Excellent Addition To Any Storage Closet, Bedroom, Bathroom Or Playroom!
Remember, the less you move your tile, the less chance for your trajectory to be off. Measure out 8″ and place two pieces of tape on the zero mark and the 8″ mark. Paint your contrasting darker color over all open squares in rows…. I butted the straight edge on the side to get the most accurate 90.
Cut In The Edges Of The Room With A Paint Brush.
Apply the tape along the marked lines, making sure it adheres well to the wall. Covering over that old nasty floor with a fresh coating is pretty fun. Web starting with the base color. Before diving into the checkerboard pattern, apply the base color on the entire table surface.
Web Whether It's To Pass That Big Test, Qualify For That Big Promotion Or Even Master That Cooking Technique;
Turn 180 degrees once you. Web using a measuring tape, measure over 8″ to the left and make a small pencil mark. By the time all of that is done, the actual painting goes very quickly. The process involves measuring, marking, and taping lines and then moving the tape.