Oven Mitt Pattern - Join the cuff to the oven mitt by enclosing the hem with the cuff. Key to making safe oven mitts is to use 100% cotton fabrics for the main fabric and lining, and include insulated batting as the first layer inside the oven mitt. Print the pattern (make sure to set your printer to 100% scale) and gather your supplies. With the holidays in full swing, i’ve been baking and cooking up a storm. Web prepare the binding. To create 1 oven mitt, you’ll need several fabric rectangles each measuring 9” by 12”, as follows: Pin the binding to the oven mitt, starting from the outer wrist side, working to across the end of the loop, and leaving the extra piece. This is a sponsored post on behalf of joann. Cut 2 layers of each outer fabric and lining fabric. 2 quilting cotton pieces for the exterior, mirrored and at least one inch larger on all sides than the template.
Oven mitt free sewing pattern Merriment Design
Use a 3/8″ seam allowance. Open the long raw edge of the binding, and place it so it encloses the raw edge of the oven.
Oven mitt free sewing pattern Merriment Design
Use pins or clips to secure the rest of the binding around the bottom of the oven mitt. Web prepare the binding. Open up and.
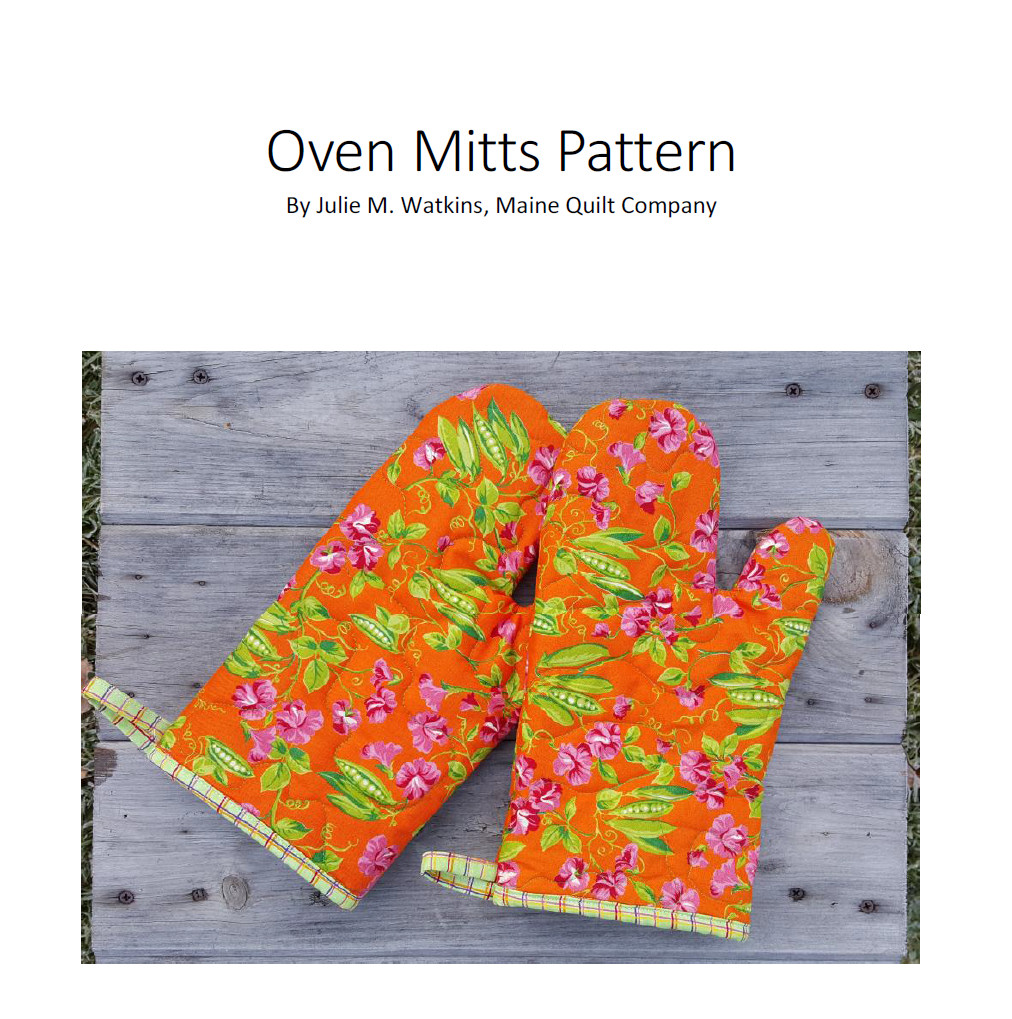
Quilted Oven Mitts PDF Pattern Maine Quilt Company
This is a sponsored post on behalf of joann. Be sure the gloves are mirror image of each other, so cut on a fold or.
free and easy oven mitt pattern Joe, June and Mae
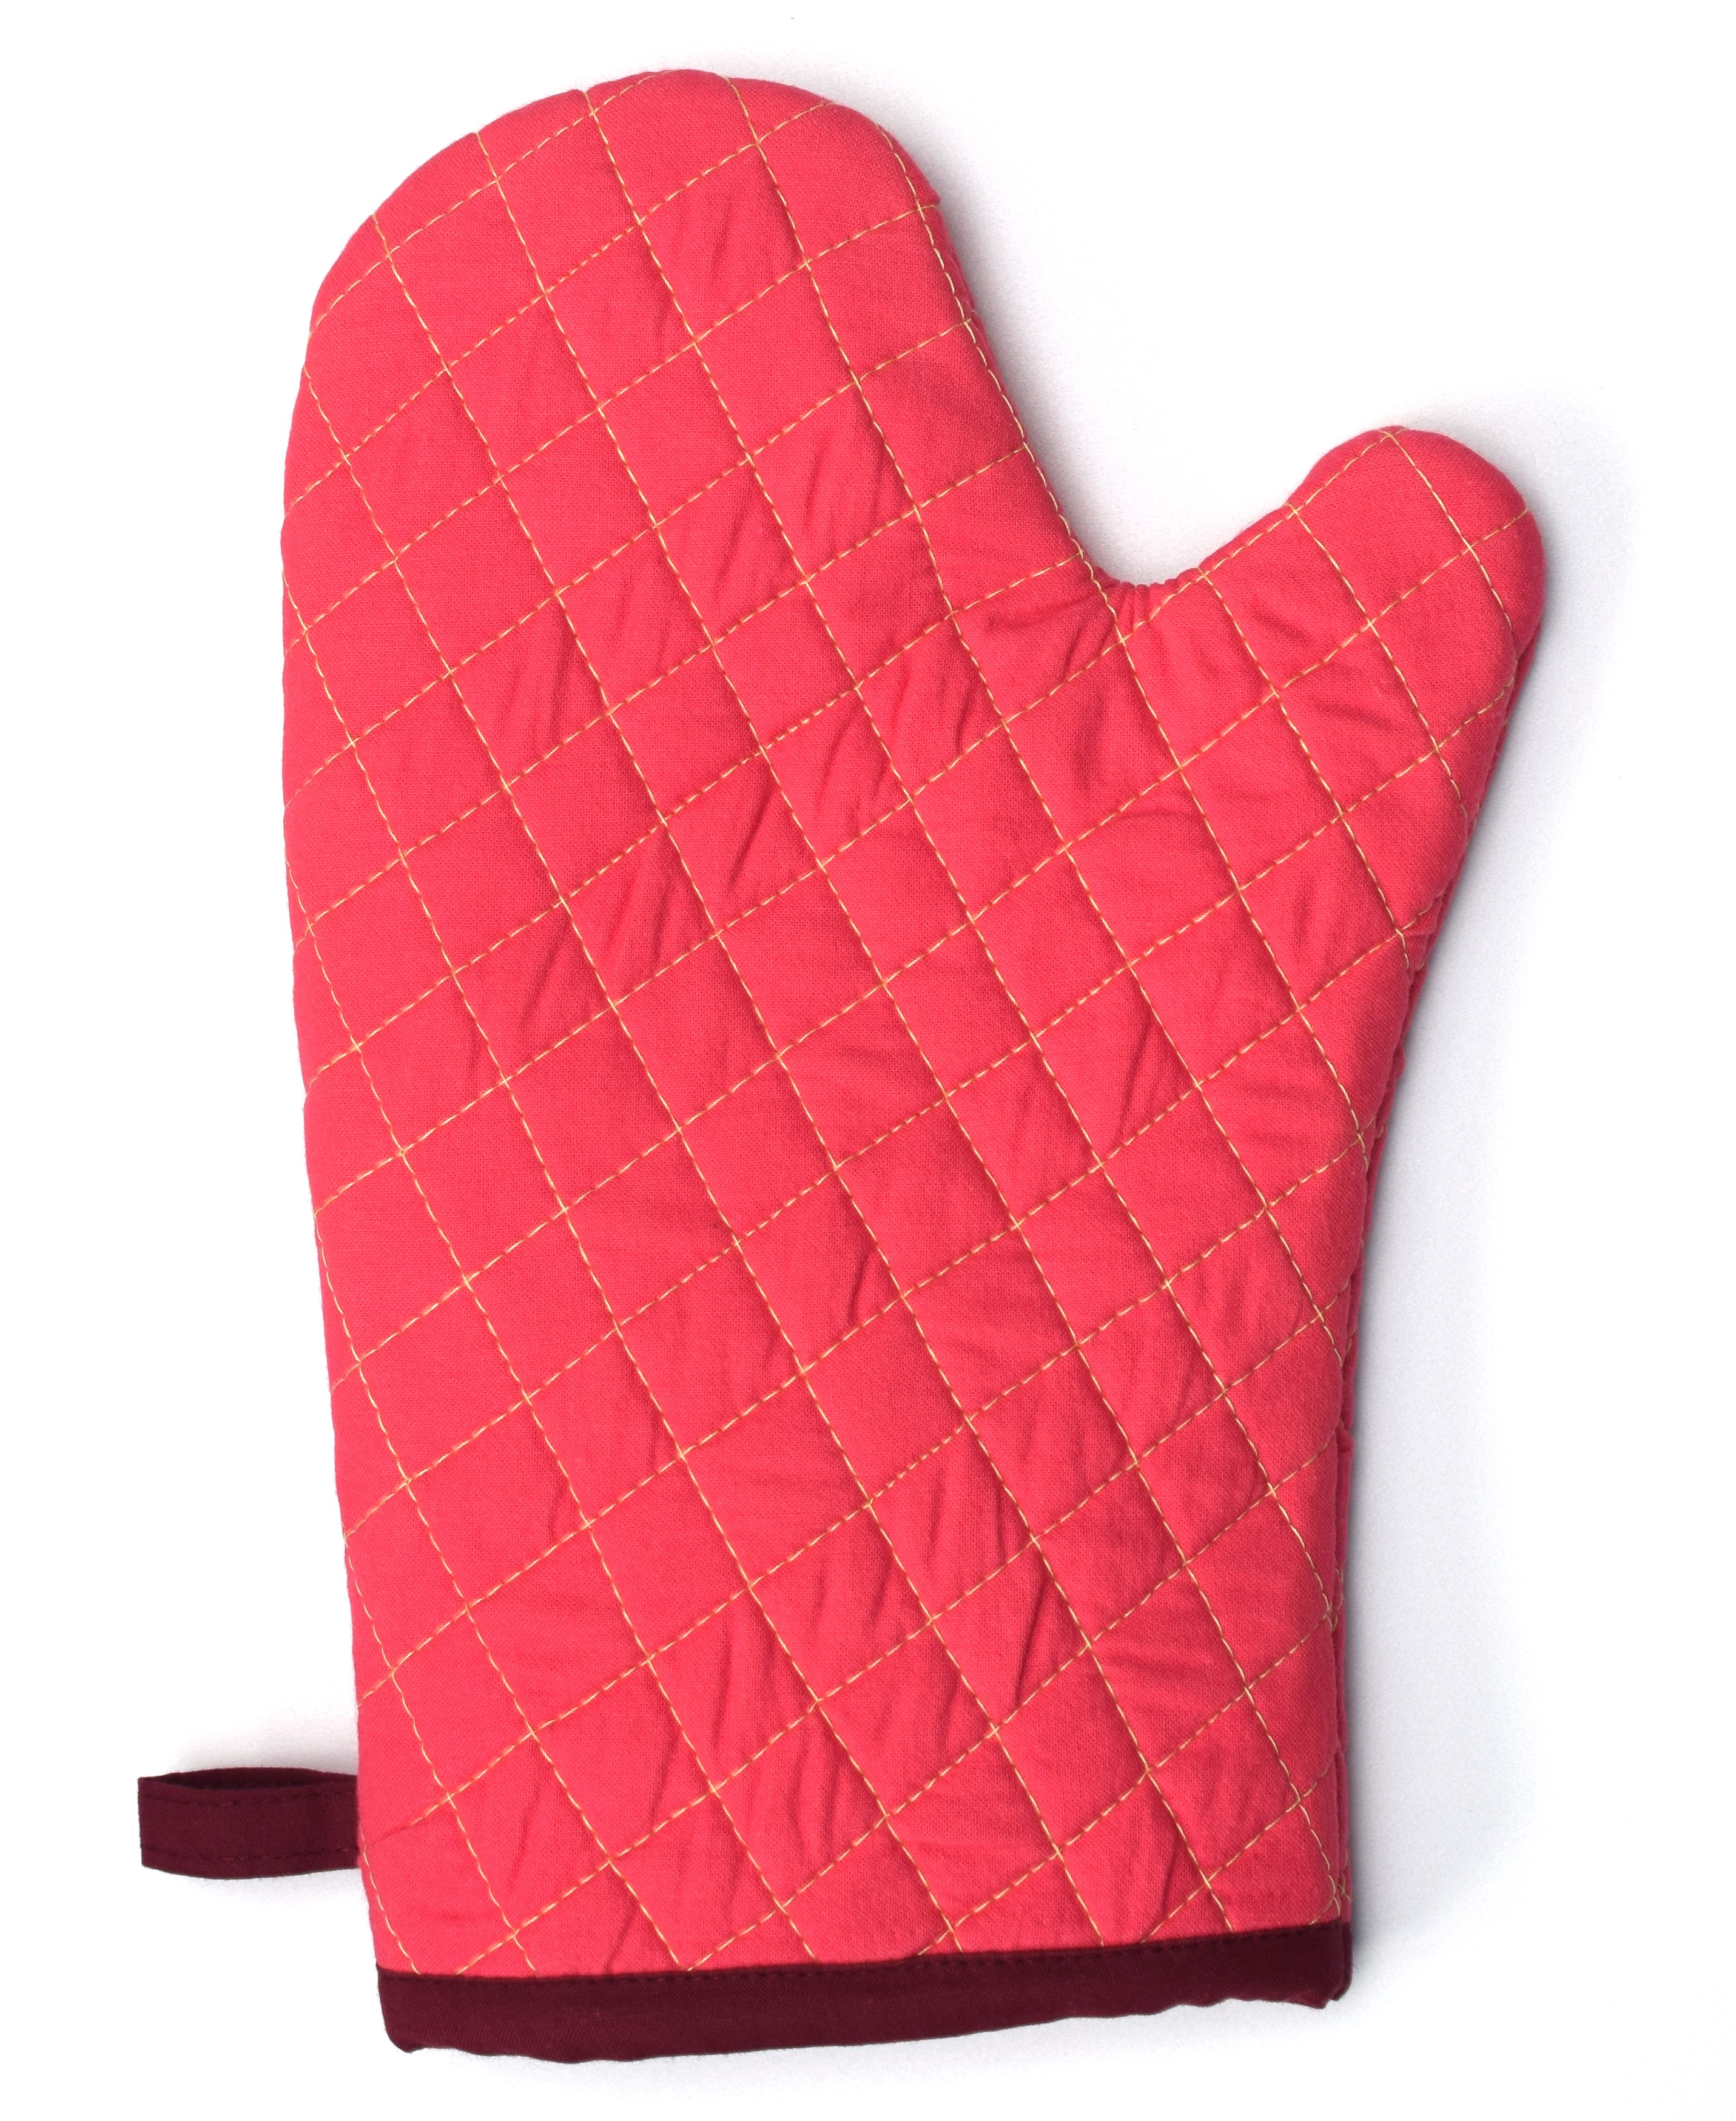
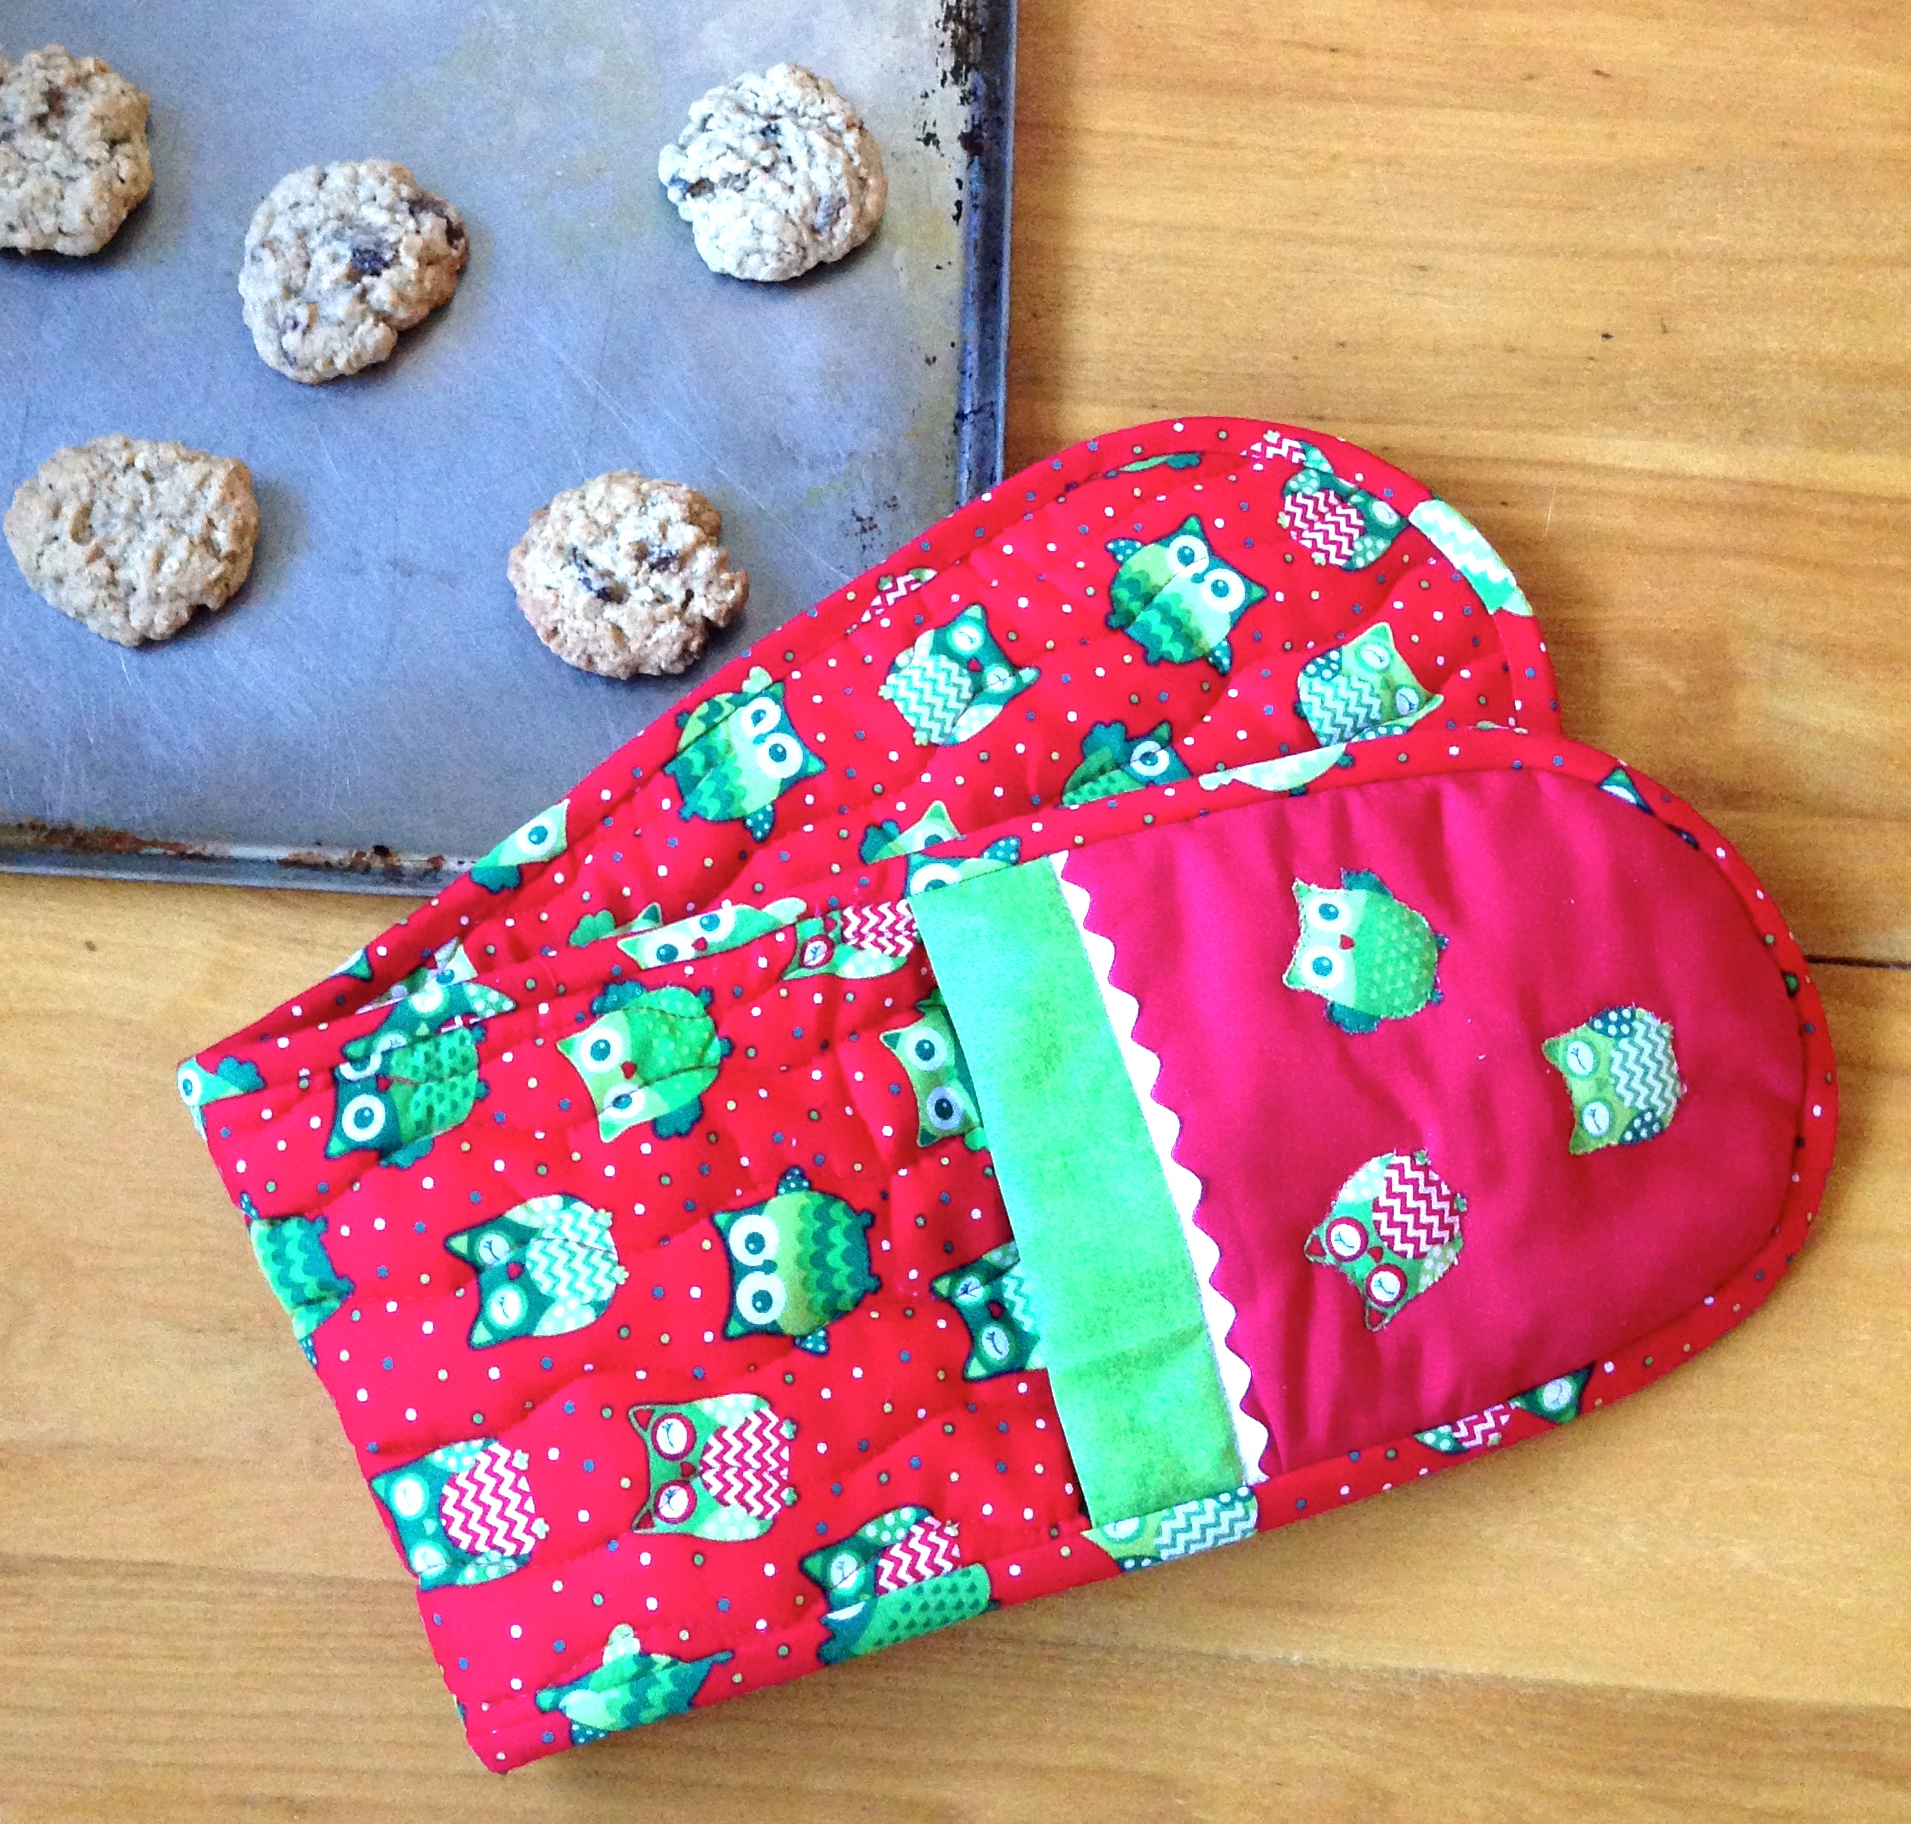
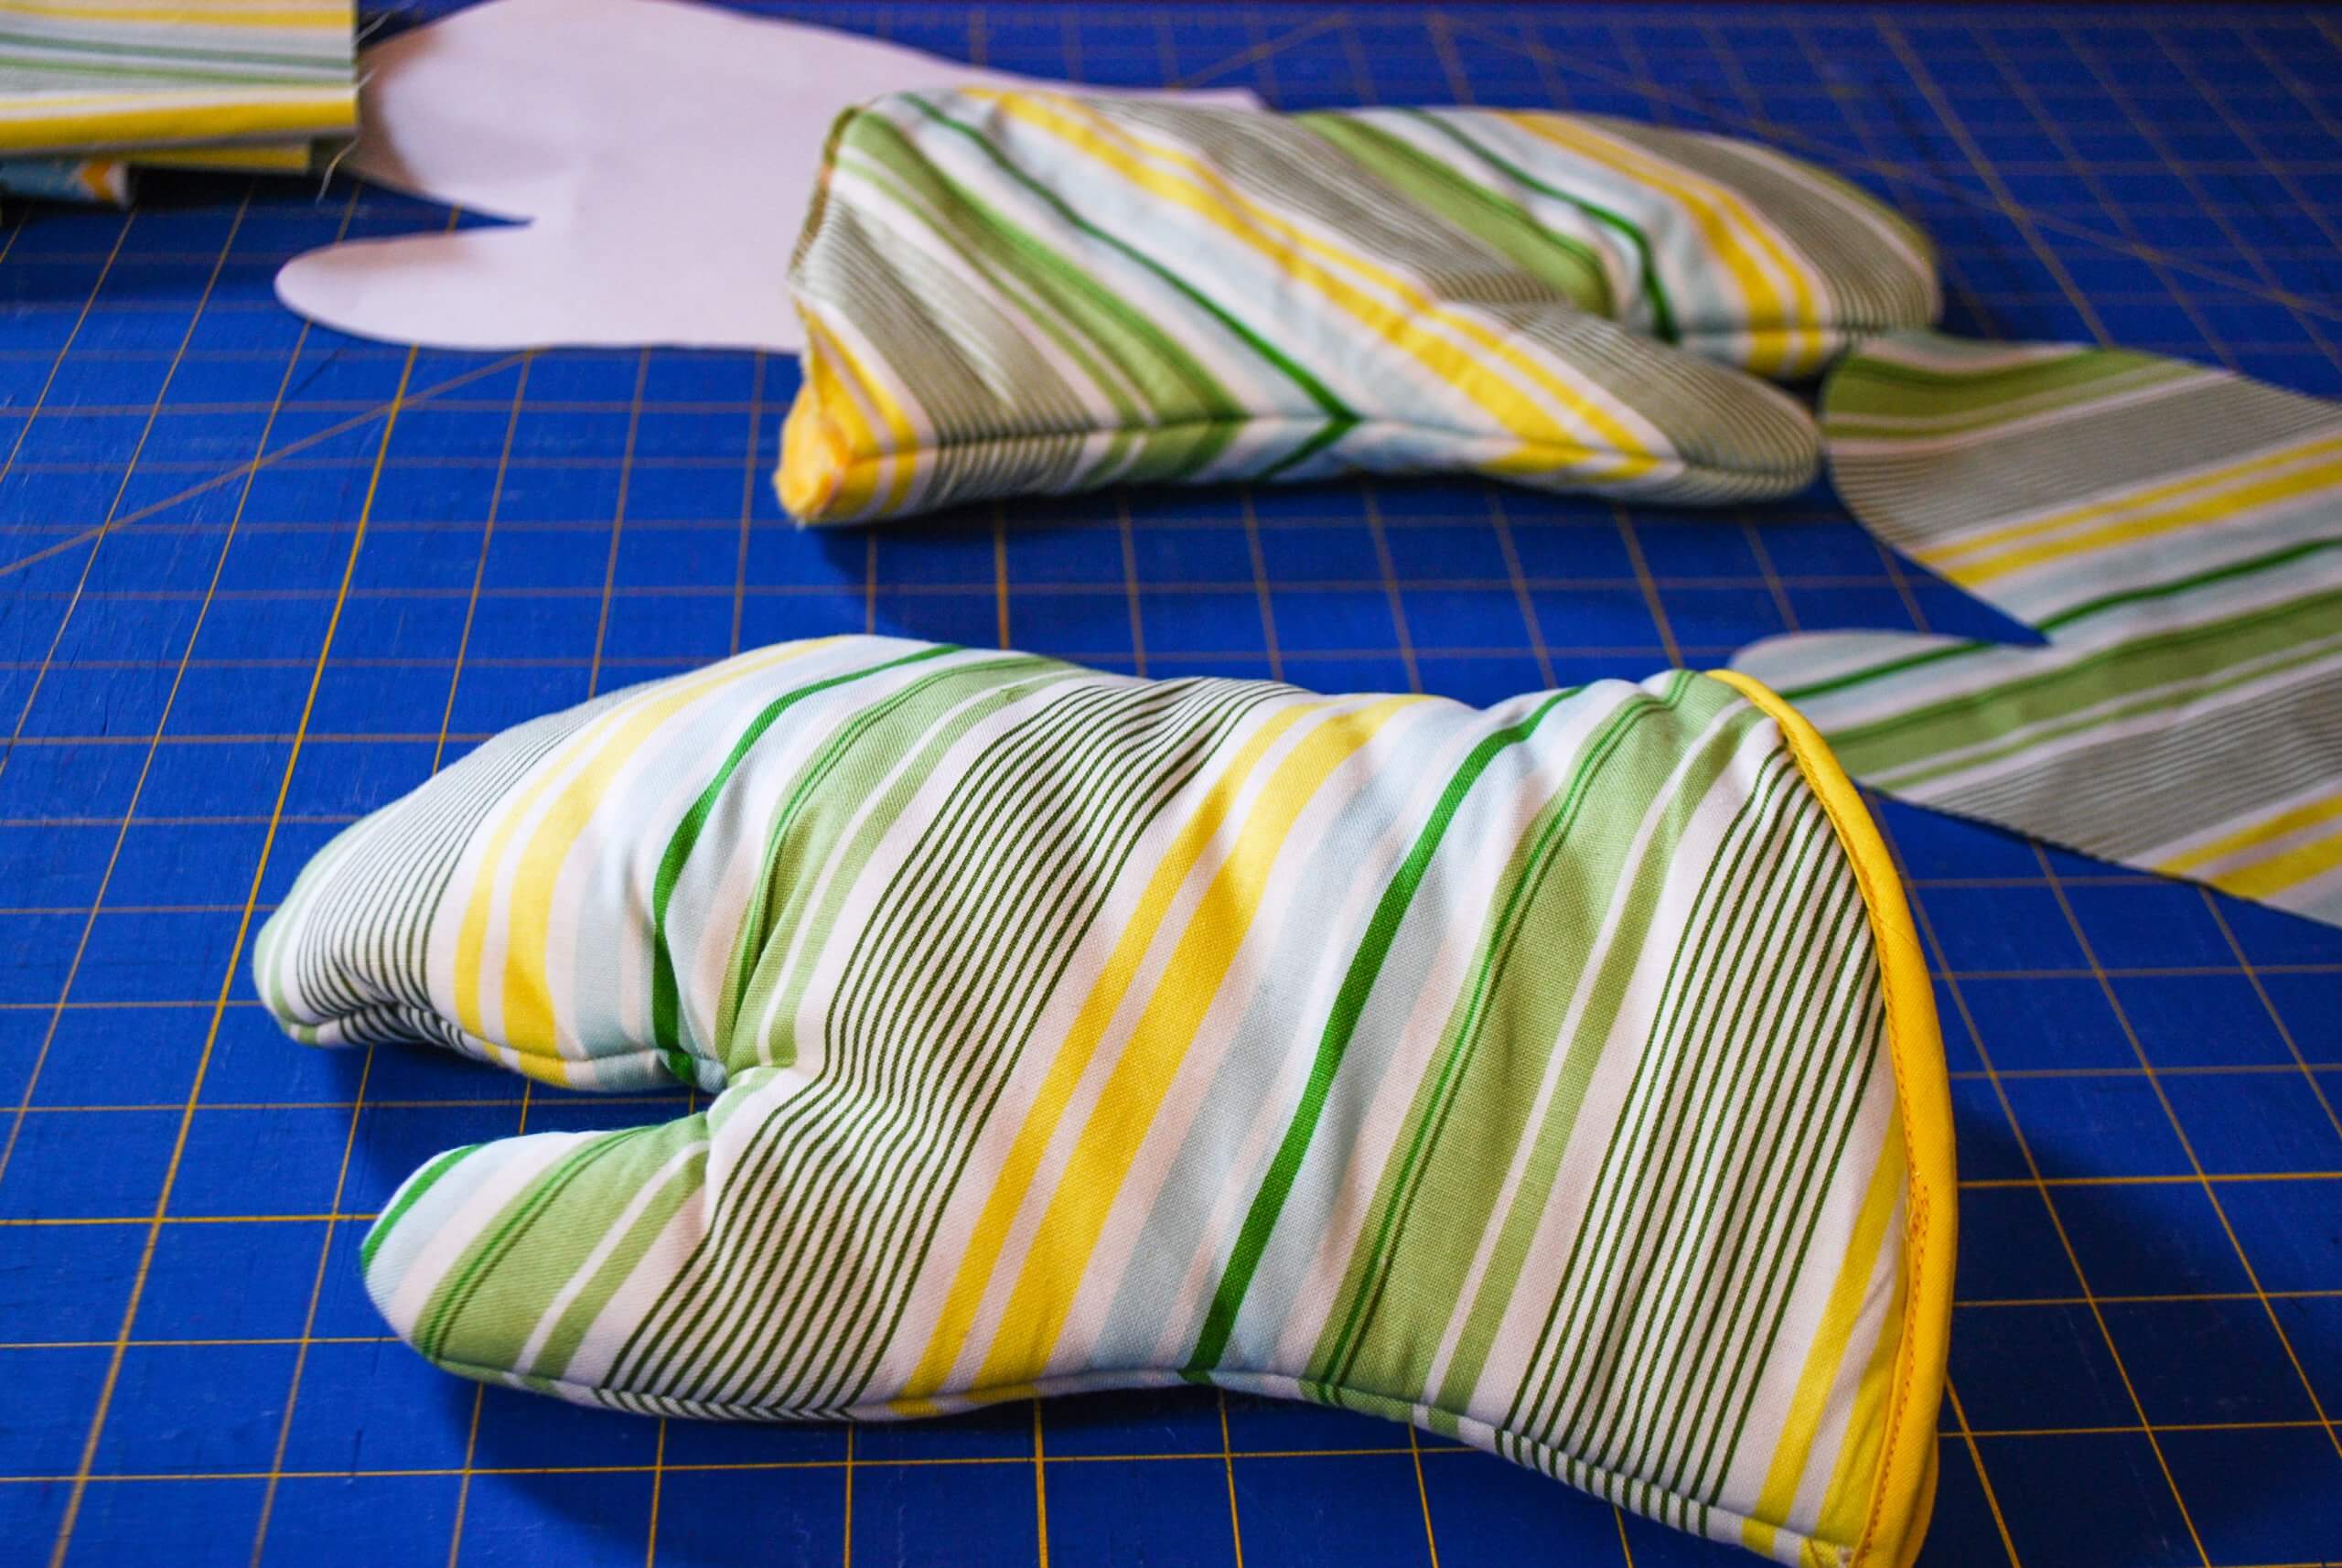
Fold the piece in half lengthwise, press. My kitchen was in desperate need of some new oven mitts. Sew the outer side of the oven.
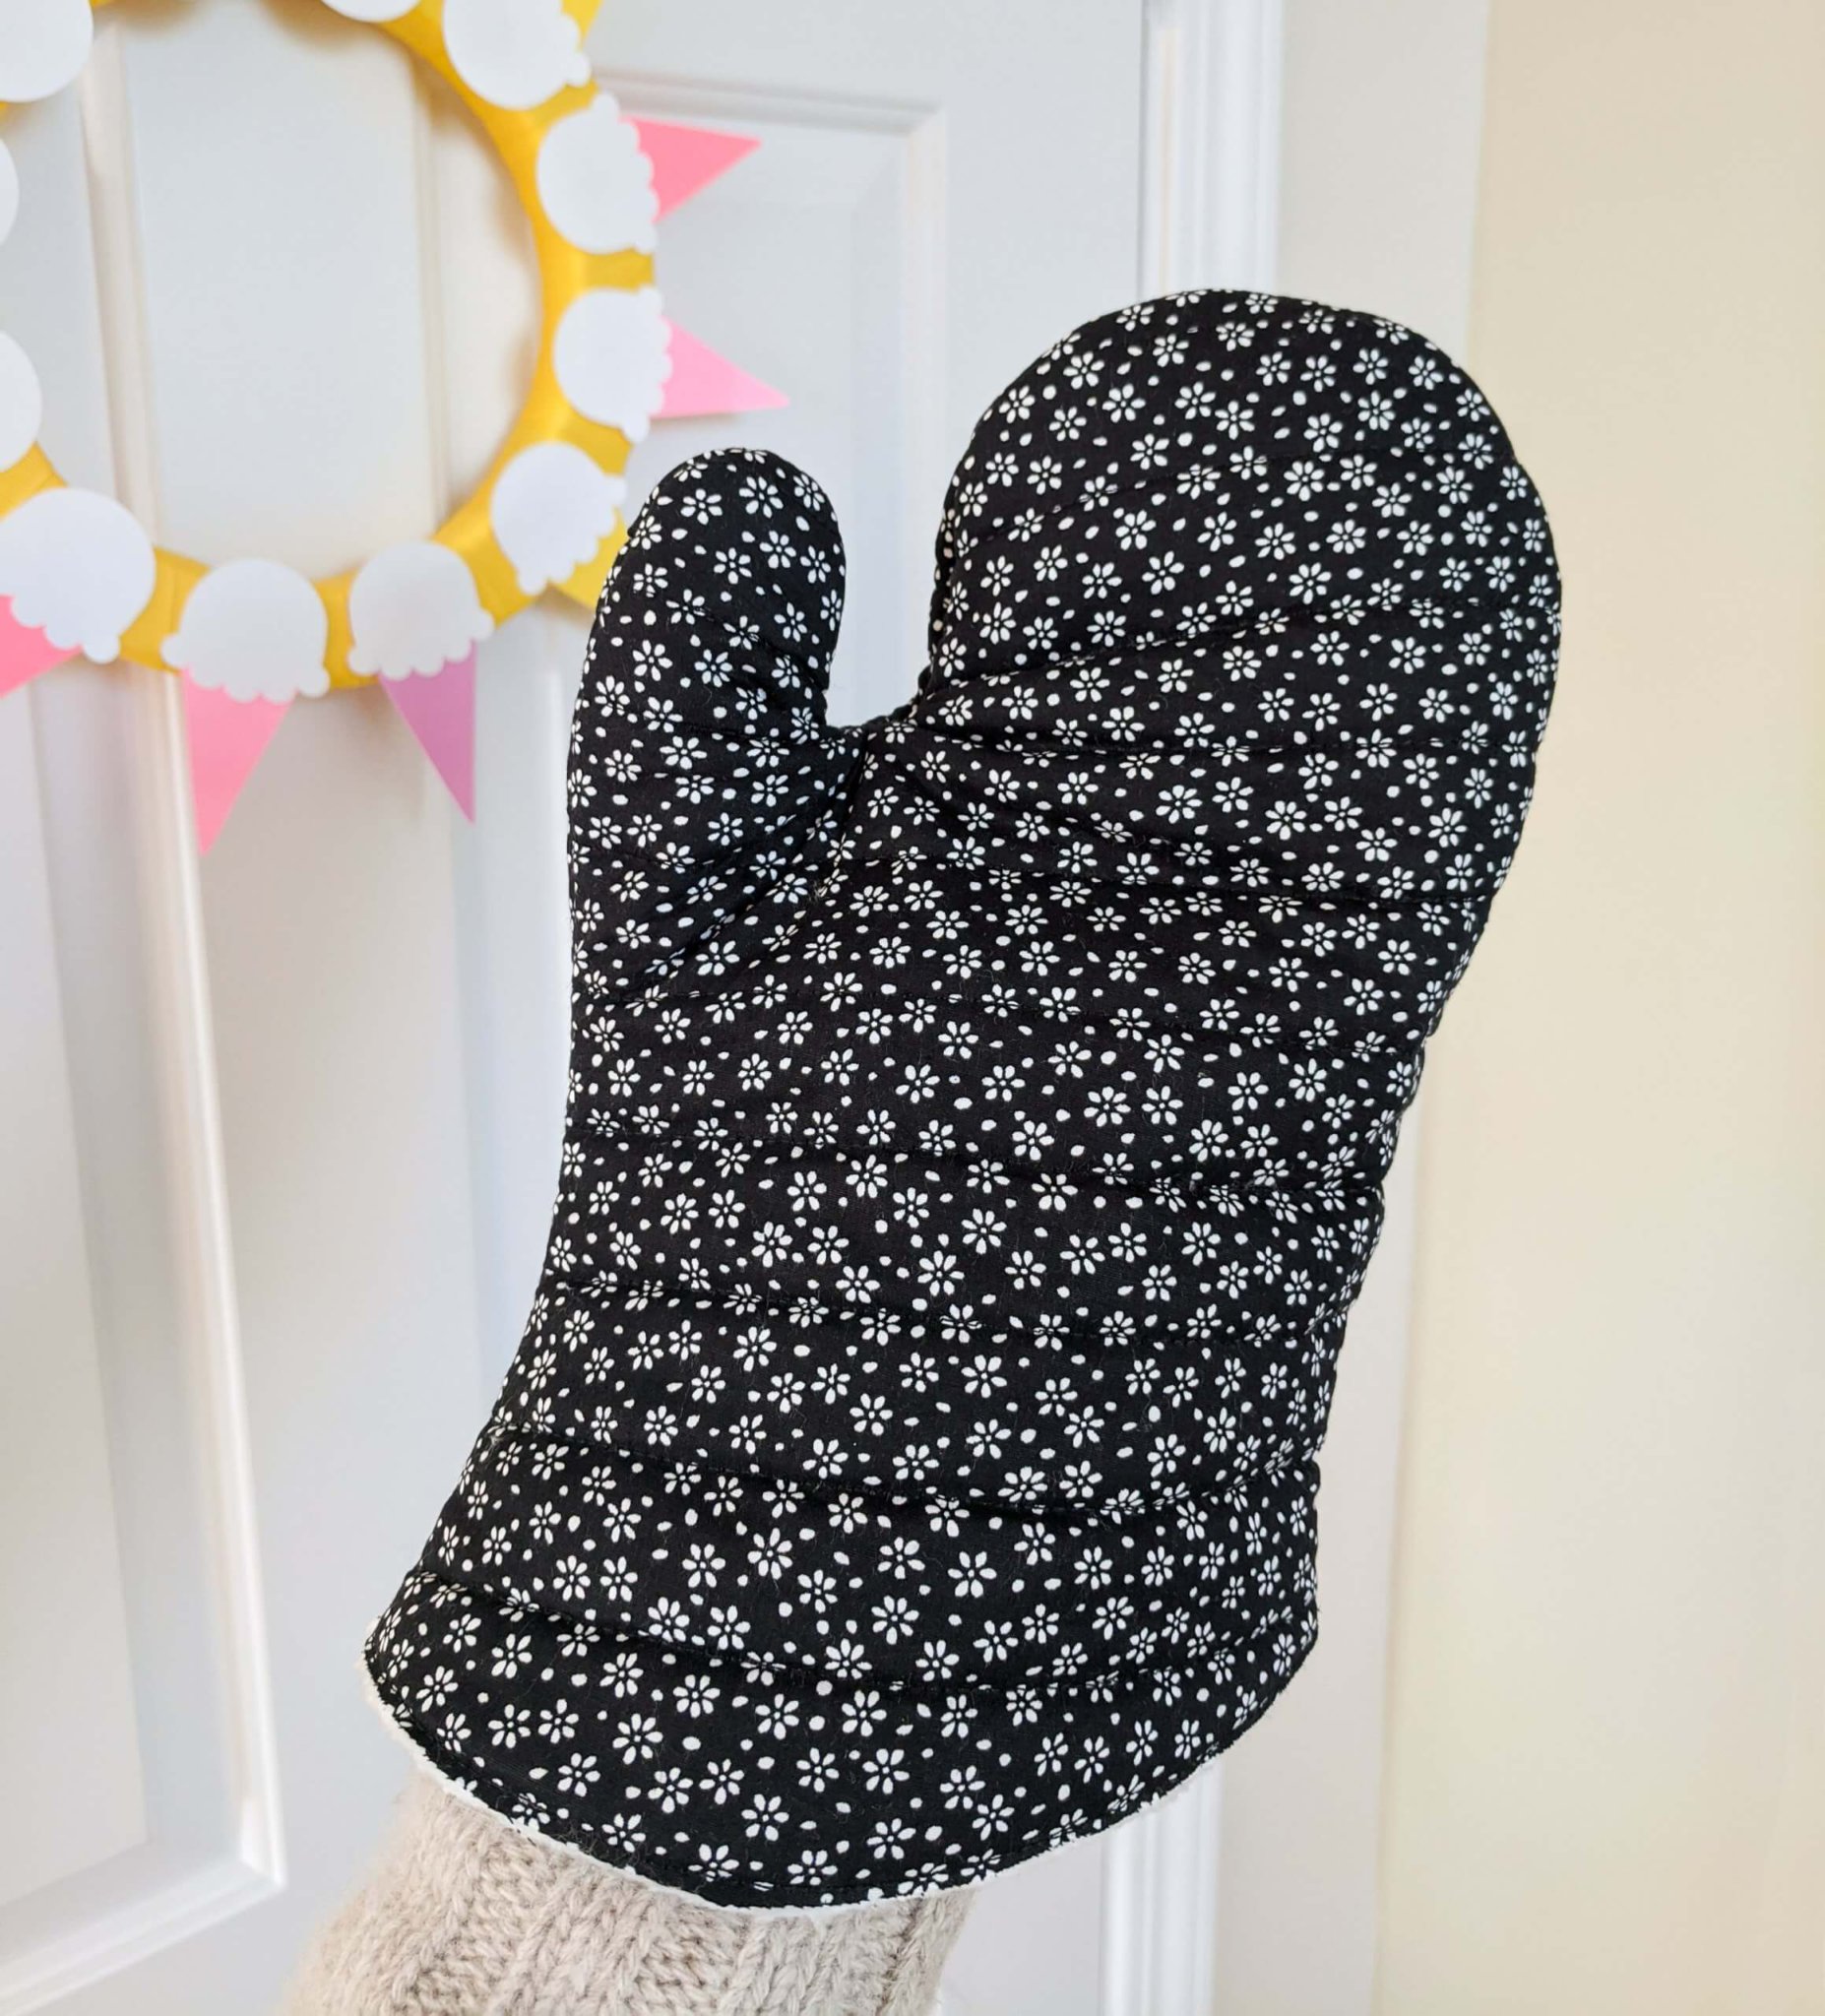
How to make oven mitts (free pattern & tutorial) I Can Sew This
Sew the outer side of the oven mitt side on the wrong side of the fabric. 2 quilting cotton pieces for the exterior, mirrored and.
Printable Oven Mitt Pattern
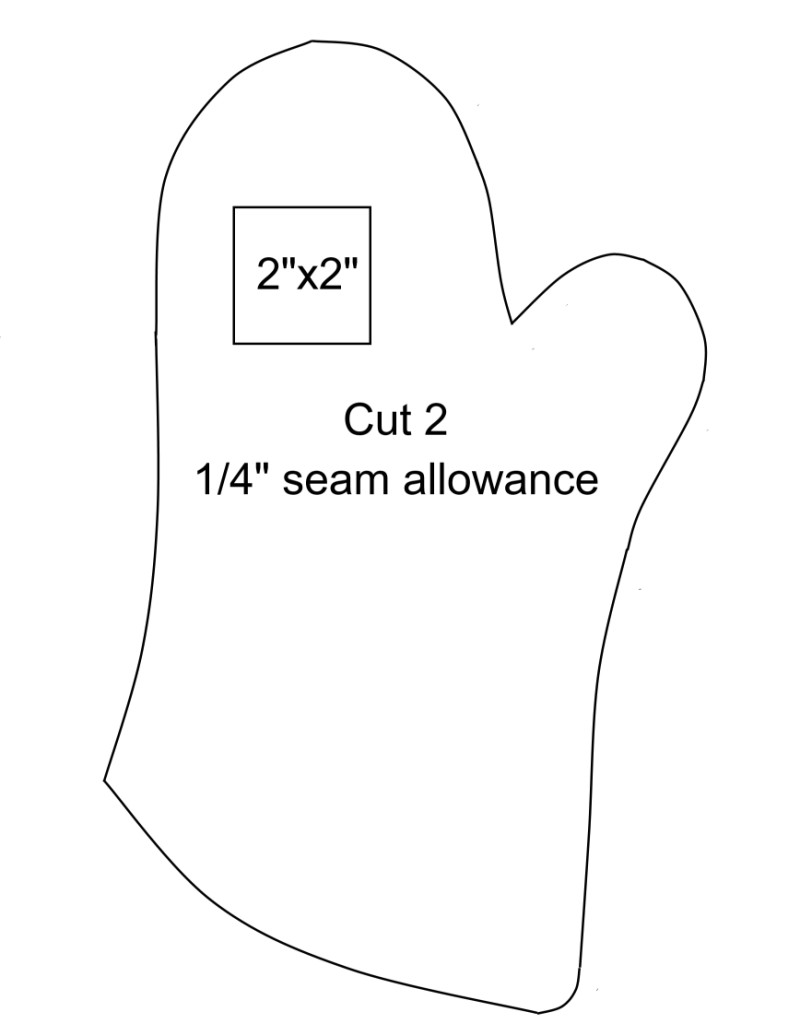
1 for adults (10″ x 15″), 1 for children (9″ x 11″), and 1 for a doll (6″ x 6″). Web how to make oven.
oven mitt pattern DIY see kate sew
I chose the adult size, it finishes at 12 ½ long by 7 wide. Start at the seam without the loop (if you made one)..
How to Make an Easy Quilted Oven Mitt FREE pattern and VIDEO YouTube
It’s a long length that covers half of the forearm. Pin the binding to the oven mitt, starting from the outer wrist side, working to.
Double Ended Oven Mitts Pattern
2 quilting cotton pieces for the exterior, mirrored and at least one inch larger on all sides than the template. Sew it at 1/4, turn.
Oven mitt free sewing pattern Merriment Design
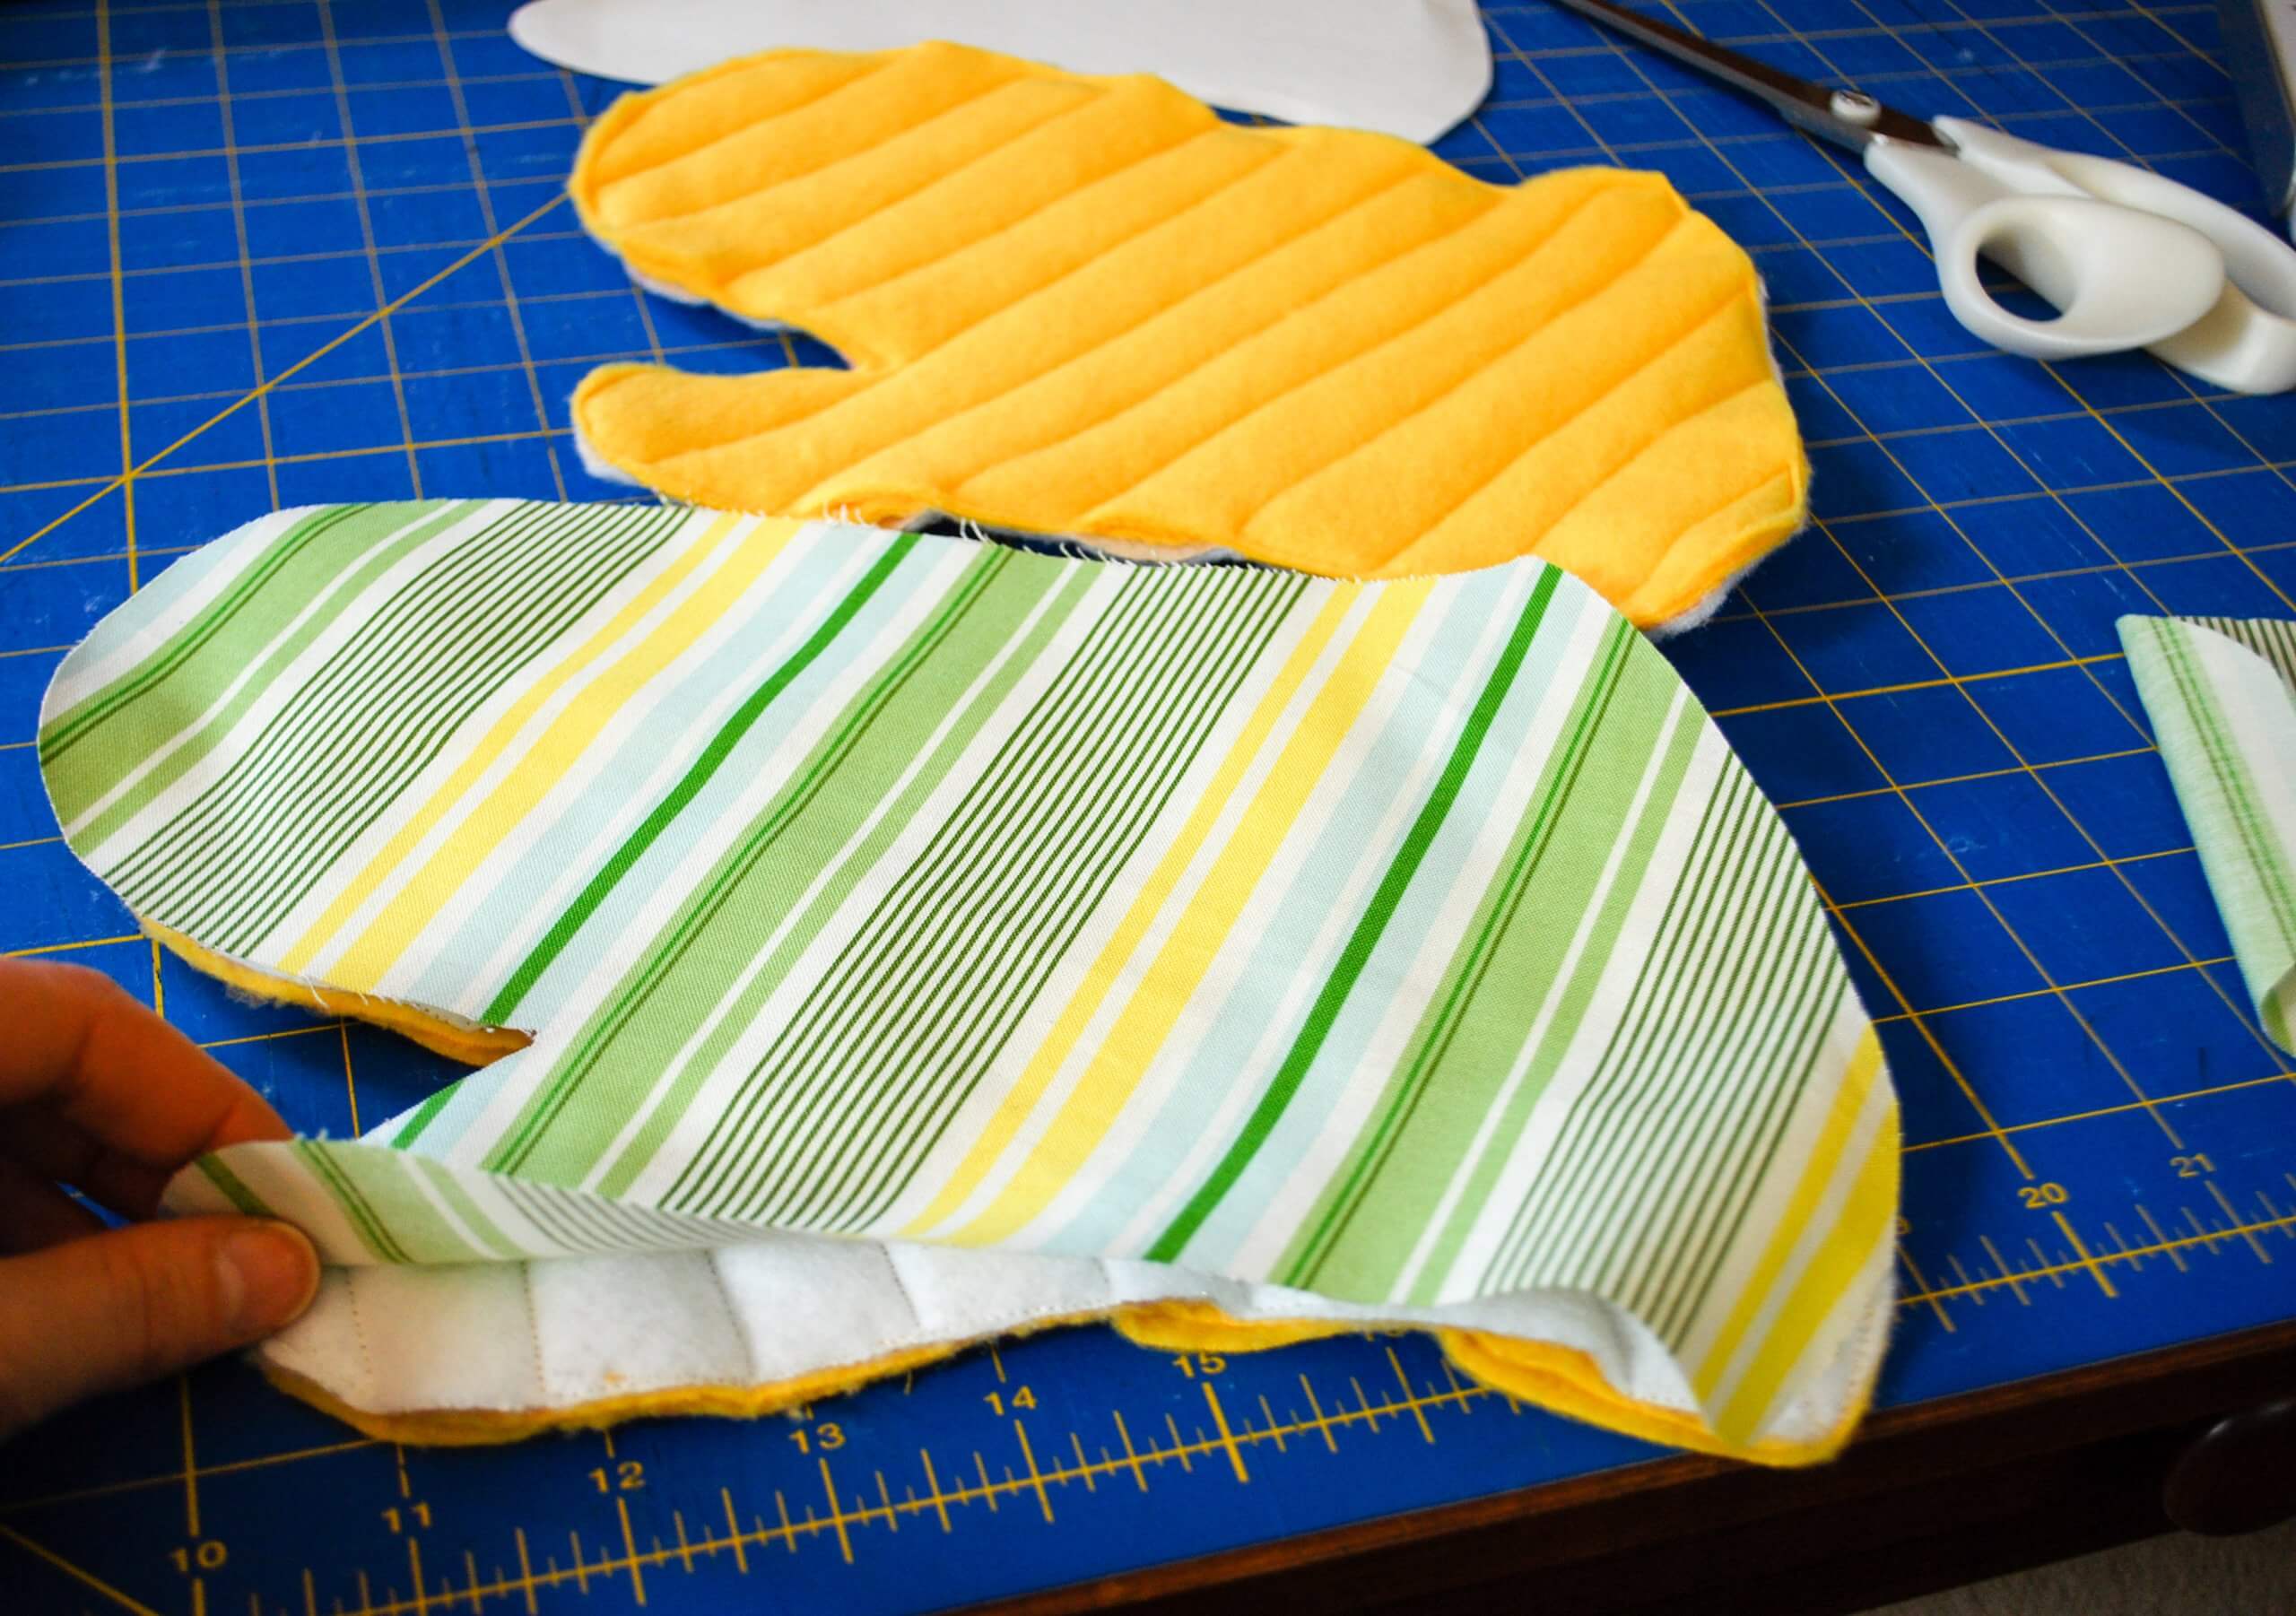
2 pieces of main fabric (the outer layer) 4 pieces of cotton batting. Time to fit the binding. Fold the piece in half lengthwise, press..
Use Pins Or Clips To Secure The Rest Of The Binding Around The Bottom Of The Oven Mitt.
Spray baste the main fabric to two layers of batting. Sew the outer side of the oven mitt side on the wrong side of the fabric. Web i made loop by cutting a rectangle piece of fabric 3″ x 4″. Print the pattern (make sure to set your printer to 100% scale) and gather your supplies.
Time To Fit The Binding.
Key to making safe oven mitts is to use 100% cotton fabrics for the main fabric and lining, and include insulated batting as the first layer inside the oven mitt. Fold the piece in half lengthwise, press. I chose the adult size, it finishes at 12 ½ long by 7 wide. To create 1 oven mitt, you’ll need several fabric rectangles each measuring 9” by 12”, as follows:
Use A 3/8″ Seam Allowance.
My kitchen was in desperate need of some new oven mitts. With the holidays in full swing, i’ve been baking and cooking up a storm. Pin the binding to the oven mitt, starting from the outer wrist side, working to across the end of the loop, and leaving the extra piece. All thoughts and opinions are my.
Join The Cuff To The Oven Mitt By Enclosing The Hem With The Cuff.
Web how to make oven mitts. 2 quilting cotton pieces for the exterior, mirrored and at least one inch larger on all sides than the template. Be sure the gloves are mirror image of each other, so cut on a fold or flip the pattern over for the second mitt. Web press the cuff in half and press 1/4 of the seam allowance in.