Oven Gloves Patterns For Free - Web grab a few fat quarters, some batting, and this free oven mitt pattern, and join paulette while she makes an easy, comfortable, durable oven mitt, with no binding!. Web oven glove / oven mitts/ kitchen gloves/ free patternplease share this video if you need it.have a good timepattern download : This free oven mitts sewing pattern is no exception, with lots of photos and simple sewing instructions. Join the cuff to the oven mitt by enclosing the hem with the cuff. Main body, cut x 2 mirrored images from external fabric, lining fabric, heat reflective fleece, x 4 woven interfacing. Cut the pieces out of fabric. The printed pattern from amazon is cheaper than the digital pattern. Web with the oven mitt still inside out, place a binding loop over the cuff opening. Web supplies needed to make 1 oven mitt: Sew the hand pockets to the “base” piece.

DIY How to make oven mitts / Oven Glove / free pattern / sewing
The pattern is for a single one, but of course if you want a pair, just make two of them! Spray baste the main fabric.

sewing printables free Sew your own oven mitts in 10 easy steps
Fold the hanging loop in half. Web prepare the binding. Web free oven mitt pattern. To create 1 oven mitt, you’ll need several fabric rectangles.
free and easy oven mitt pattern Joe, June and Mae
Fold loop in half lengthwise, bringing pressed edges together, and press. Web with the oven mitt still inside out, place a binding loop over the.
Oven mitt free sewing pattern Merriment Design
This free oven mitts sewing pattern is no exception, with lots of photos and simple sewing instructions. Fold 1cm of the other edge of the.

Bundles and Buttons Oven glove tutorial and free pattern
Quilt the “base” and “hand pockets”. Turn the long raw edges of the fabric to the ws so that they meet at the crease. Start.

Long Arm Oven Mitts with a Free Pattern from So Sew Easy Sew, What's
Fold the hanging loop in half. Be sure the gloves are mirror image of each other, so cut on a fold or flip the pattern.

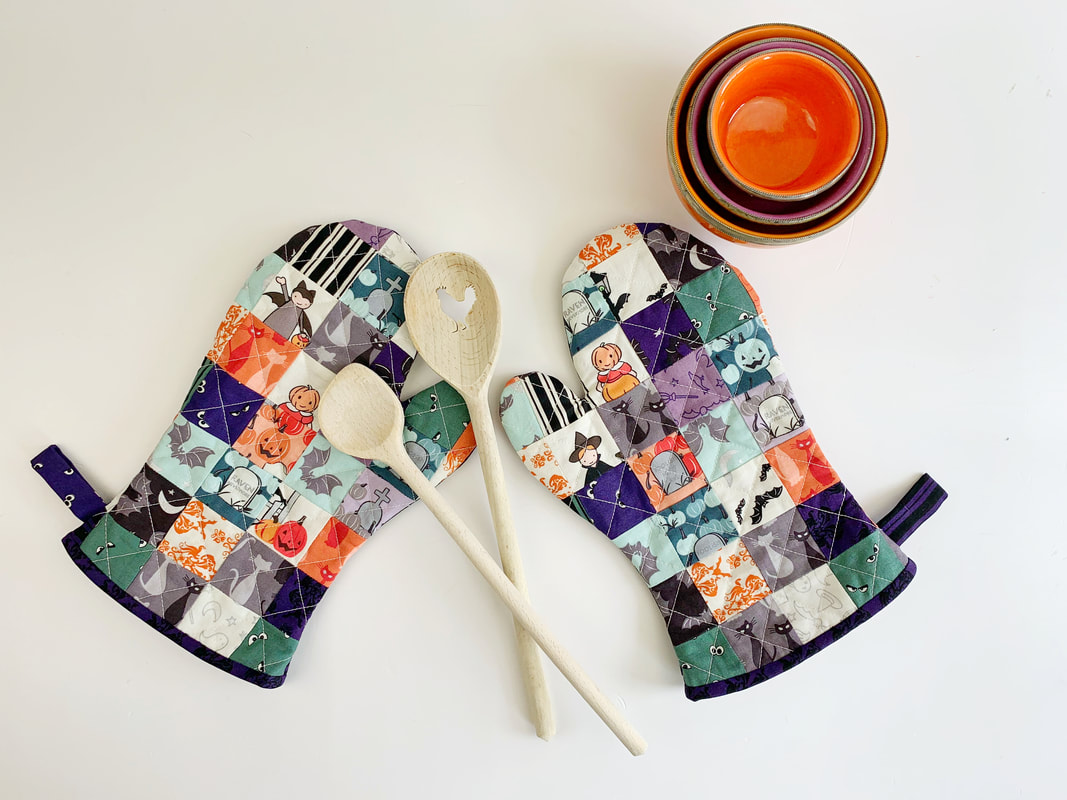
Quilted Oven Mitts Patterns FREE Quilt Patterns
Web about this item. 2 pieces of main fabric (the outer layer) 4 pieces of cotton batting. Web join it to make a loop and.
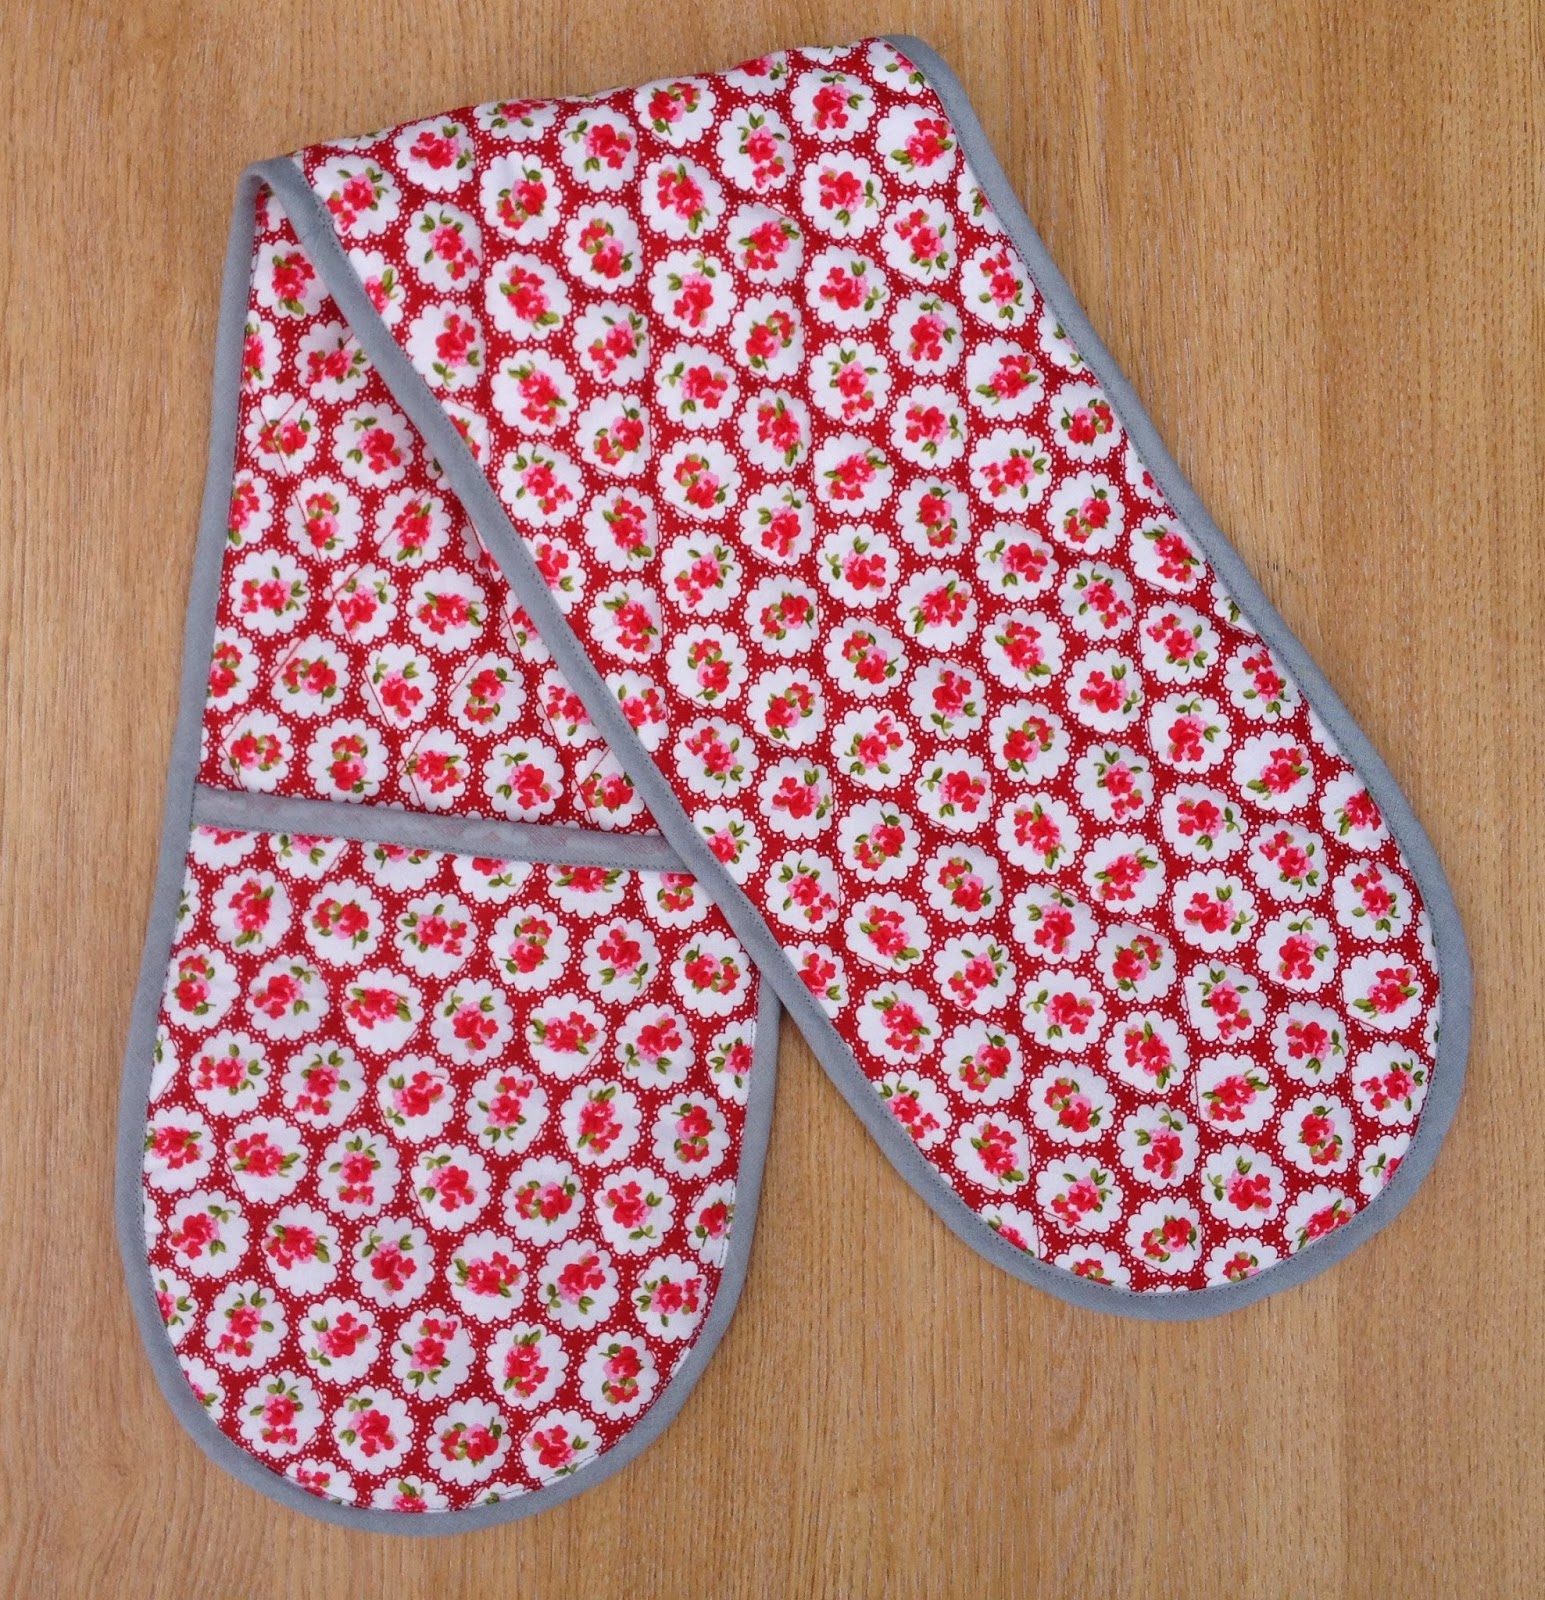
Bundles and Buttons Oven glove tutorial and free pattern Oven gloves
Make a hanging loop for the mitt with a strip of 1 1/4 tall by 5 wide. Pin in place and then stitch in the.

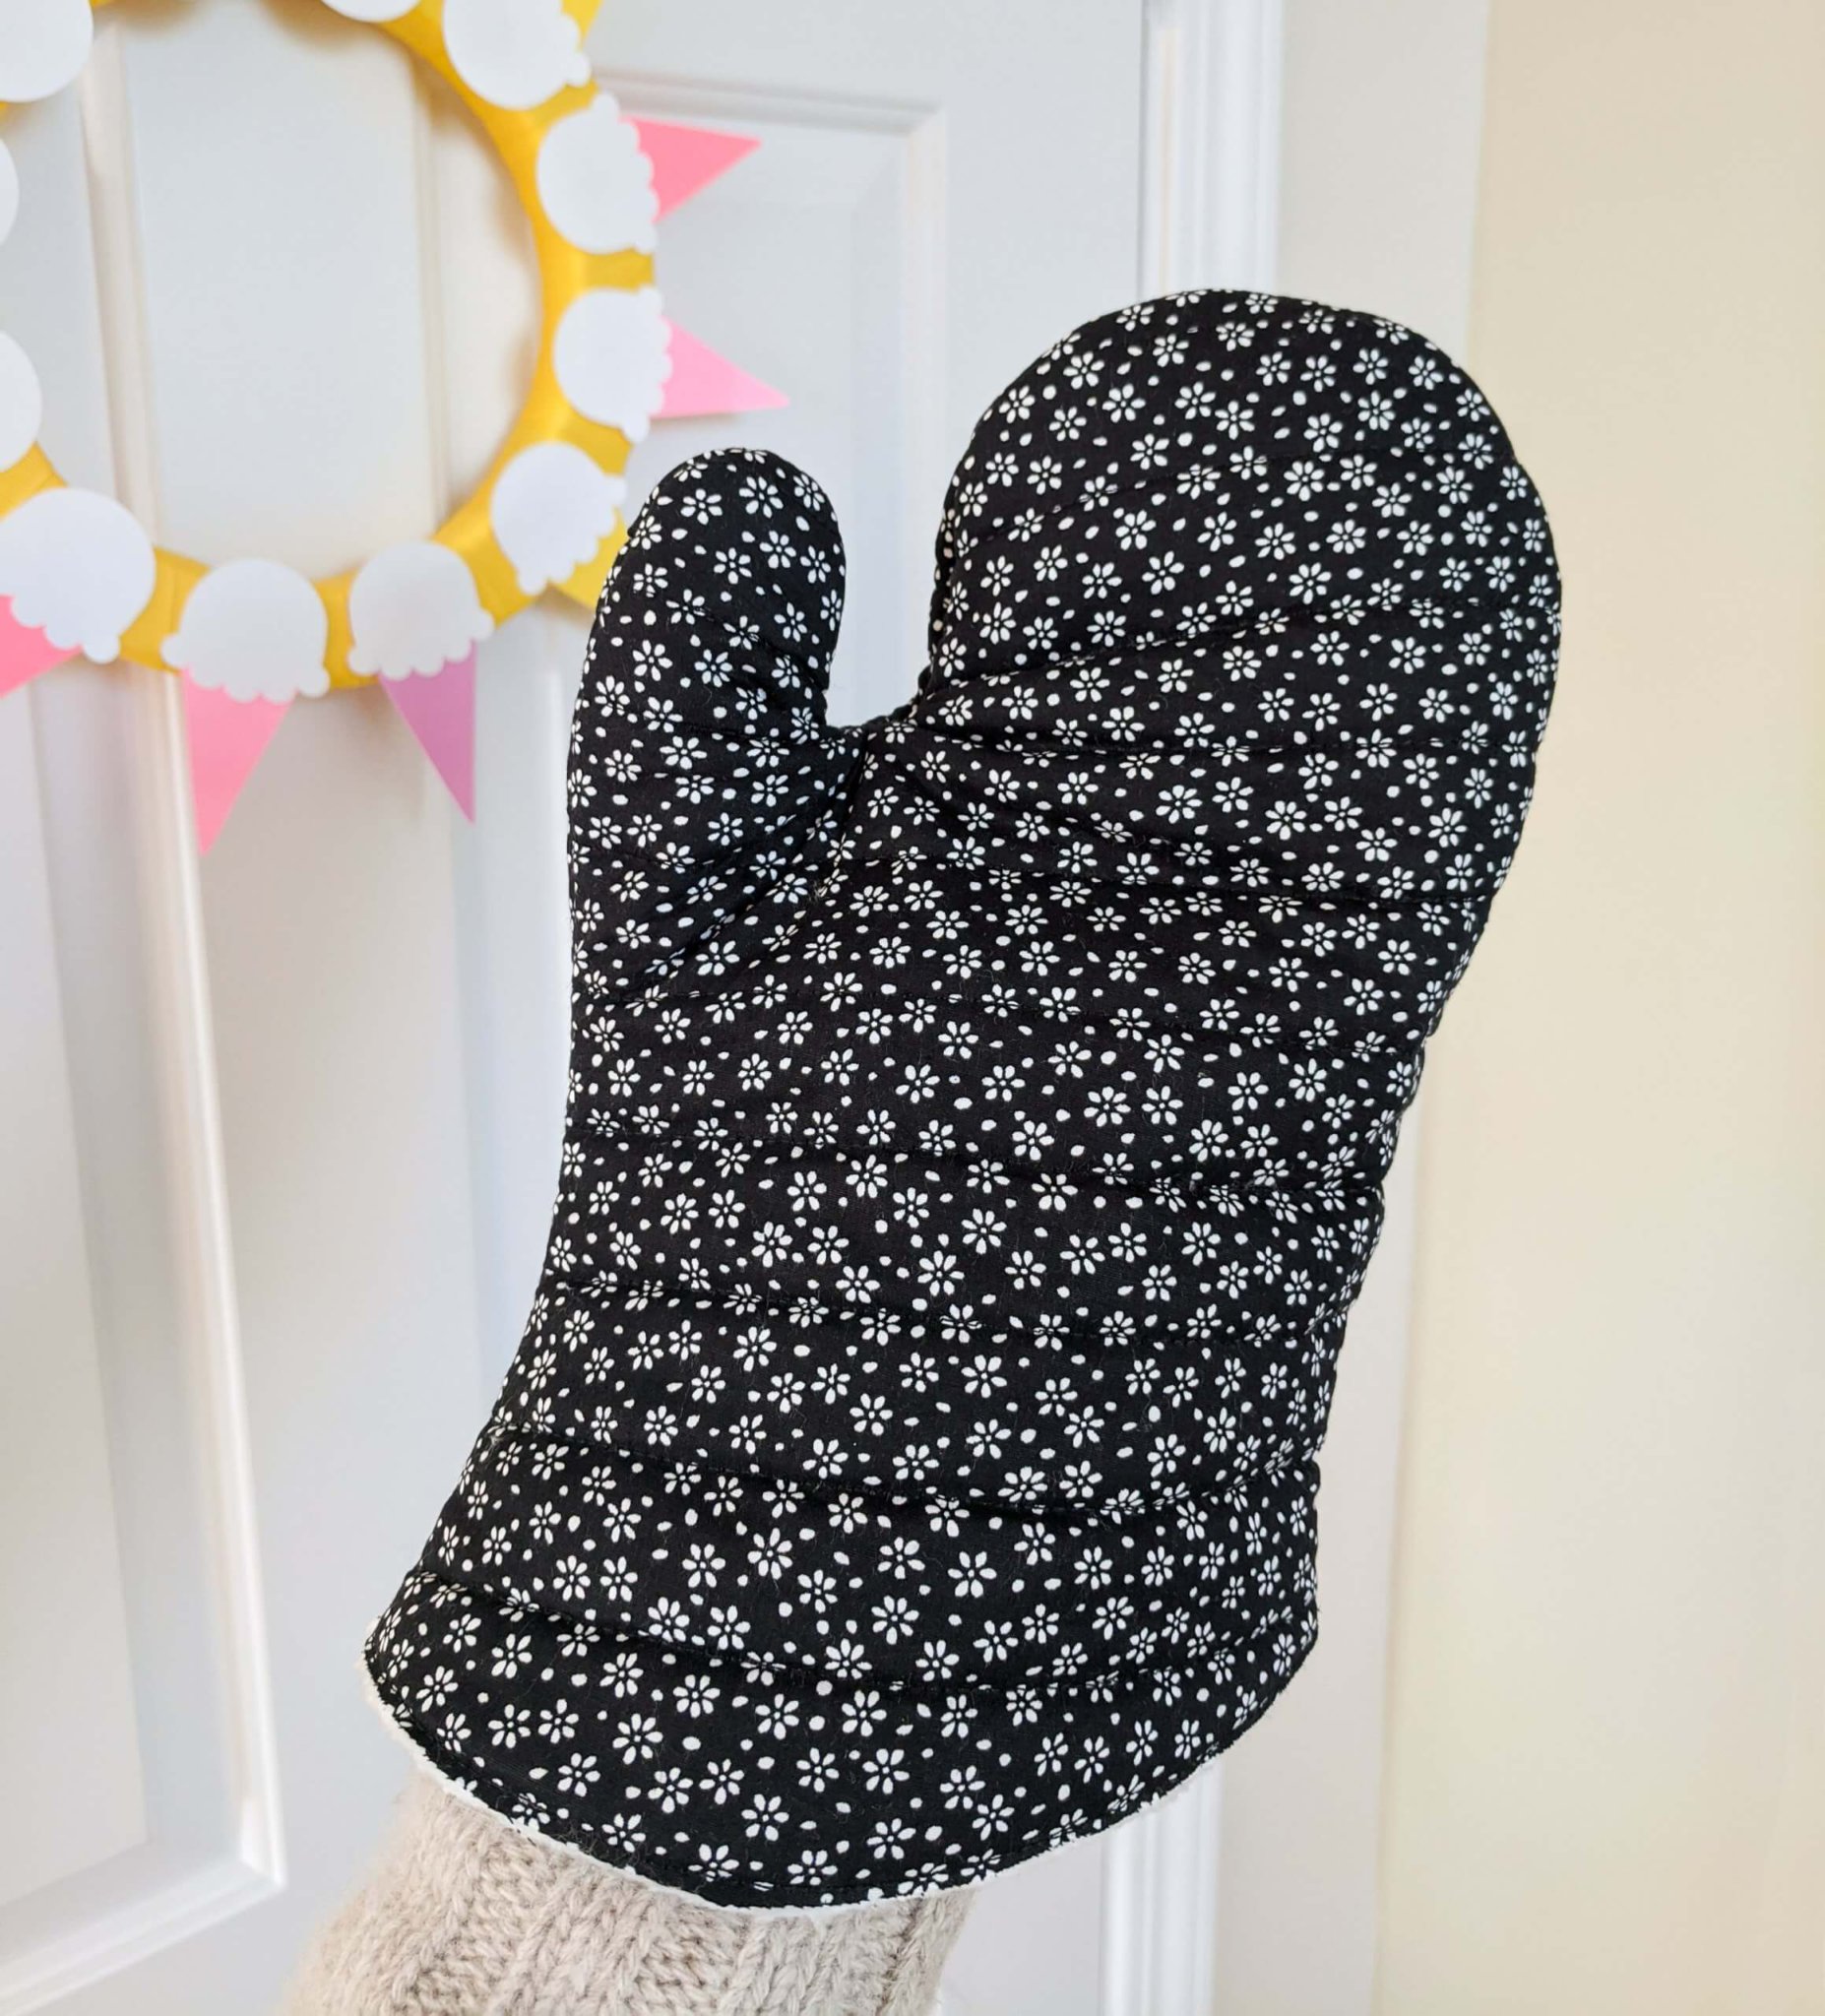
Printable Oven Mitt Pattern Printable Templates
For best results first quilt the fabric and then cut. To download and print this pattern for the knit oven mitt (s), please click here..

How to make an Easy Oven Mitts / DIY Kitchen Gloves YouTube
Print the pattern (make sure to set your printer to 100% scale) and gather your supplies. Web about this item. Use pins or clips to.
2 Quilting Cotton Pieces For The Exterior, Mirrored And At Least One Inch Larger On All Sides Than The Template.
Stitch leaving a 1cm seam allowance and then press away from the glove. Web free oven mitt pattern. Fold the hanging loop in half. Pin the binding to the oven mitt, starting from the outer wrist side, working to across the end of the loop, and leaving the extra piece.
Start At The Seam Without The Loop (If You Made One).
Topstitch along both long edges, about 1/8” from the sides of the loop. Double oven glove with a ‘pinch grip’ design and hanging loop. Web oven glove / oven mitts/ kitchen gloves/ free patternplease share this video if you need it.have a good timepattern download : Cut 2 layers of each outer fabric and lining fabric.
Take Your Pieces Of Wrist Binding And Make Them Into Double Fold Binding Tape By Pressing In Half, Then Pressing Each Half Into The Center.
Make a hanging loop for the mitt with a strip of 1 1/4 tall by 5 wide. Fold loop in half lengthwise, bringing pressed edges together, and press. Print the pattern (make sure to set your printer to 100% scale) and gather your supplies. Web special thanks to melissa somerville for sharing this free knit oven mitt pattern with us, to protect hard working hands everywhere!
Quilt The “Base” And “Hand Pockets”.
• 1 fq of quilt batting * (cotton or other used for making quilts) • 1 fq of “quilted ironing board cover” fabric (or other similar fabric) • small amount of double fold bias tape. Open out the binding tape, pinning one raw edge to the wrist edge of the mitt, right sides facing. Sew in place again with either a stitch close to the edge or an over edge stitch. Sew the hand pockets to the “base” piece.