Laying Herringbone Pattern - Web one popular choice for laying tiles is the herringbone pattern, known for its timeless appeal. Web 2 dry lay the tiles. Secure the tiles on the wall. Balance cut tiles at the edges and corners. This style is especially effective for pathways leading. Lay the bricks in a zigzag pattern and incorporate unusual plants around the edges. This will help the tile adhere well to the wall. Web mark the centerline of this blank, and line it up on one of the working lines. You can then start laying your tiles onto the adhesive. Web speaking of sand, once your weed barrier is down, lay 2 pieces of ¾” pvc pipe on the ground about 3 feet apart.

How To Lay Parquet Flooring Herringbone
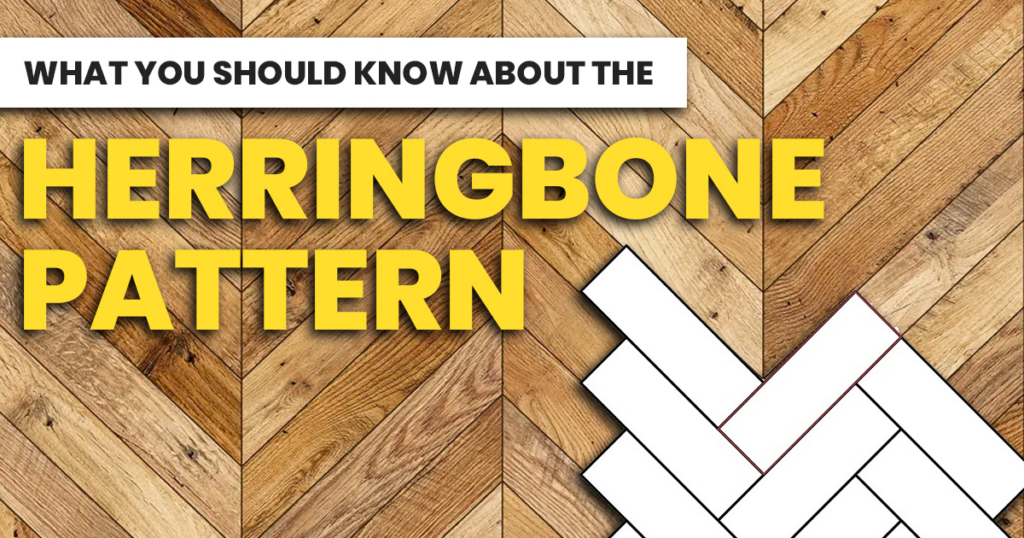
Staggering the seams in a herringbone pattern is not only crucial for the floor’s aesthetic appeal but also for its structural integrity. Route a groove.

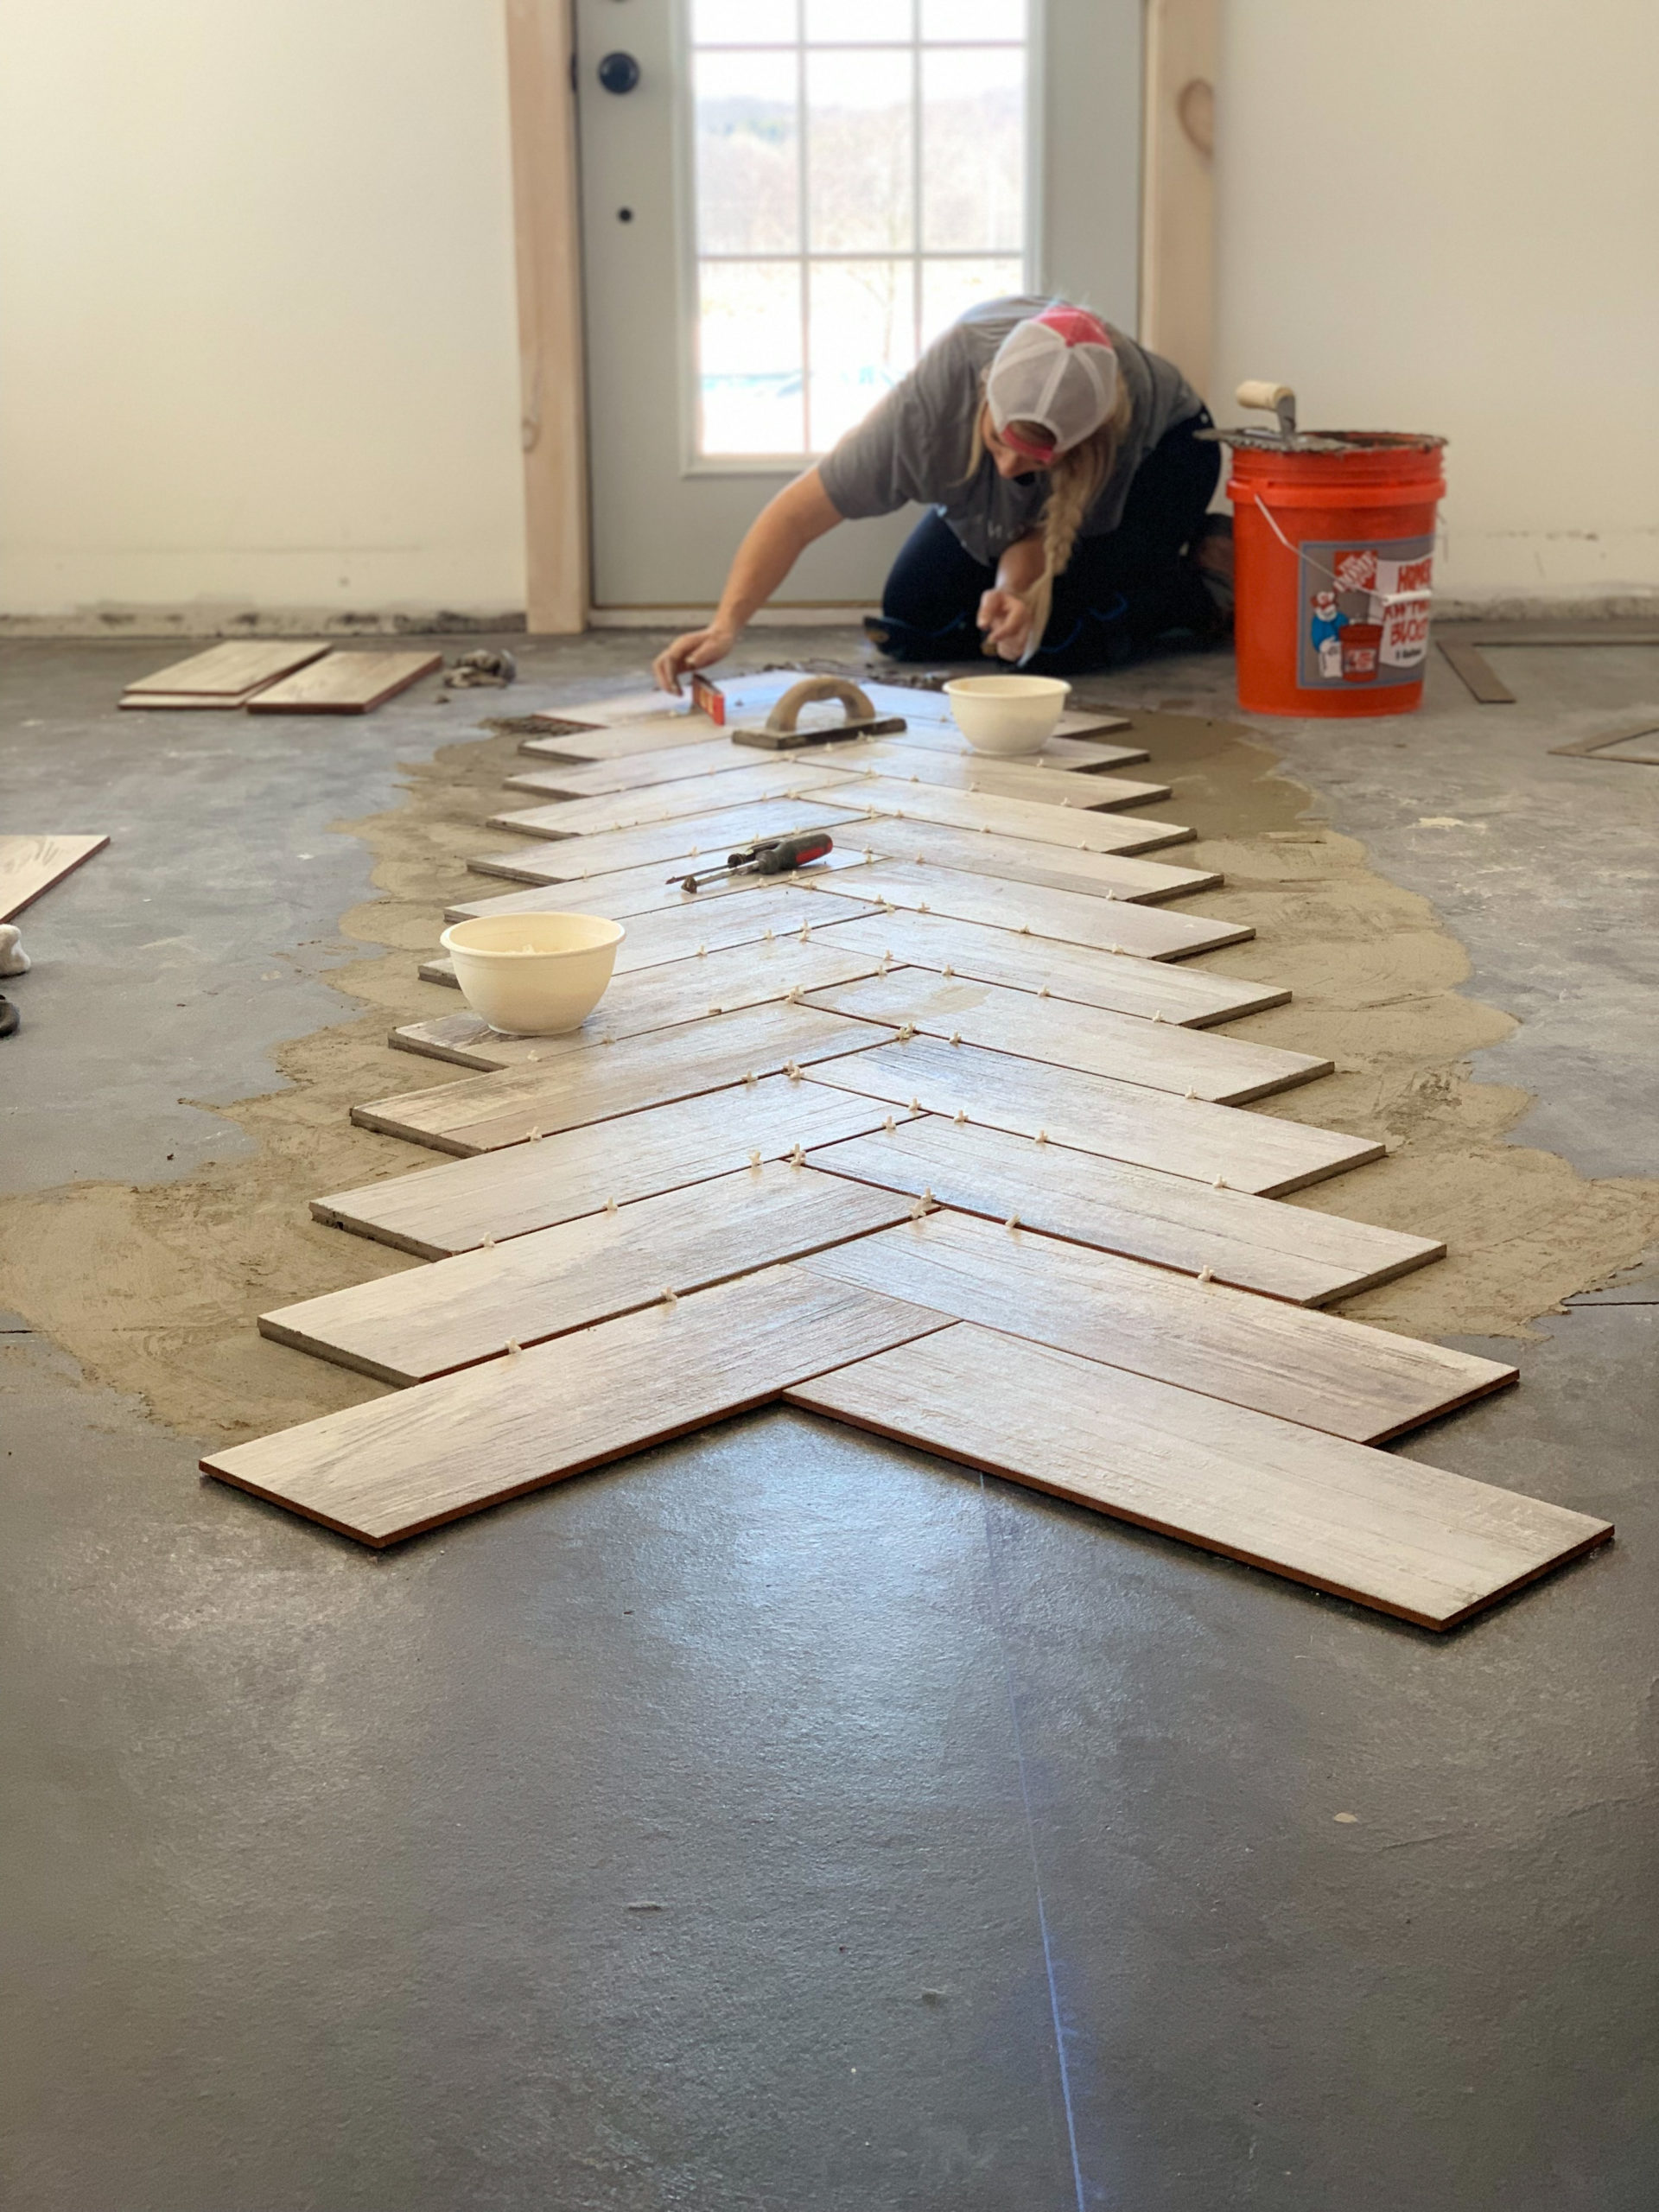
Starting in the centre of the floor to lay the oak herringbone pattern
Do the same for the second slat. Lay out your tiles in the herringbone pattern before applying adhesive to ensure a proper fit. This will.
:fill(white)/https://www.toppstiles.co.uk/static/uploads/2015/01/In_Focus_Herringbone.jpg)
How To Lay A Herringbone Tile Pattern Topps Tiles
Web begin by preparing your surface, ensuring it is clean, dry, and level. Measure the length of the wall and mark the halfway point. Lay.

HOW TO LAY BRICKS HERRINGBONE PATTERN YouTube
Web how to lay herringbone tile pattern in 11 steps. Staggering the seams in a herringbone pattern is not only crucial for the floor’s aesthetic.

How To Tile a Herringbone Pattern • Craving Some Creativity
Planning the herringbone pattern is probably the most time consuming part but well worth the effor. Once applied, move the jagged edge of the trowel.
How To Lay Herringbone Parquet Flooring On Concrete Viewfloor.co
Gray hexagon lines this small. Identifying the center makes the rest of the job easy. Begin by applying tile adhesive to a small section of.
Tips On How To Create 45 Degree Herringbone Pattern Titles and Bath
Identifying the center makes the rest of the job easy. Web begin by preparing your surface, ensuring it is clean, dry, and level. Most people.
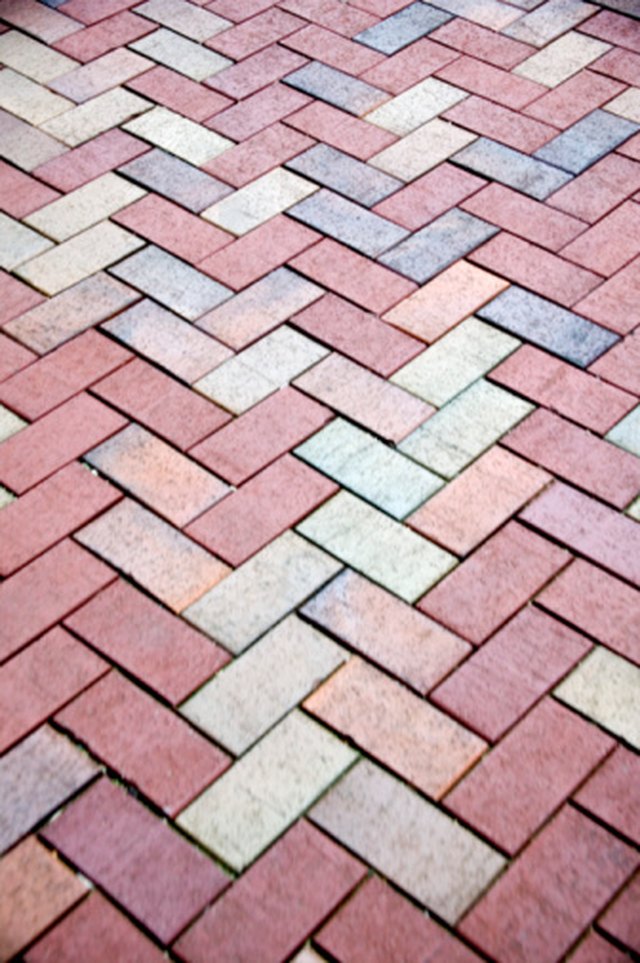
How to Lay a Herringbone Paver Pattern Without Any Cuts Hunker
Web when laying out hardwood flooring, you have a few options for the pattern in use. Lay out your sheets according to your predetermined pattern,.
How to Lay Herringbone Tile Patterns and Tips Rubi Blog USA
Web figuring out how to lay herringbone tile is all about finding the center point. Herringbone pattern installation guide 🌟🔨 in this video, we'll guide.

Herringbone Pattern StepbyStep Patio Installation Guide 🌟🔨
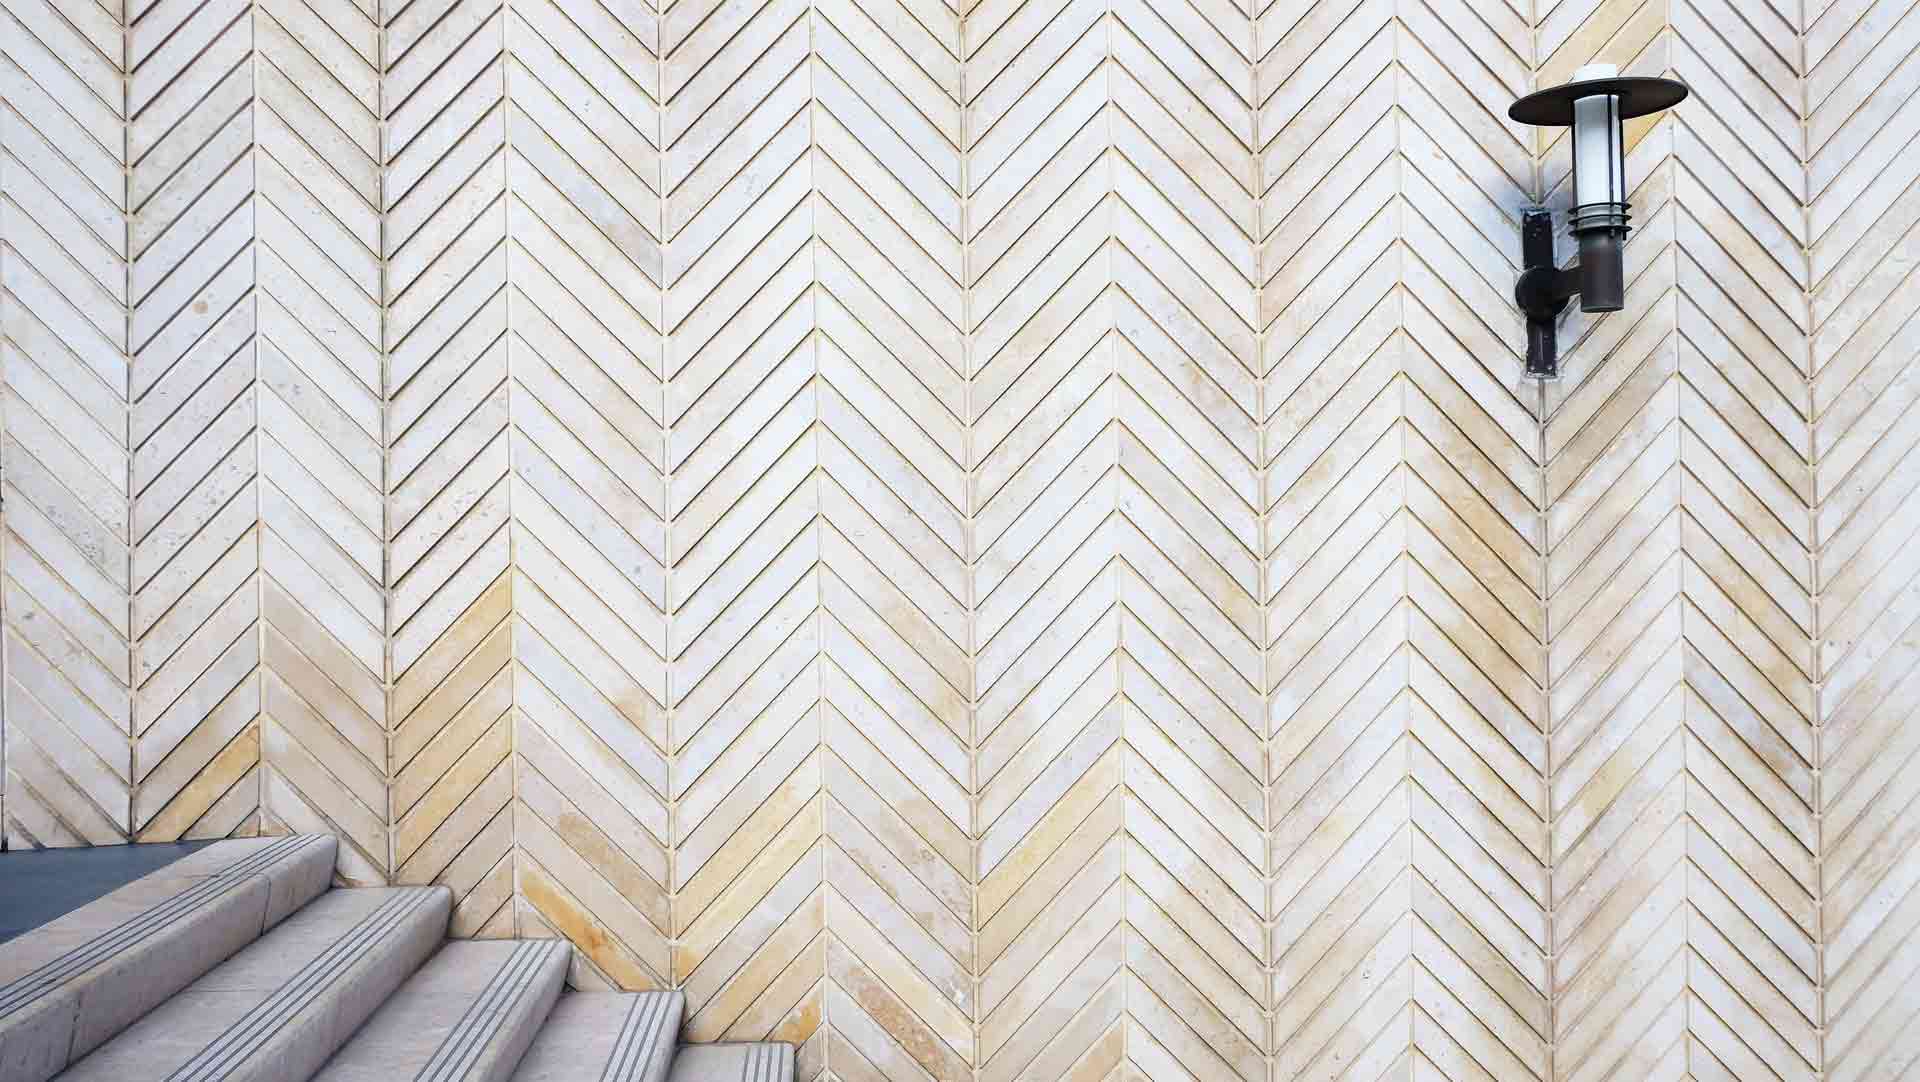
Secure the tiles on the wall. To make it easier to work out the herringbone pattern, lay your tiles on the ground before gluing them.
Web Mark The Centerline Of This Blank, And Line It Up On One Of The Working Lines.
Currently, it’s making a comeback in design trends. Continue arranging the pattern vertically, staggering each rectangular tile to create mismatched arrows. Begin by applying tile adhesive to a small section of the floor or wall, following the manufacturer’s instructions. Web installing the herringbone tile pattern.
Lay Out Your Tiles In The Herringbone Pattern Before Applying Adhesive To Ensure A Proper Fit.
Lay the bricks in a zigzag pattern and incorporate unusual plants around the edges. Web get started by cutting the points off of one end of the subway tiles at a 45 degree angle. Web when laying out hardwood flooring, you have a few options for the pattern in use. Do the same for the second slat.
In This Pattern, Rectangular Tiles Are Placed At 45 Degrees And Nestle Into Each.
Web this video shares how to install a herringbone tile floor. Web need a plan for delineating your layout if you want to lay them in only one area. Web laying wall tiles in a herringbone pattern isn’t that much harder than other patterns. This will help the tile adhere well to the wall.
They’ll Follow The Slope Of The Grading (Super Important!) Shovel Paver Base Sand In Between And Slightly Over The Top Of The Pvc Pipe.
Web the first step in laying a herringbone pattern is to find the center point of the wall. Put both triangle next to each other so the bottoms are on a straight line. The area occupied by the blank will be filled in with herringbone during step 14. Route a groove along the blank’s two forward edges.