How To Lay Floor Tile In A Herringbone Pattern - You may also consider putting adhesive on the floor itself. Web 10 glue the first tiles to the wall. Planning the herringbone pattern is. Figuring out how to lay herringbone tile is all about finding the center point. Measure the length of the wall and mark the halfway point. The small, square pieces are arranged to form a pattern or image. In 2024, we're going to see less tile in the shower and more of the plastered look. Place the third tile in place, with spacers between the other tiles. Allowing time for the herringbone tiles to dry and cleaning the surface afterward are the final steps in the installation process. A 3 x 12 tile works best.

Large Herringbone Marble Tile Floor How To DIY It For Less Shine
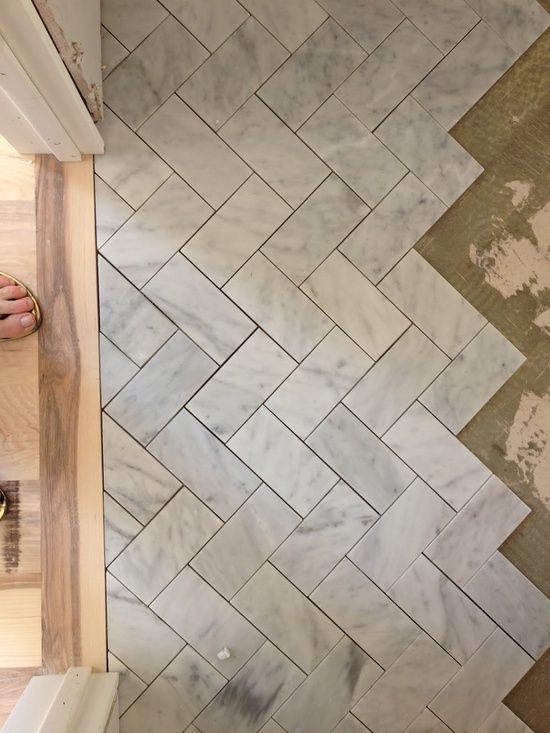
Web planning the herringbone pattern is probably the most time consuming part but well worth the effor. A 3 x 12 tile works best. Producing.

Laying Herringbone Floor Tiles Herringbone Tile Floor How to Prep
Remember, contrasting grout can highlight the uniqueness of your herringbone design, so consider this. Place the third tile in place, with spacers between the other.
How to Lay Herringbone Tile Patterns and Tips Rubi Blog USA
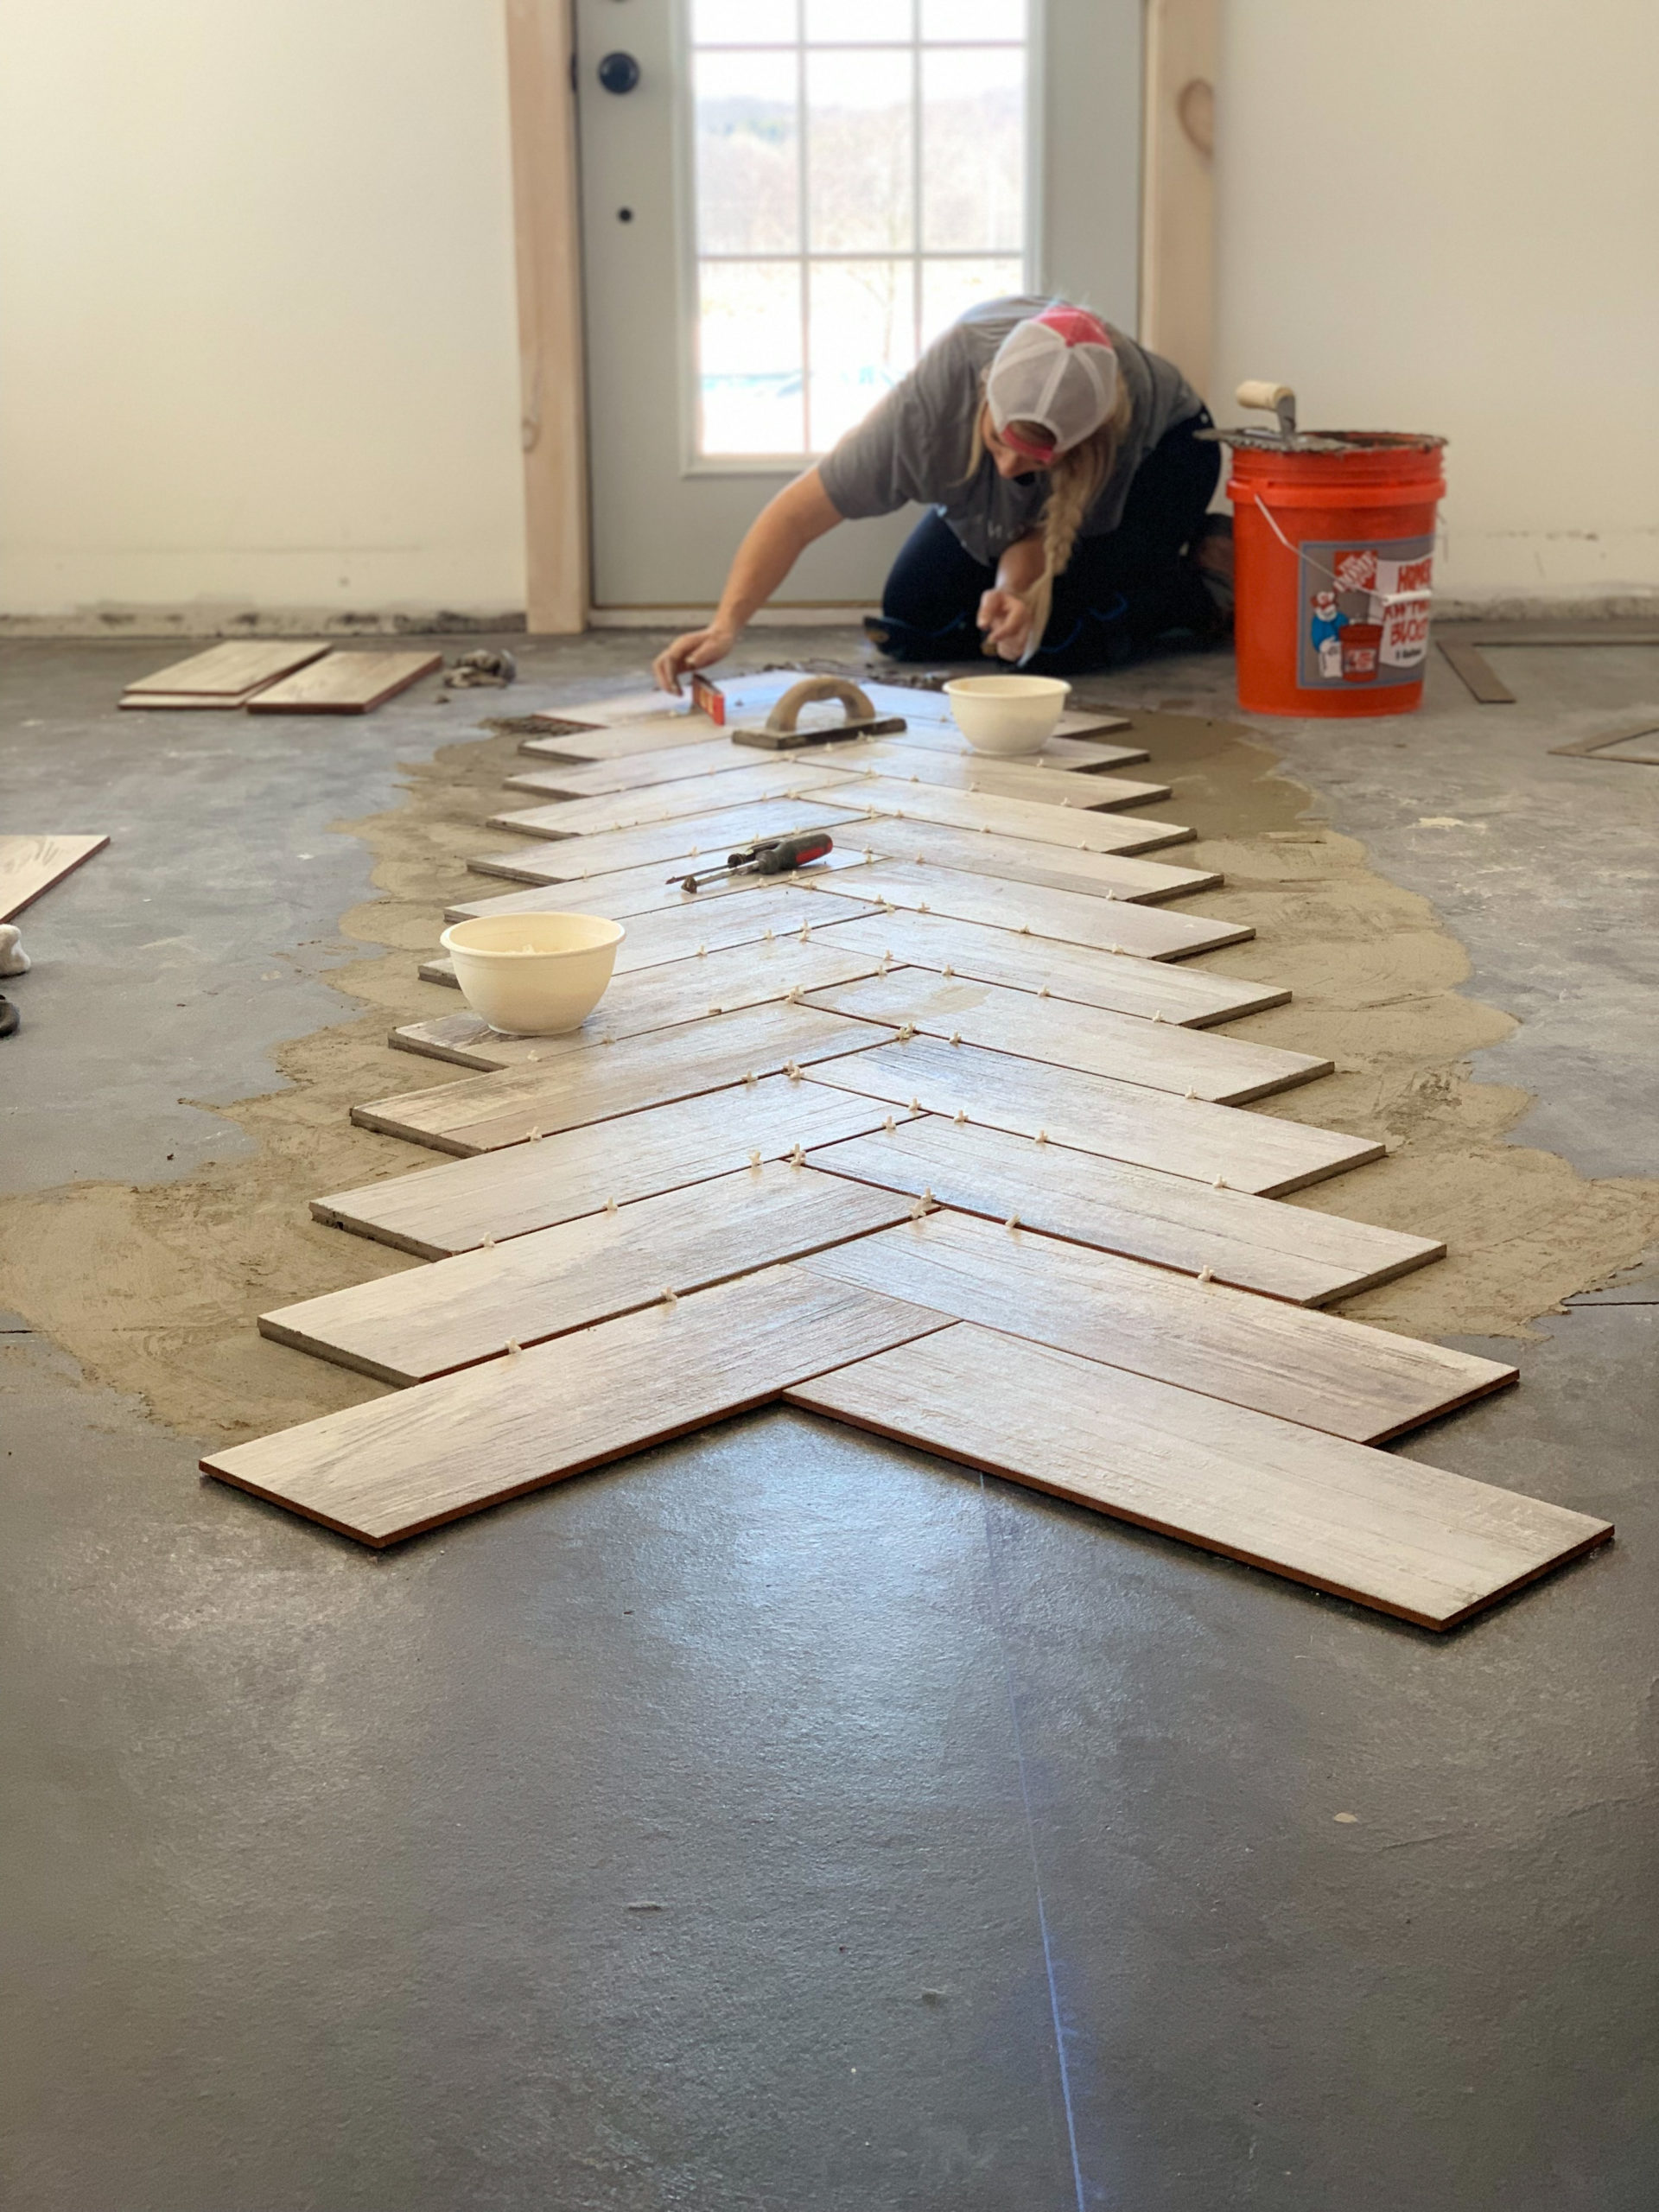
Take both pieces of the tile that you just cut and combine them so they form a triangle. Web installing the herringbone tile pattern. Slide.
How To Lay A Herringbone Pattern Tile Floor Viewfloor.co
Allowing time for the herringbone tiles to dry and cleaning the surface afterward are the final steps in the installation process. Identifying the center makes.
DIY Herringbone Tile Flooring Fletcher Creek Cottage
Remember, contrasting grout can highlight the uniqueness of your herringbone design, so consider this. Wipe away excess grout at an angle and clean the tile.
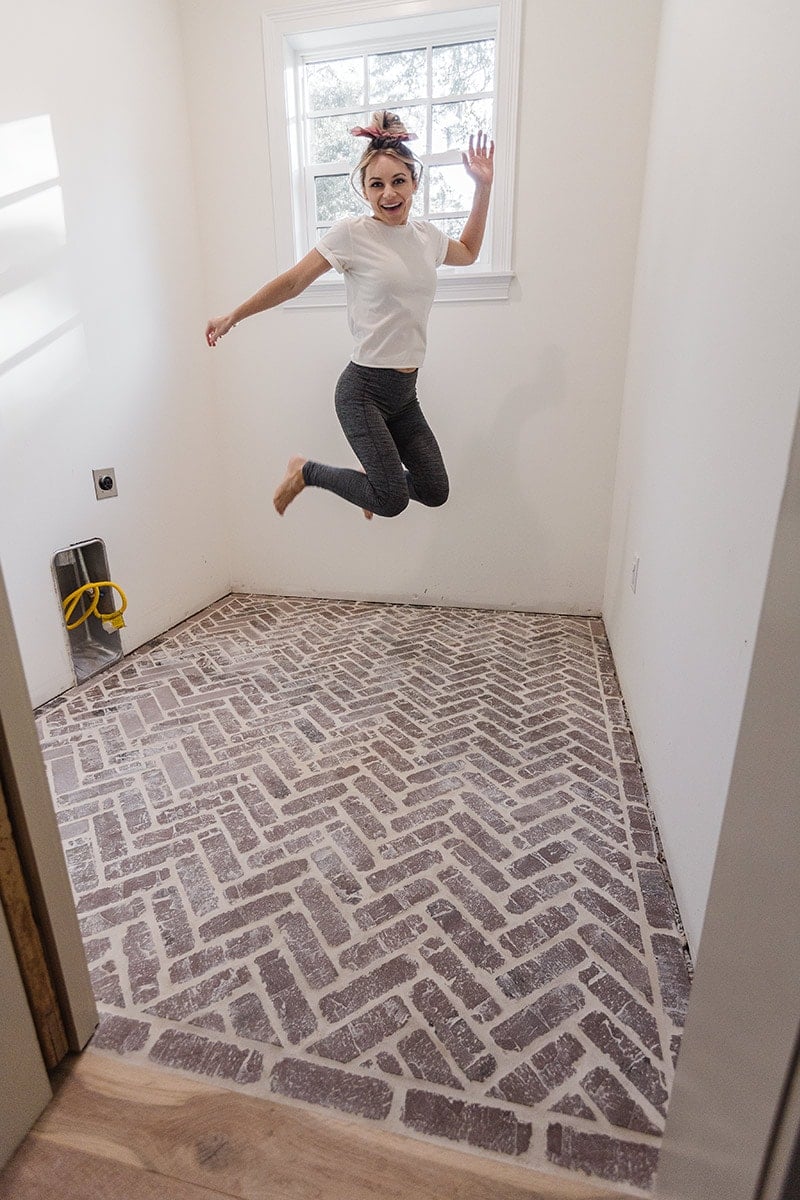
How to install herringbone brick floor tile Jenna Sue Design
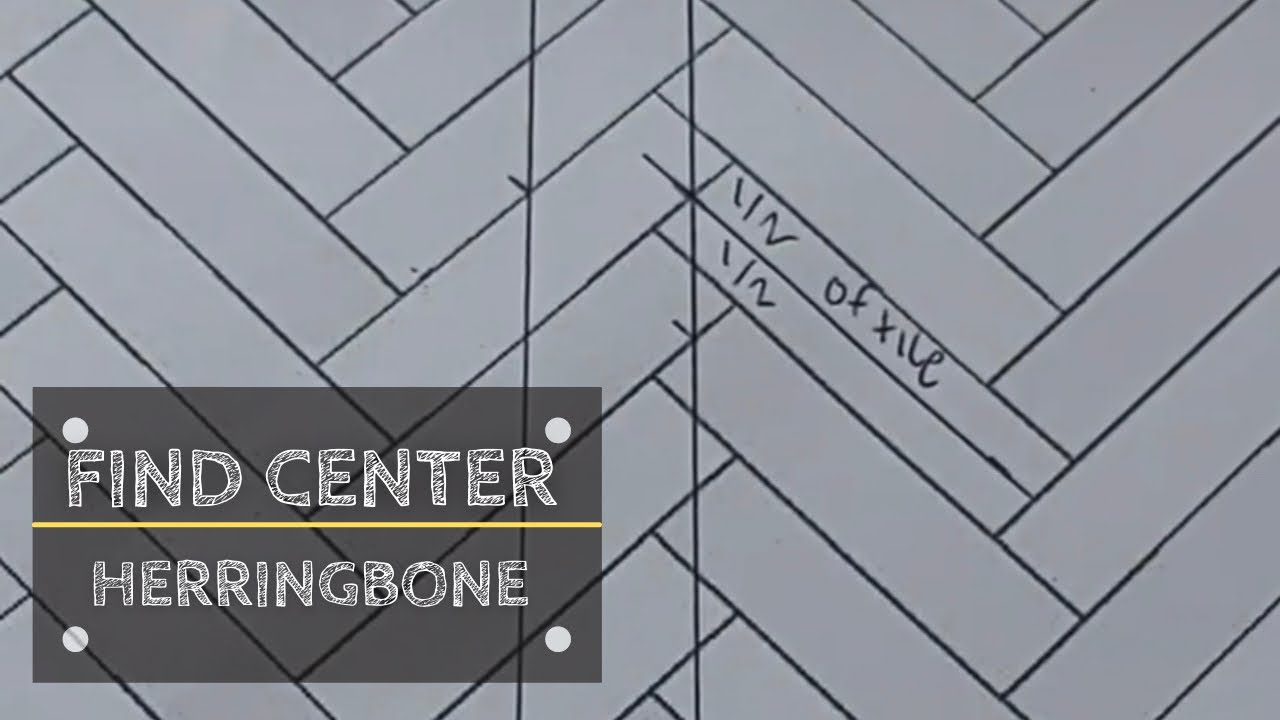
Web the first step in laying a herringbone pattern is to find the center point of the wall. Web the herringbone tile pattern can be.

How To Install A Diagonal Herringbone Tile floor YouTube
Wipe away excess grout at an angle and clean the tile surface with a sponge and warm water. Web here's the difference between herringbone patterns.
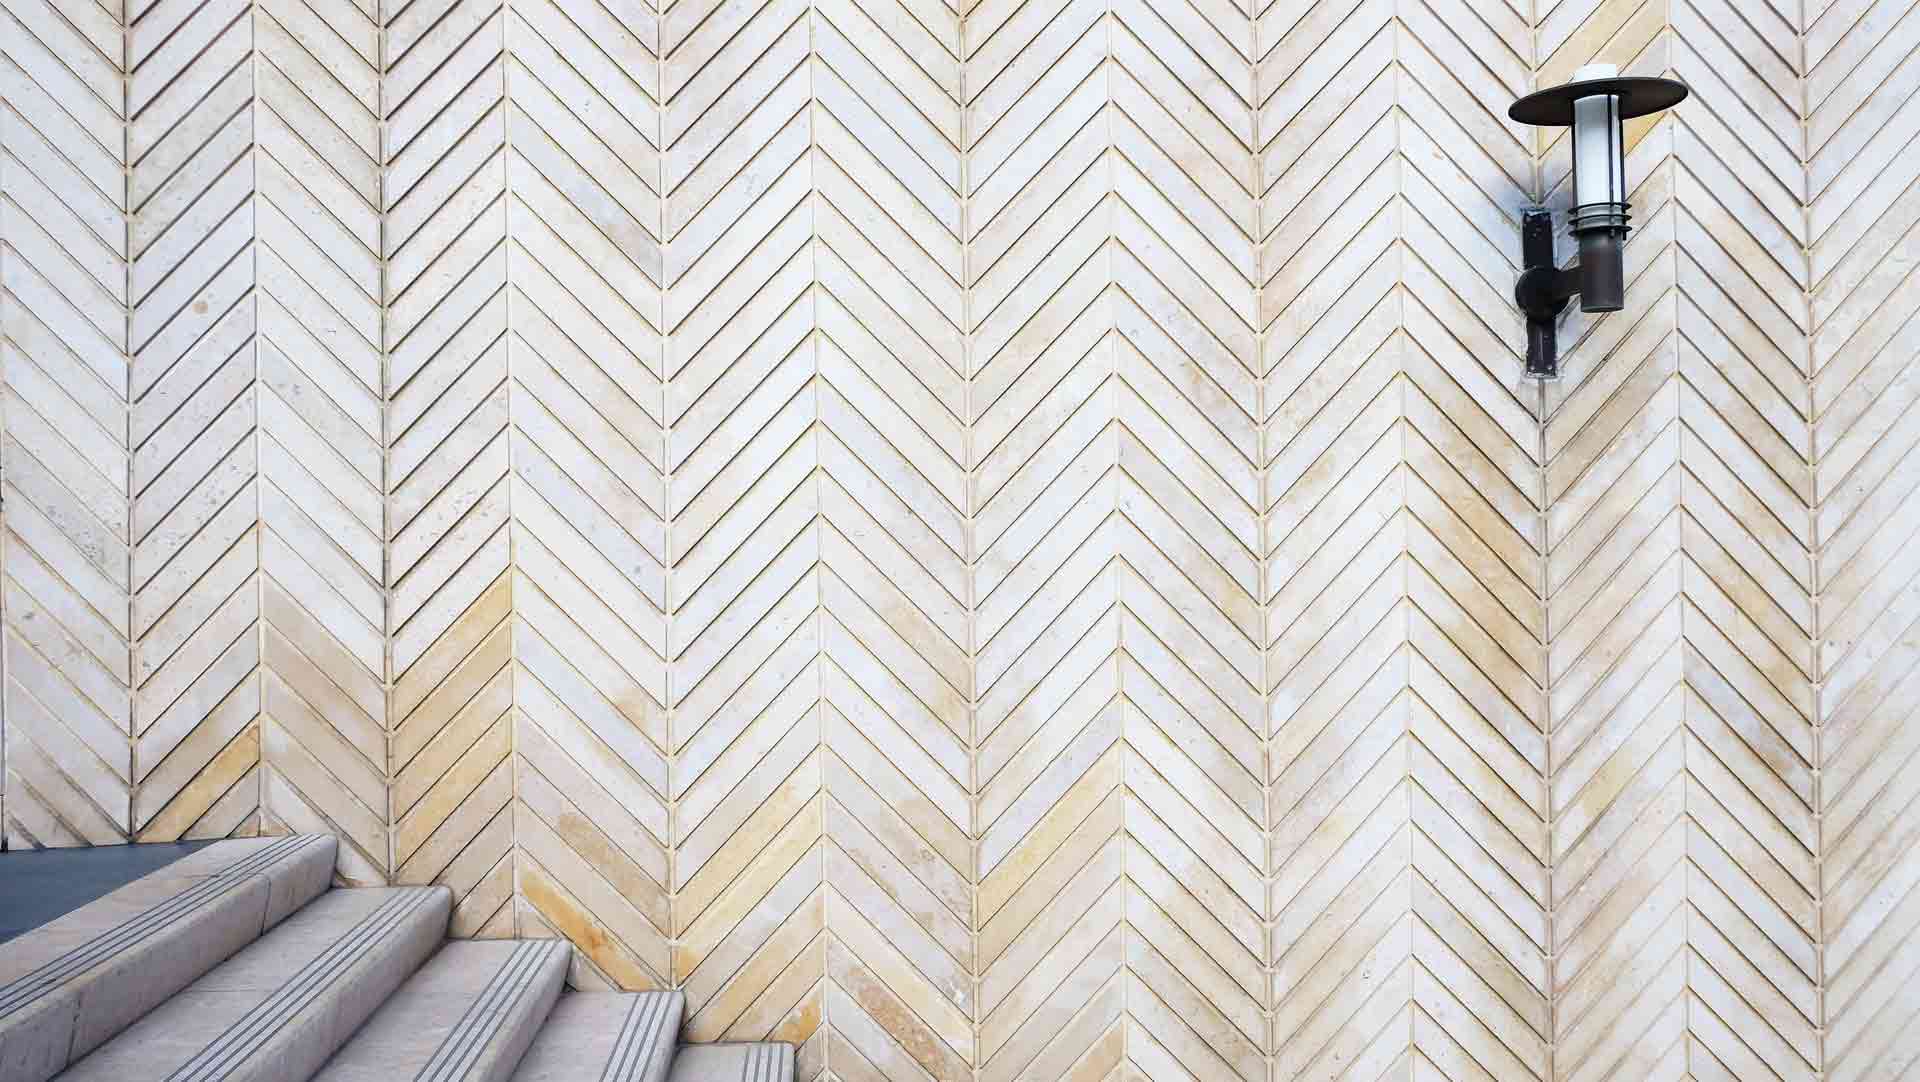
30+ Herringbone Pattern Tiled Floor & Wall Surfaces
Web to achieve this, alternate between two, three, or four vertical stacked tiles and the same number of horizontal stacked tiles,' says audrey. Figuring out.

Laying Herringbone Floor Tiles Herringbone Tile Floor How to Prep
Pull the backing paper off the tile off on the peel and stick tile. Once marked out, use a tile cutter and, once cut, if.

How to Lay Herringbone Tile Floor Stick on tiles, Tile countertops
In 2024, we're going to see less tile in the shower and more of the plastered look. Now you’ve got an idea of the pattern.
Web Plaster Shower Walls.
You can then start laying your tiles onto the adhesive. Web most, but not all, 12×24 tiles on the market will be this size. However, a 3×6, 4×12, or other variations. Place the third tile in place, with spacers between the other tiles.
Web 10 Glue The First Tiles To The Wall.
However, with rectangular tiles, such as 12×24’s, it’s quite common to install them in an offset pattern. A 3 x 12 tile works best. Remember, contrasting grout can highlight the uniqueness of your herringbone design, so consider this. You will use a sealer sponge and a sealer for natural stone and/or travertine.
Take Both Pieces Of The Tile That You Just Cut And Combine Them So They Form A Triangle.
A mosaic tile is an excellent option for a kitchen backsplash if you want to add vibrant detail with an artistic flair to your space. Mosaic tiles can be made from various materials, providing endless color and texture options, great for added appeal to your white kitchen. To make sure the tiles are bedded in, give them a push and slight wiggle to help. Web the herringbone pattern is beautiful and we are going to show you how to get the exact same look when laying your own tile.in this video we take you through.
Line Up The Corner Of The First Tile With The Halfway Mark And Stick The Tile To The Wall.
Once marked out, use a tile cutter and, once cut, if your tile edges are a bit rough you can use a tile file to smooth it out. Place the second so it overlaps the end of the first slat while lined up against the nailing blank. Ensuring proper spacing by using the tile spacers. Put both triangle next to each other so the bottoms are on a straight line.