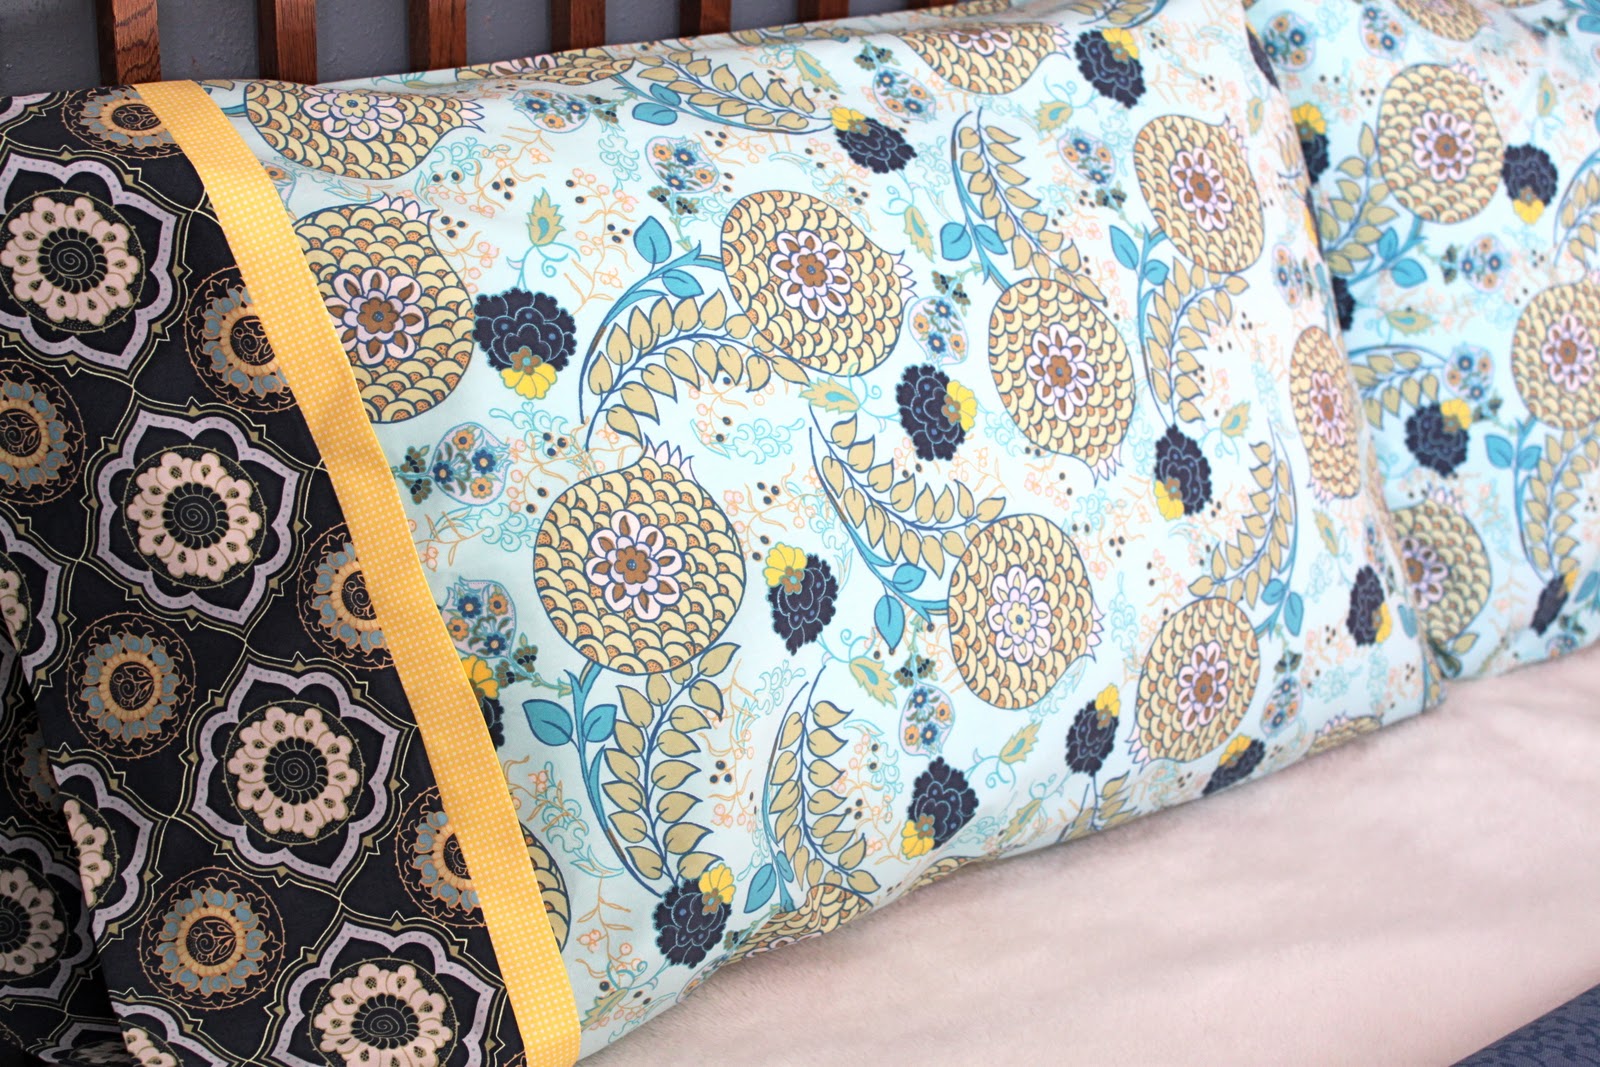
French Seam Pillowcase Pattern - Web we've got another really easy and fast tutorial that makes a great holiday gift or decor, the french seam pillowcase. Stitch the seam ¼ inch (6mm). Web pin or secure with sewing clips and stitch along the bottom, left side and top using a ½ (1.2cm) seam allowance. Next, roll of the body fabric until it is about an inch from the folded edge of the band fabric. Pull out the pillowcase body from the inside of the cuff. Turn the pillowcase inside out, so the right sides are together. Roll up the main fabric. The next step uses a french seam. If you want to go a step further and make sure the seams align properly, pin the. Press this seam open as best as you can.
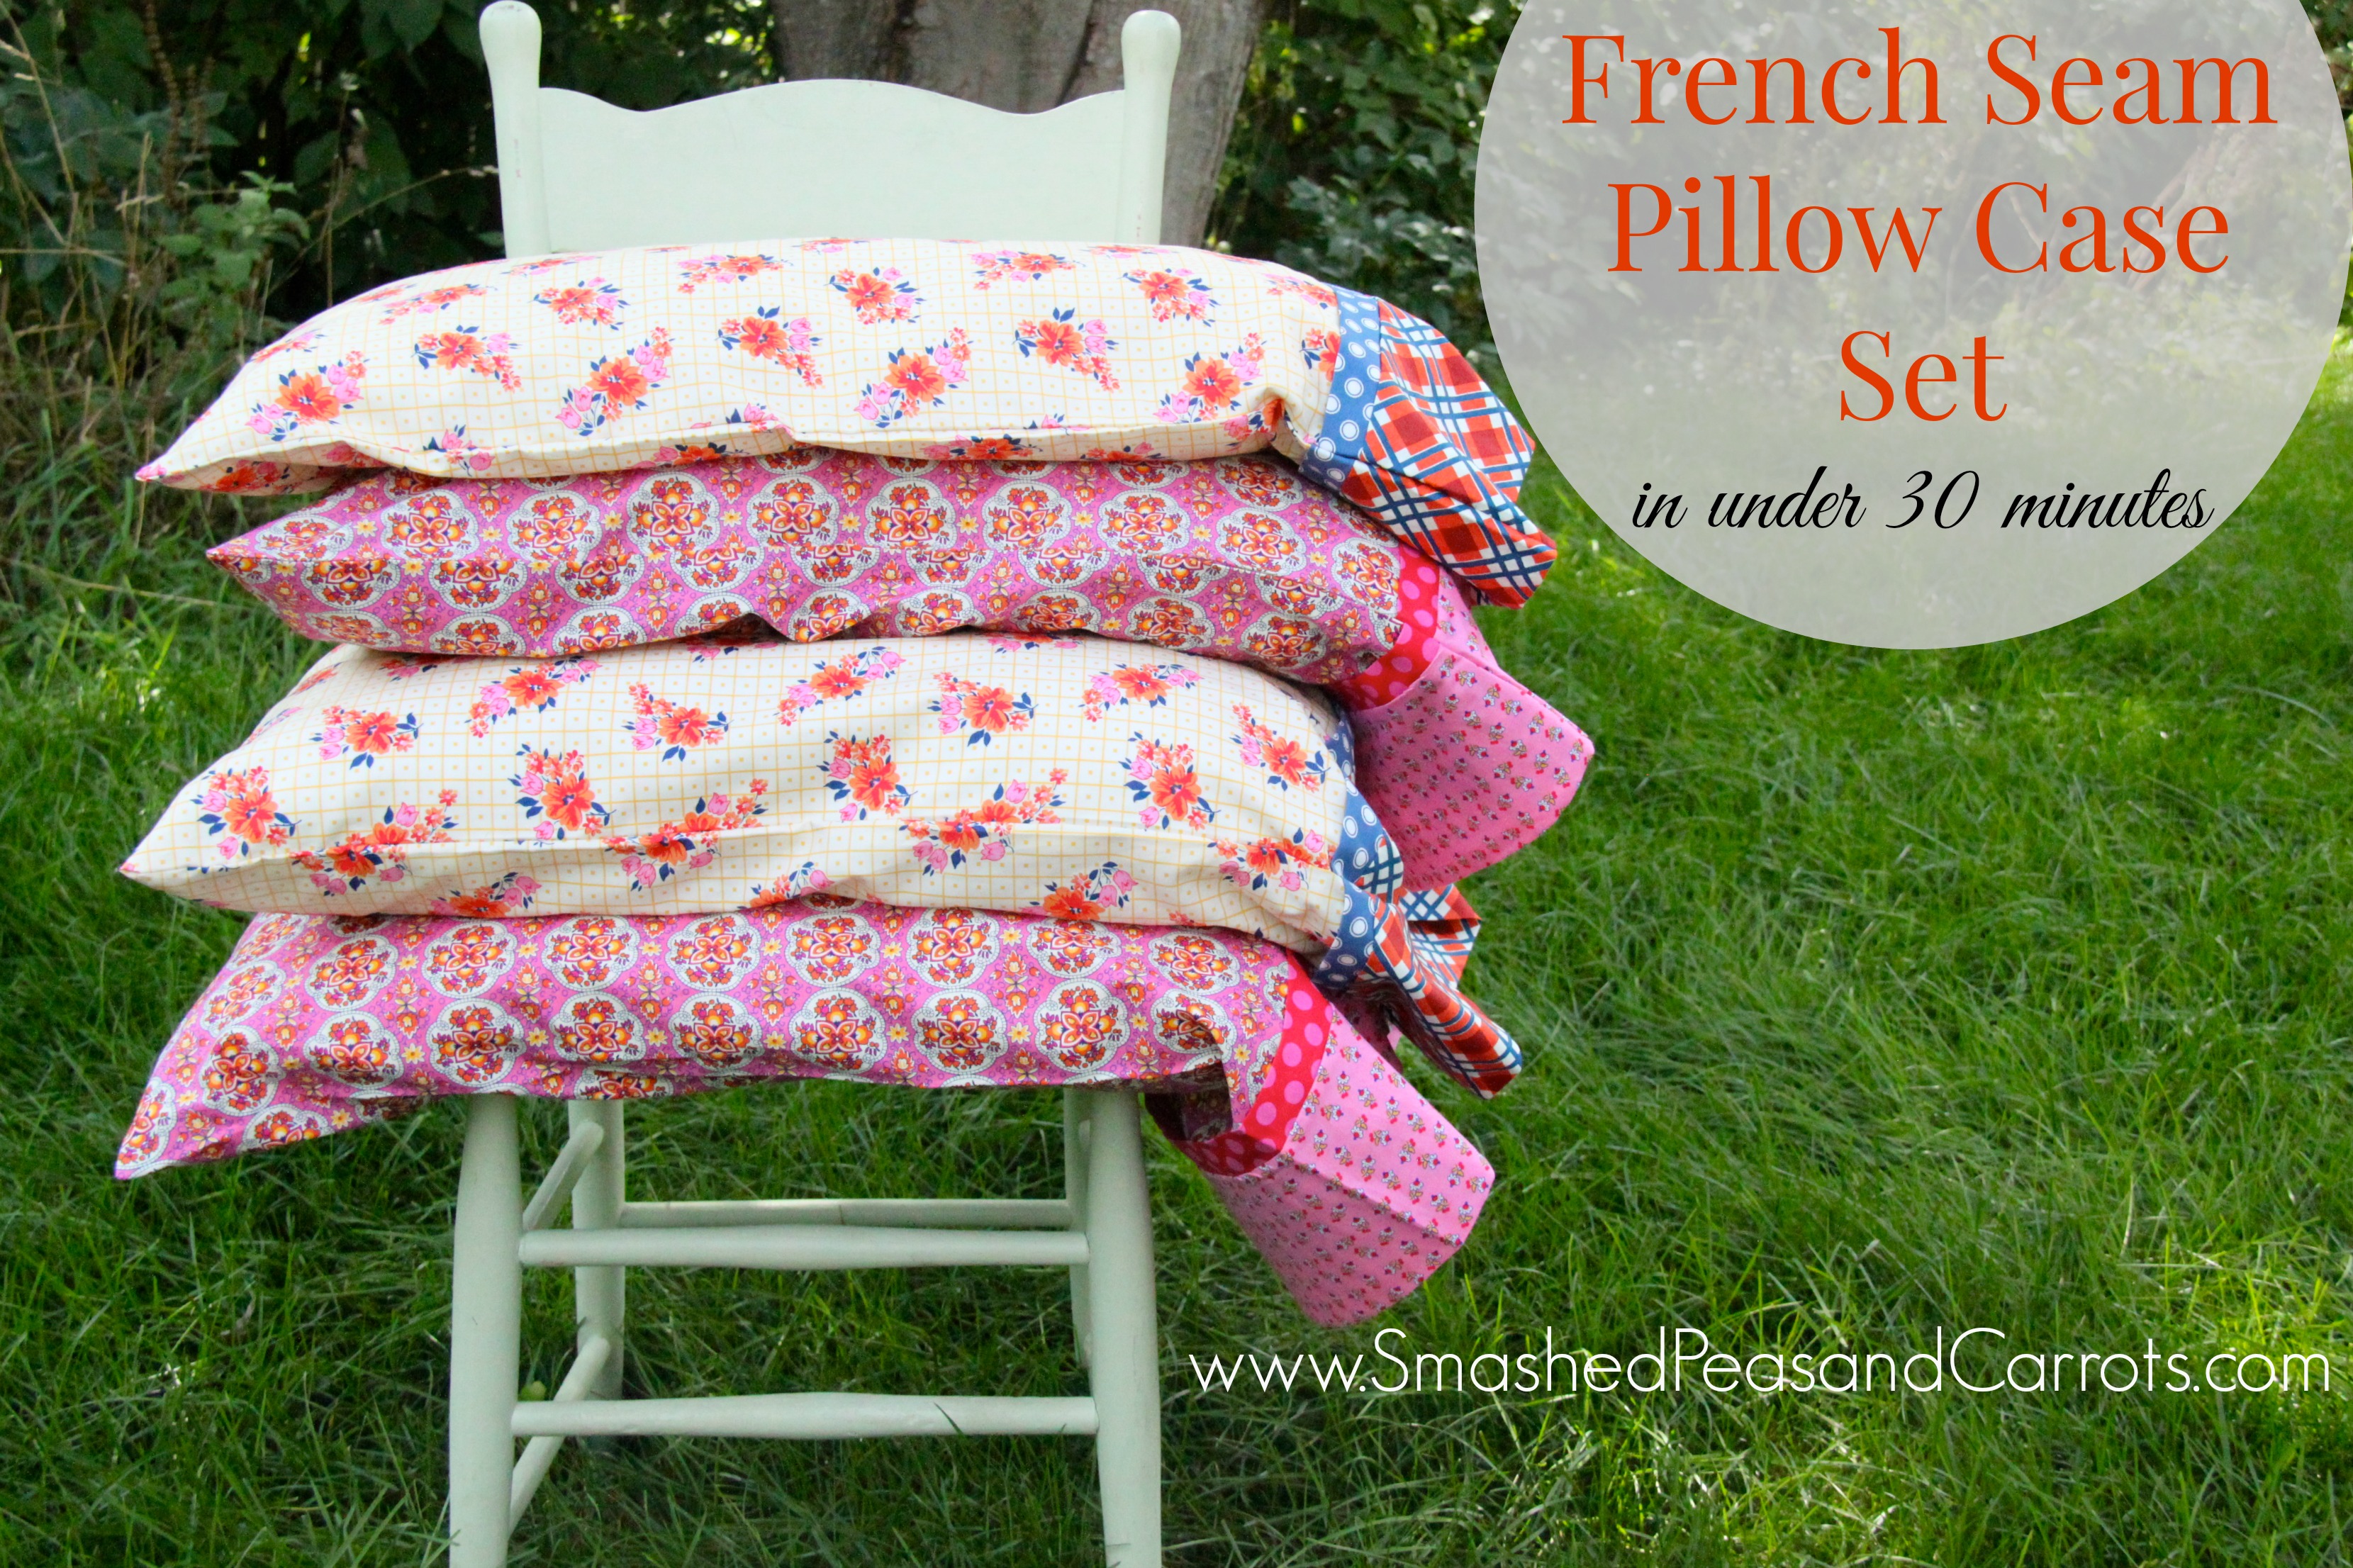
French Seam Pillowcase Set in Under 30 MinutesTutorial Smashed Peas
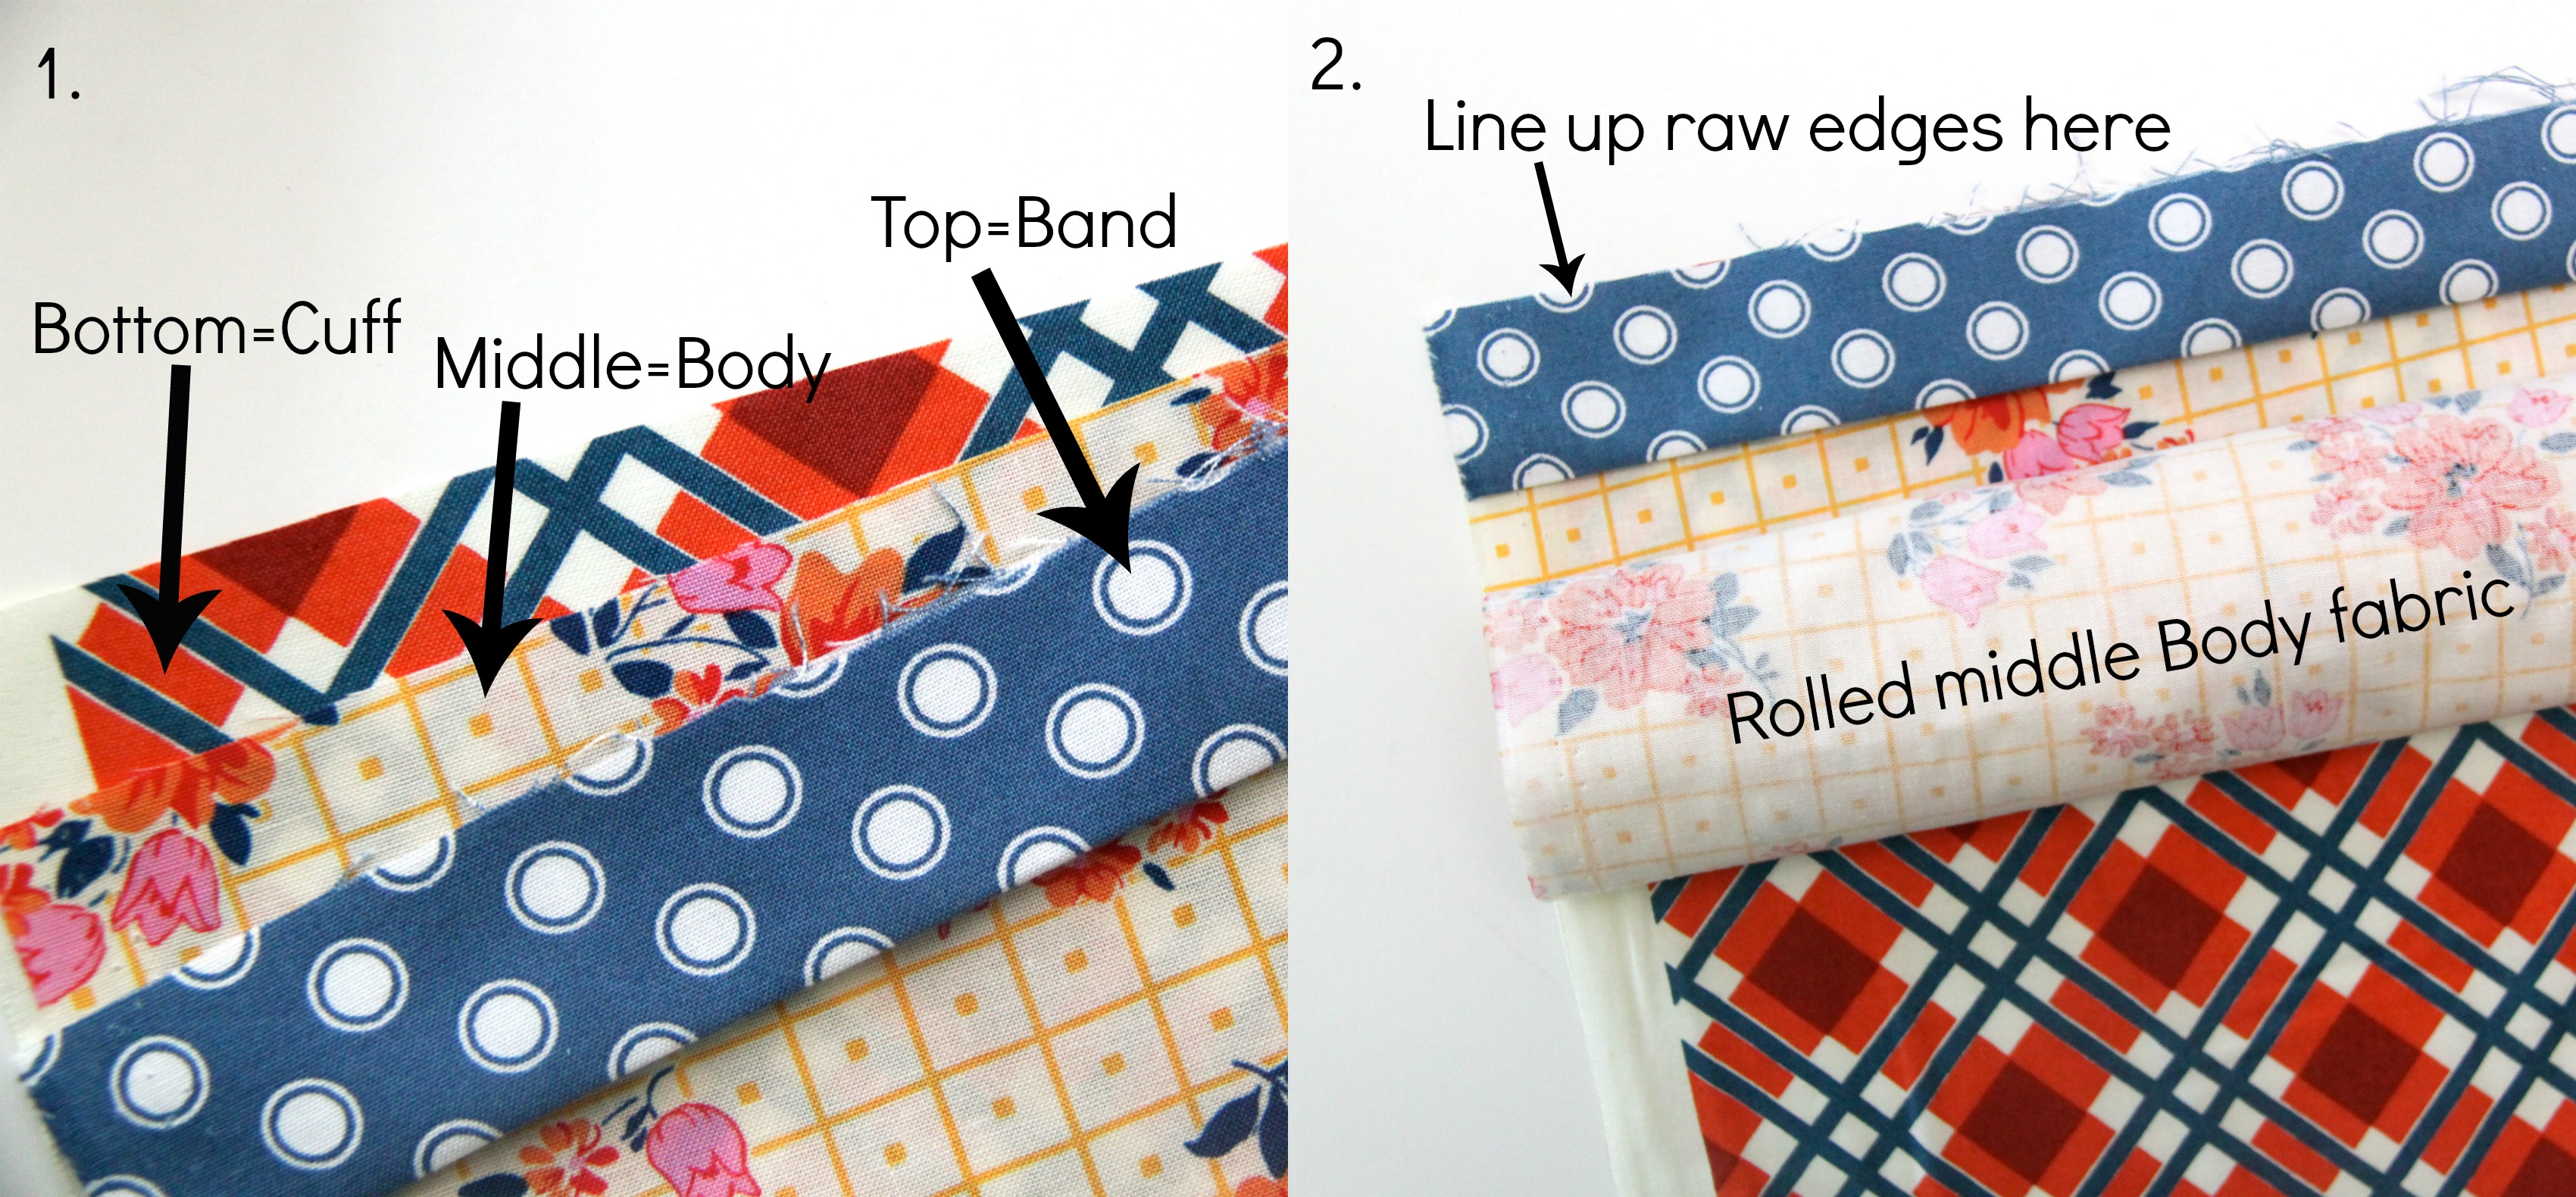
Web layer the main pillowcase fabric on top of it, right side up, aligning the top raw edges. Web this is a burrito pillowcase tutorial.
French Seam Pillowcase Set in Under 30 MinutesTutorial Smashed Peas
Web 1.place the fabrics one on top of the other in this order with the right sides up: 27″ (main fabric) x width of fabric.
/materials-52d8ae4e4ab44806810c5dfd2e95a2dc.jpg)
Pillowcase Pattern Tutorial
Sew along the pinned edge with a ⅜” seam allowance. Watch and learn from stephanie at youtube. Then sew the accent fabric, right sides together,.

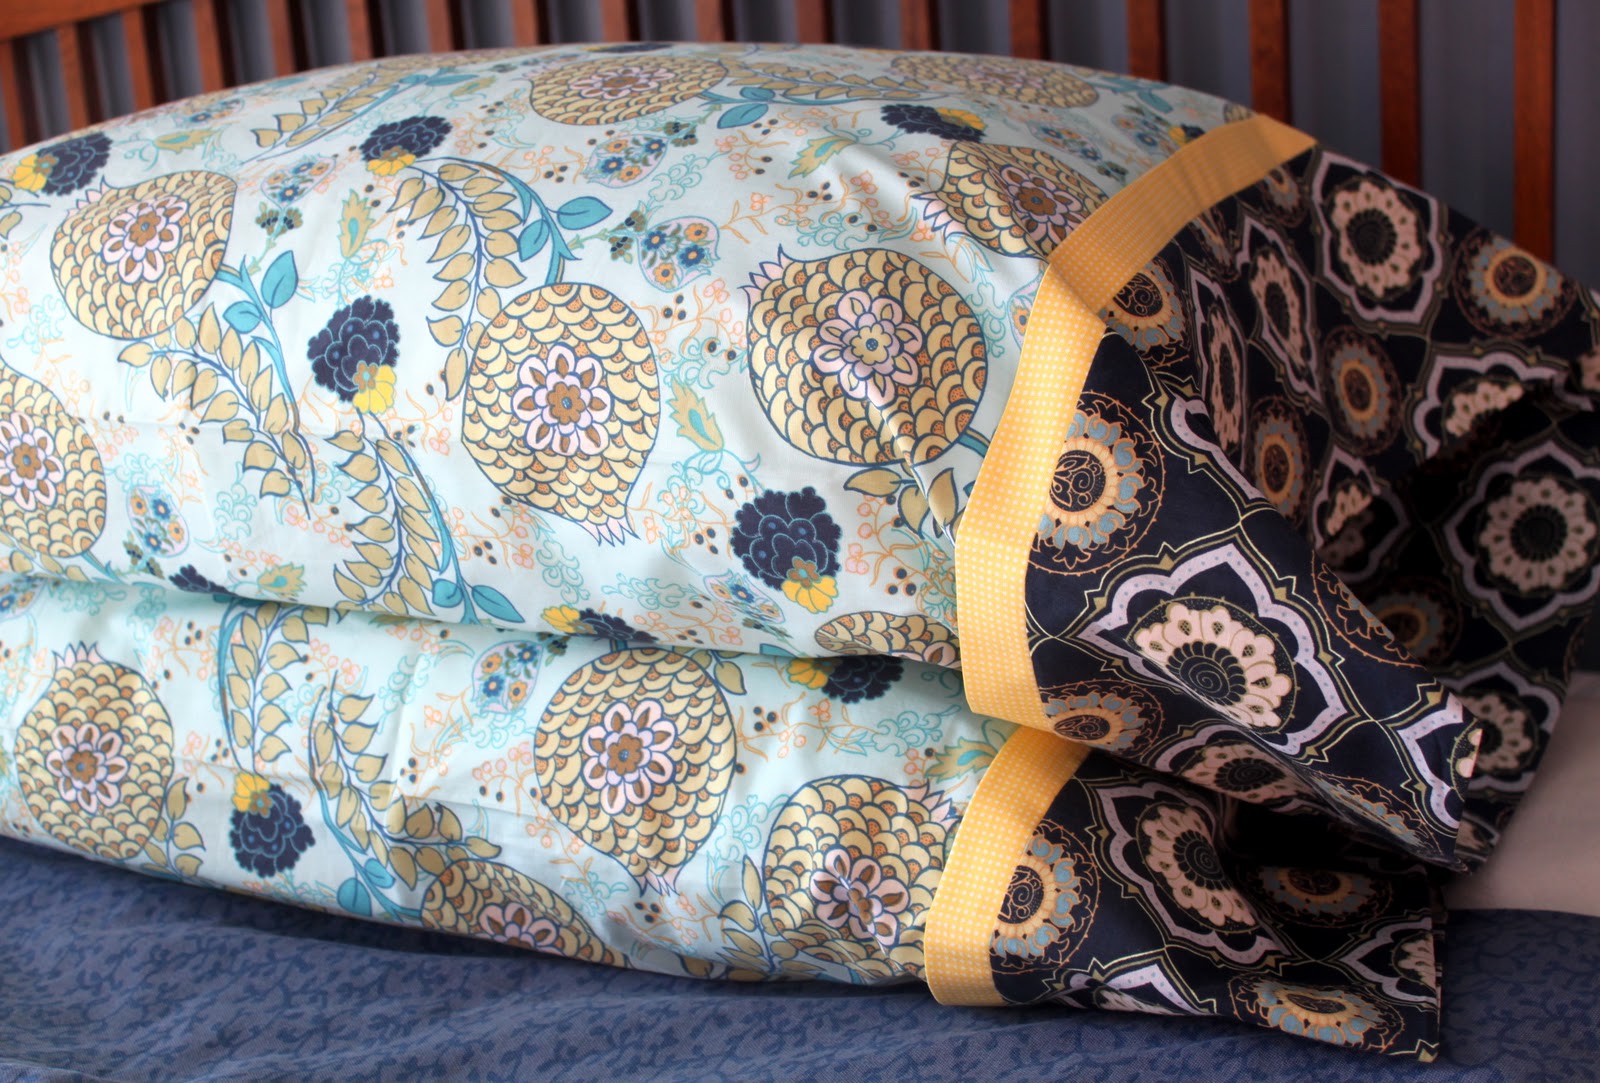
15Minute Pillowcase {with French Seams} Tutorial The Cottage Mama
Align the seam and press again. Web turn pillowcase right side in and press the seam open from the wrong side. Don't panic, this is.
15Minute Pillowcase {with French Seams} Tutorial The Cottage Mama
The next step uses a french seam. The advantage of using a french seam for this pattern is that the seams will last through lots.
15Minute Pillowcase {with French Seams} Tutorial The Cottage Mama
You can easily customize measurements to. Web layer the main pillowcase fabric on top of it, right side up, aligning the top raw edges. Sew.

French Seam Pillowcase Set in Under 30 MinutesTutorial Smashed Peas
At this point, the wrong side of the main fabric should still be facing up. Turn the pillowcase inside out, so the right sides are.

15Minute Pillowcase {with French Seams} Tutorial The Cottage Mama
Use a 3/8″ seam allowance. Remember to keep the side with the flap open. Press this seam open as best as you can. Bottom cuff.
French Seam Pillowcase Set in Under 30 MinutesTutorial Smashed Peas
This will make a nice finished seam. Web sew the 2 layers together using a 1/4 seam allowance removing the clips as you go. Place.
15Minute Pillowcase {with French Seams} Tutorial The Cottage Mama
Sew along the pinned edge with a ⅜” seam allowance. Next, roll of the body fabric until it is about an inch from the folded.
Remember To Keep The Side With The Flap Open.
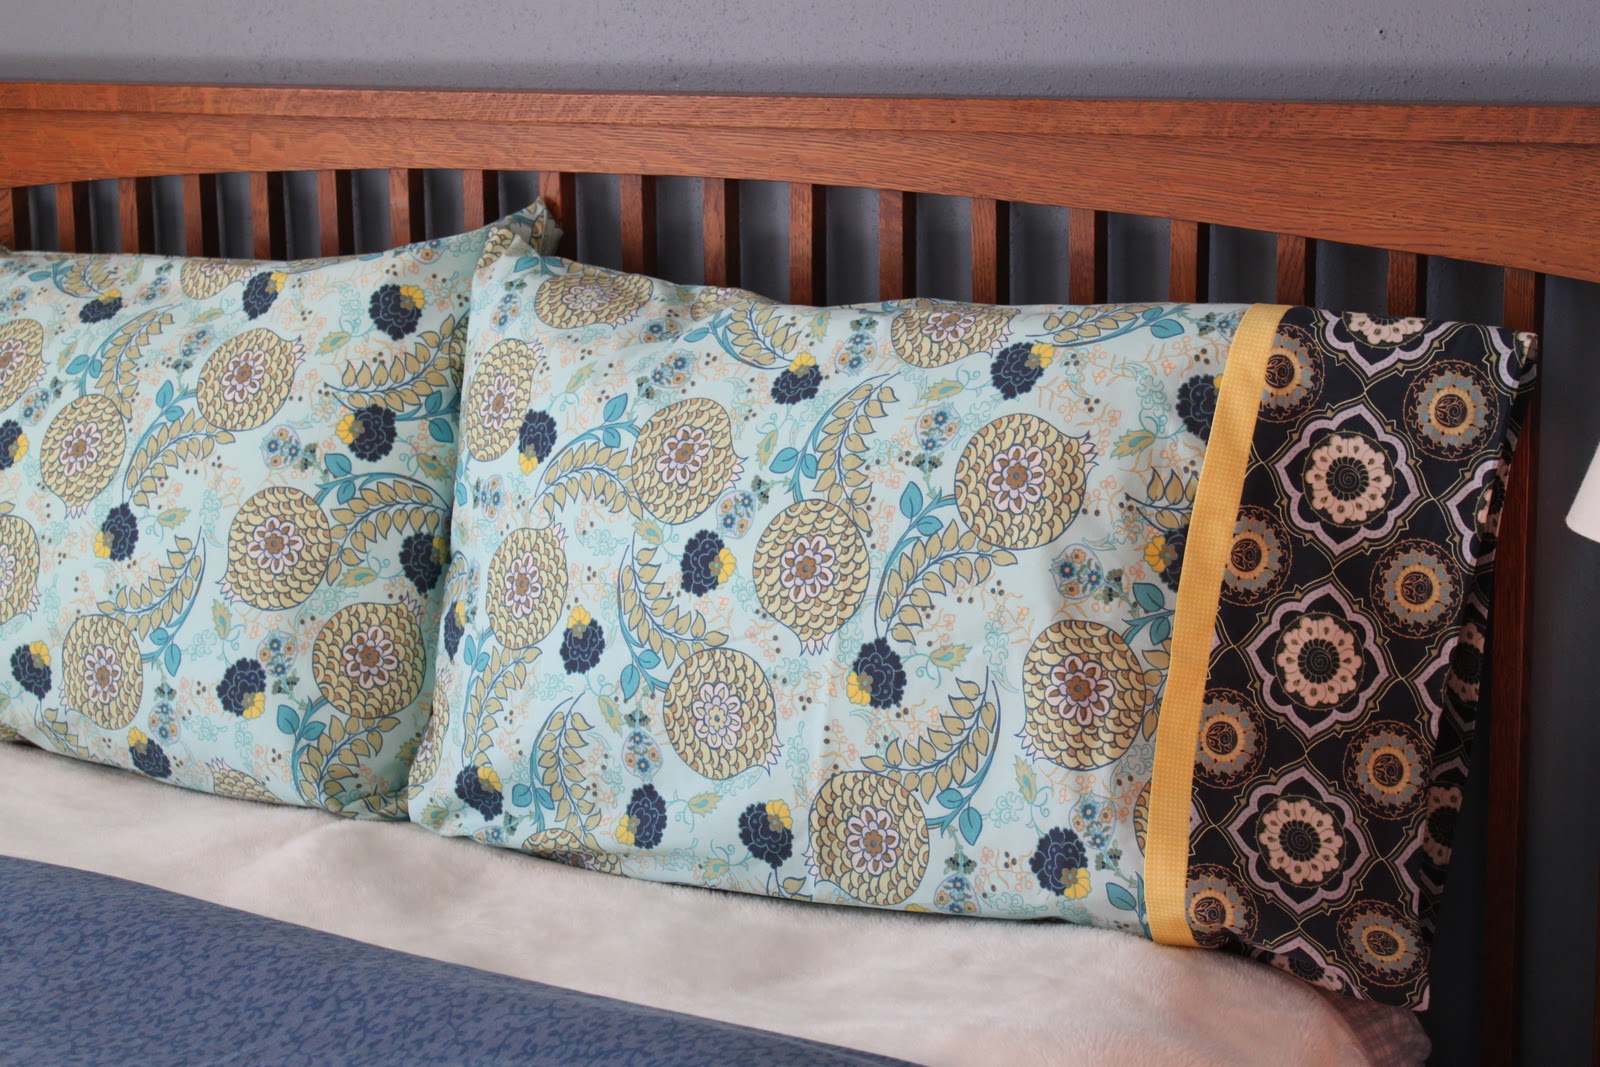
Web we've got another really easy and fast tutorial that makes a great holiday gift or decor, the french seam pillowcase. {with french seams} materials (1 standard size pillowcase): 2.5″ (thin accent) x width of fabric (approx. Learn how to make a pillowcase with a pretty border and durable french seams.
The Next Step Uses A French Seam.
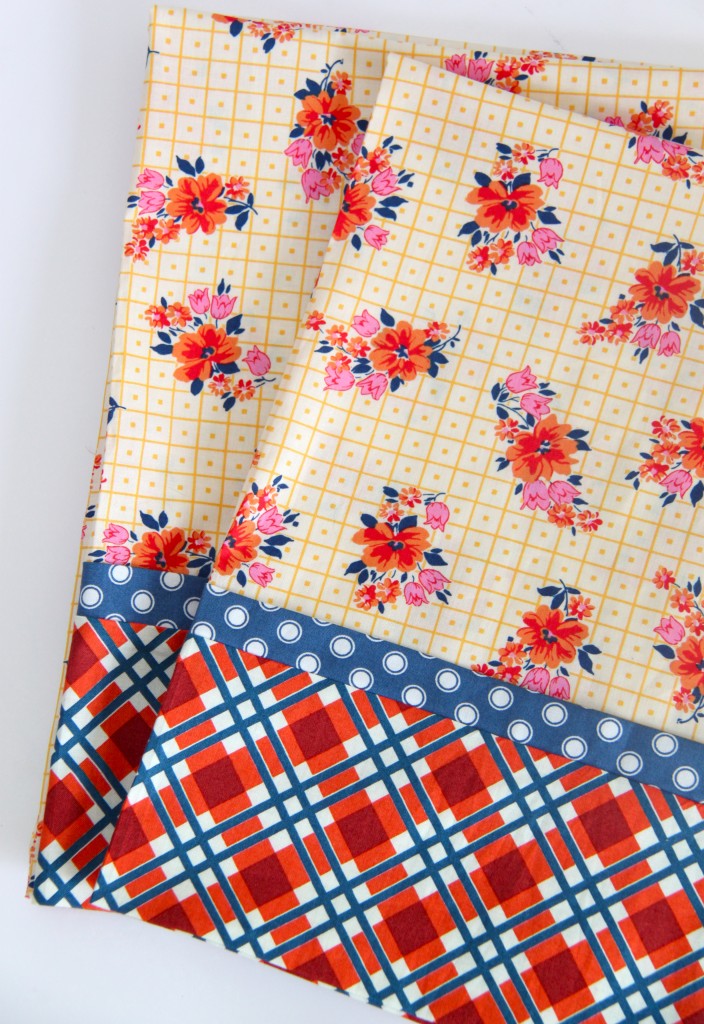
Sew along the pinned edge with a ⅜” seam allowance. Starting at the bottom and working your way up, roll the main fabric panel into a little tube or “burrito.”. This will enclose those raw edges. Web iron the pillowcase so that all the edges are flat.
The Advantage Of Using A French Seam For This Pattern Is That The Seams Will Last Through Lots Of Washes Without The Seam Allowance Fraying Or The Seams Splitting.
Web today's tutorial is for a super easy, and fun giftable project, the french seam pillowcase.you need a little more than a yard of fabric per pillowcase, and i. Stitch the seam ¼ inch (6mm). Turn the pillowcase inside out, so the right sides are together. Align the seam and press again.
At This Point, The Wrong Side Of The Main Fabric Should Still Be Facing Up.
Roll up the main fabric. Trim both sides of the pillowcase to remove selvages and to make sure all edges. Next, fold the cuff fabric over and press the seam with your iron or finger press. Fold the raw edge of the fabric under and top stitch in place, as shown {you could use a french seam here too, but i liked the double row of stitching this made on the outside}: