Free Reversible Bucket Hat Pattern - Make sure when positioning the crown and brim pieces that the “fold line” edges of the pattern are placed along a folded edge of your fabric. Iron your fabric smooth and pin the bucket hat pattern on top of one of your fat quarters. You should have 4 side pieces, 4 brim pieces and 2 crown pieces. 1 yard after dark paisley bandana printed stretch cotton denim. Web sew the trim to the hat about 1/8” from the folded edge. Web how to make a bucket hat. Web learn how to sew a bucket hat with this free pdf printable sewing pattern and tutorial in sizes adult, child, toddler, and baby.download the free pattern: Put the two 'hats' together with the right sides facing each other, with the side seams on the brim aligned. 1 yard stratton white solid organic cotton twill. Web this diy reversible bucket hat pattern for adults is so easy to whip up at home.

Simply Silver... Free Pattern for a Reversible Bucket Hat
Line up the brim seams with those of the crown and pin them together on the wrong side of the fabric. Web this diy reversible.
Reversible Bucket Hat Free Sewing Pattern
Web sew the trim to the hat about 1/8” from the folded edge. Web how to make a bucket hat. Fold seam to seam ,.
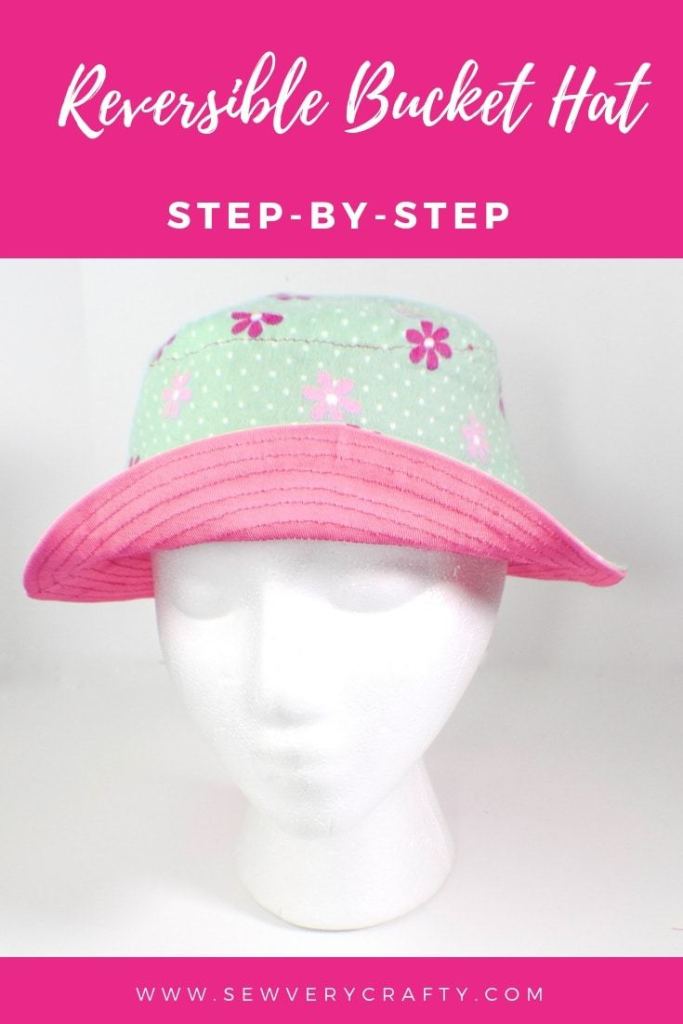
Reversible Bucket Hat Free Sewing Pattern
Web sew the side seams with a 3/8 (1cm) seam allowance. Place lining bucket hat brim pieces together and sew side seams. You should have.

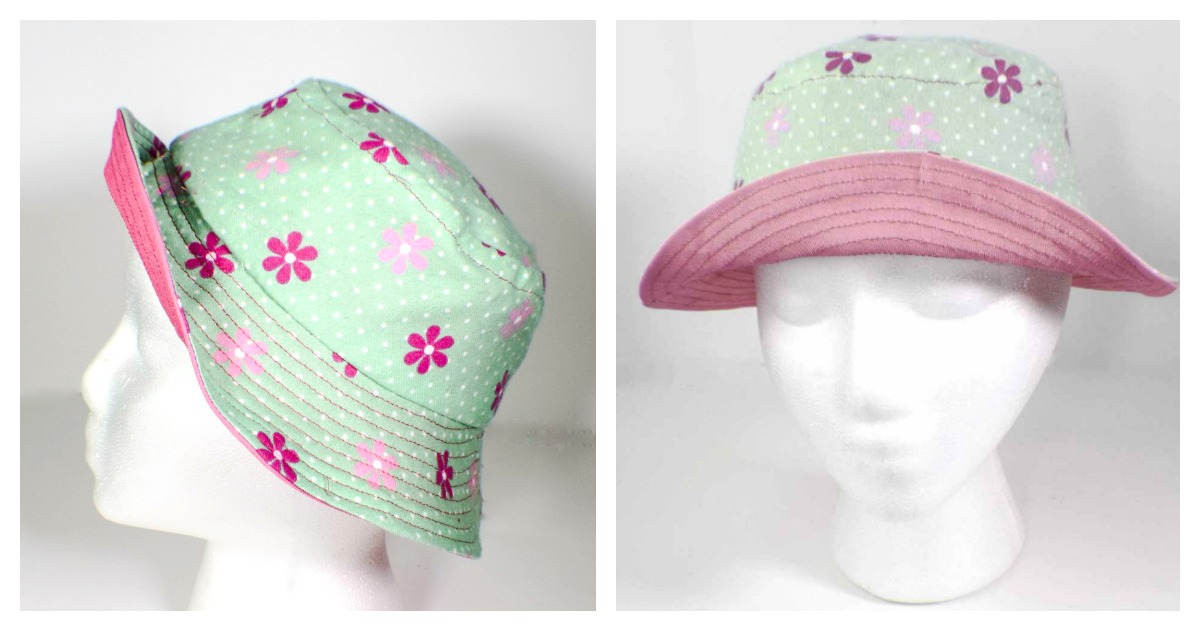
Make a Reversible Bucket Hat with Our Free Pattern Spoonflower Blog
Make a reversible bucket hat. You only need to cut one piece from each fabric for the crown. Fold seam to seam , then crease.
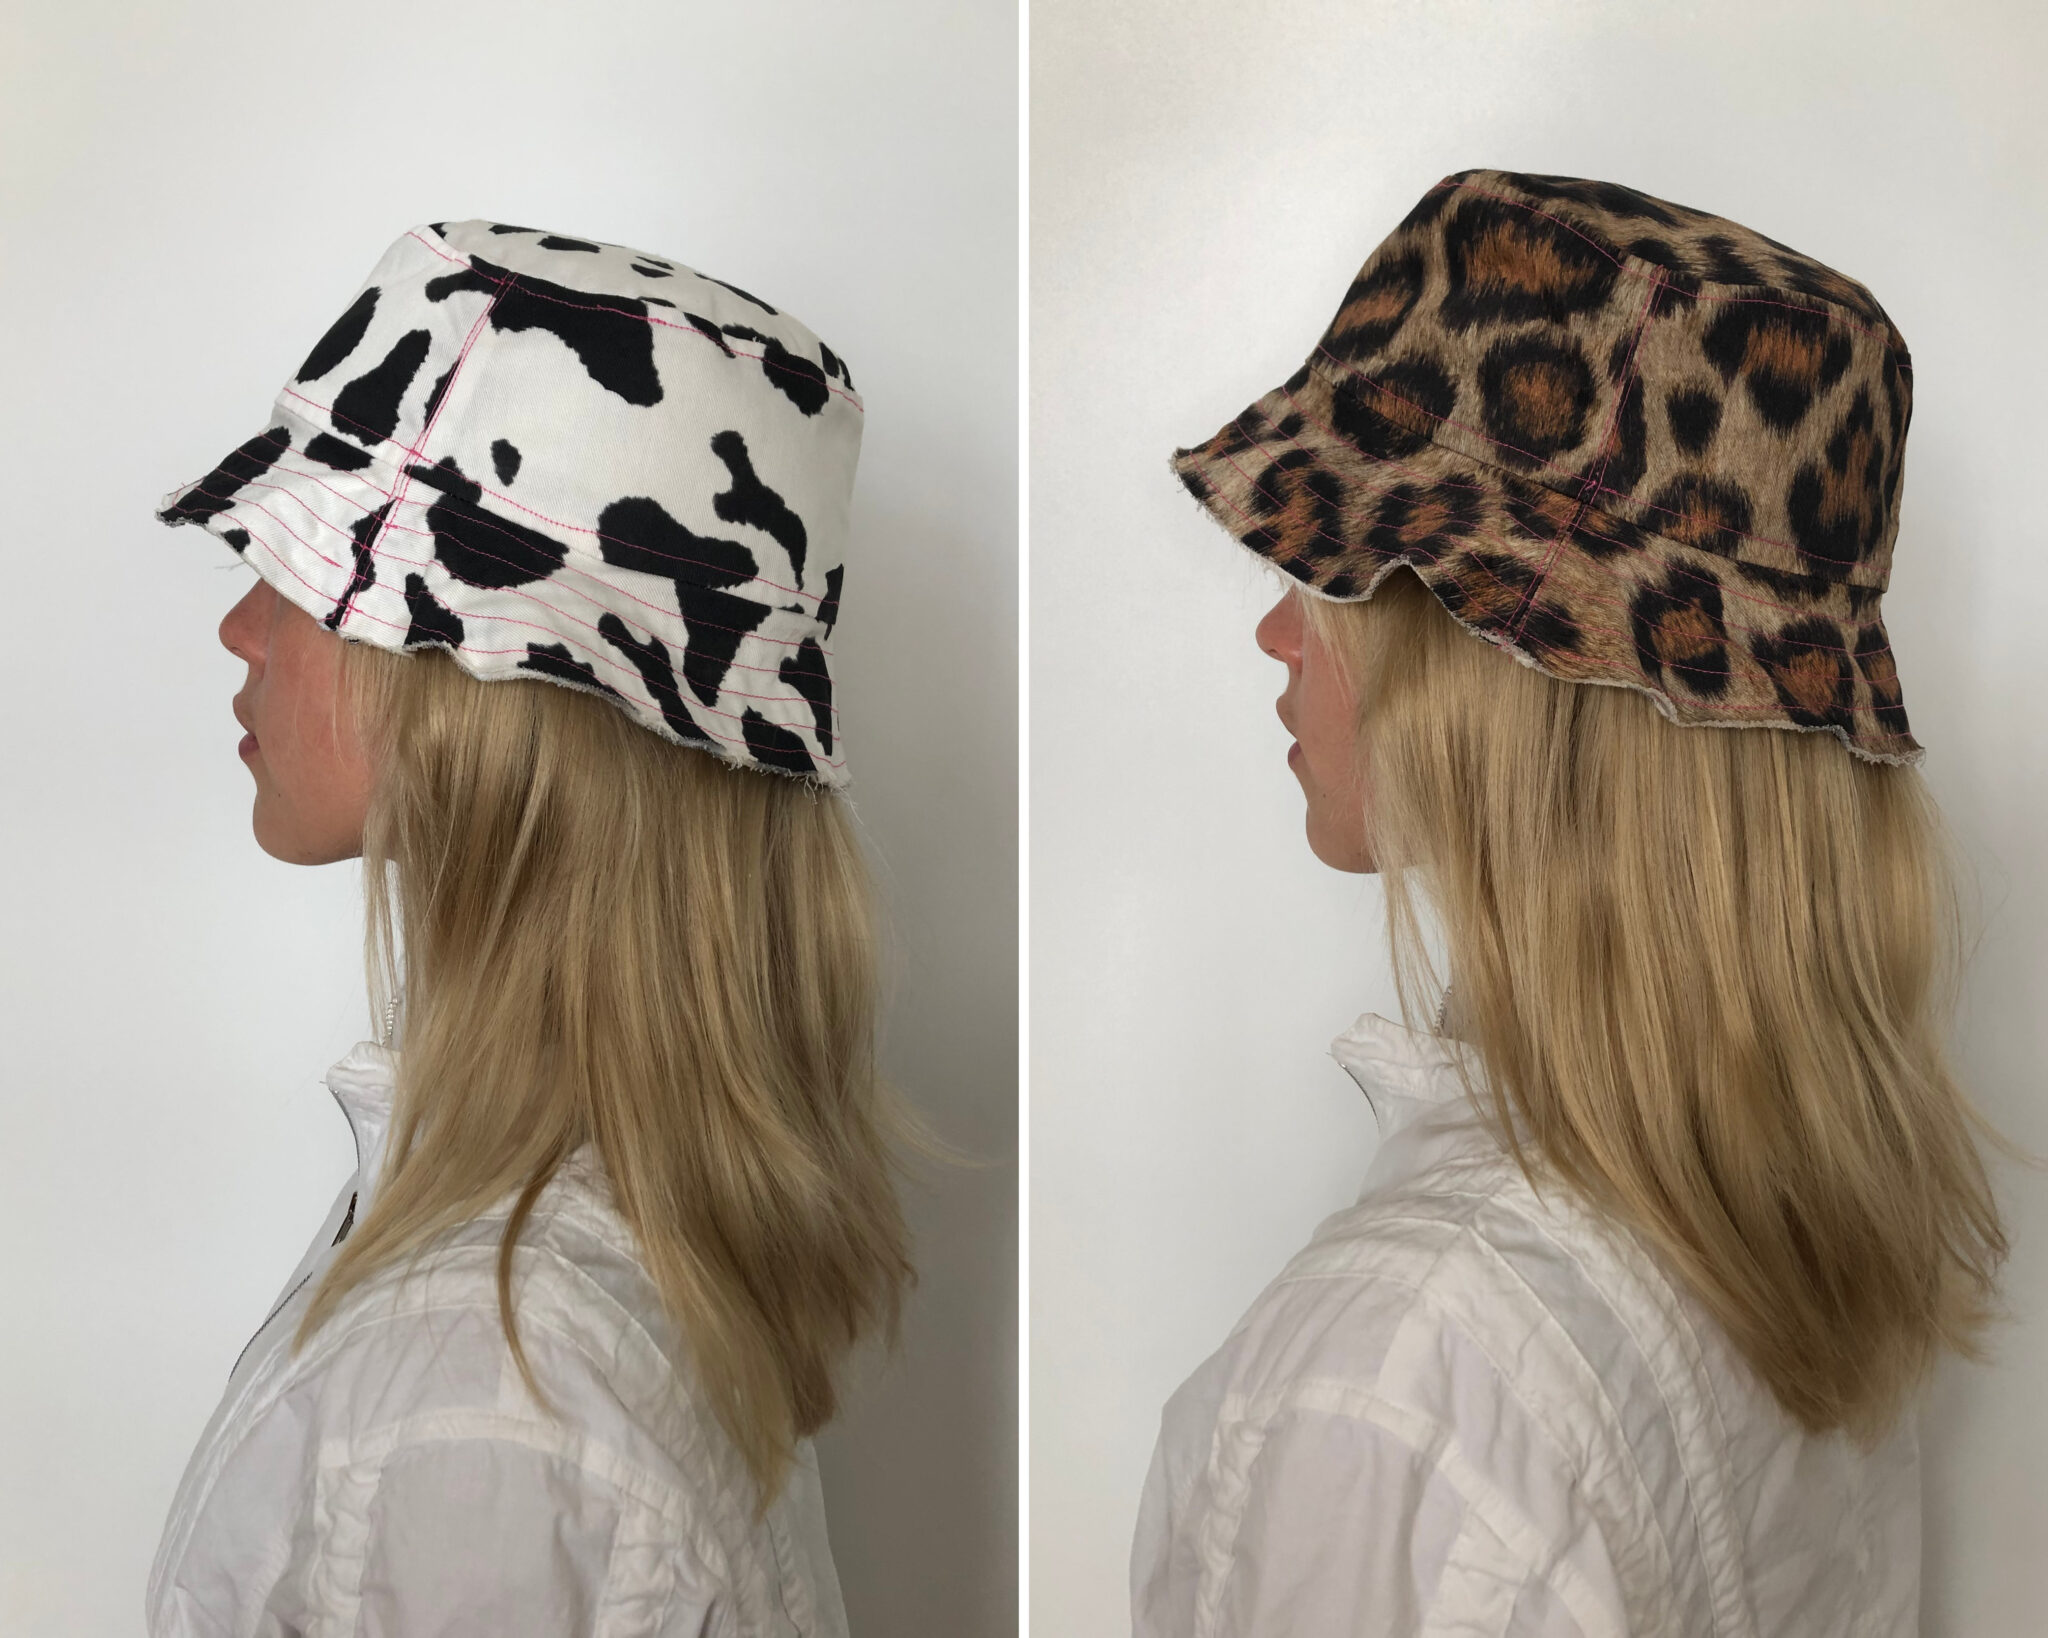
Make a Reversible Bucket Hat with Our Free Pattern Spoonflower Blog
Sew the seam allowance in place using 1/8 seam allowance on either side of the seam. Fold seam to seam , then crease and mark.
Reversible Bucket Hat Pattern (6 sizes) SwanFamilyPatterns
Place lining brim on main brim with right sides together, lining up the side seams. Put the two 'hats' together with the right sides facing.
Reversible Bucket Hat Free Sewing Pattern
Print the free pdf paper pattern, pick your fave fabrics and follow this sup. 1 yard stratton white solid organic cotton twill. Web this diy.
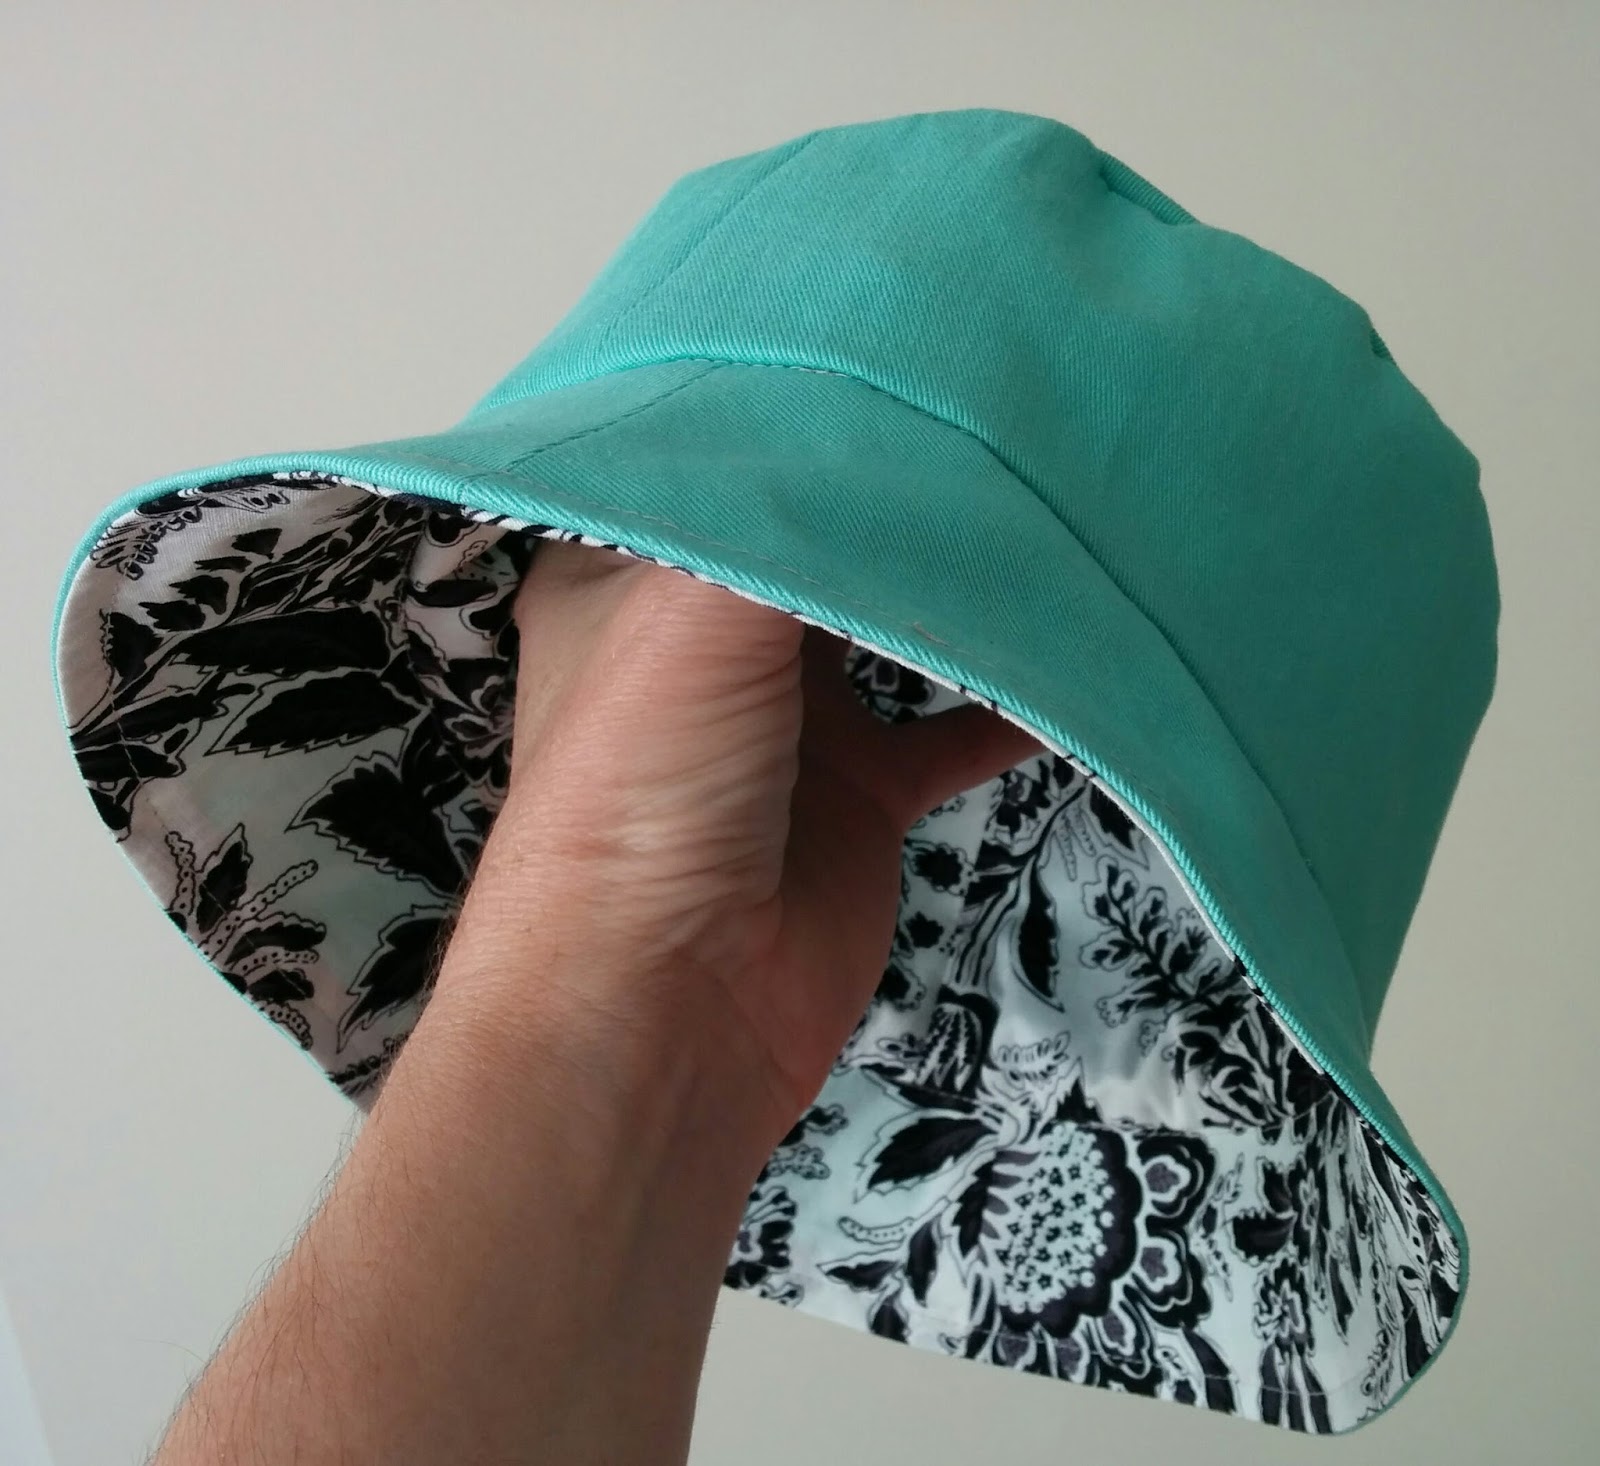
Seaside Fabricrafts Fabulous Reversible Bucket Hat Free Pattern By
Pin the brim to the crown+top piece. 1 yard after dark paisley bandana printed stretch cotton denim. 1 yard stratton white solid organic cotton twill..

Free Reversible Bucket Hat Sewing Pattern YouTube
1 yard after dark paisley bandana printed stretch cotton denim. Make sure when positioning the crown and brim pieces that the “fold line” edges of.
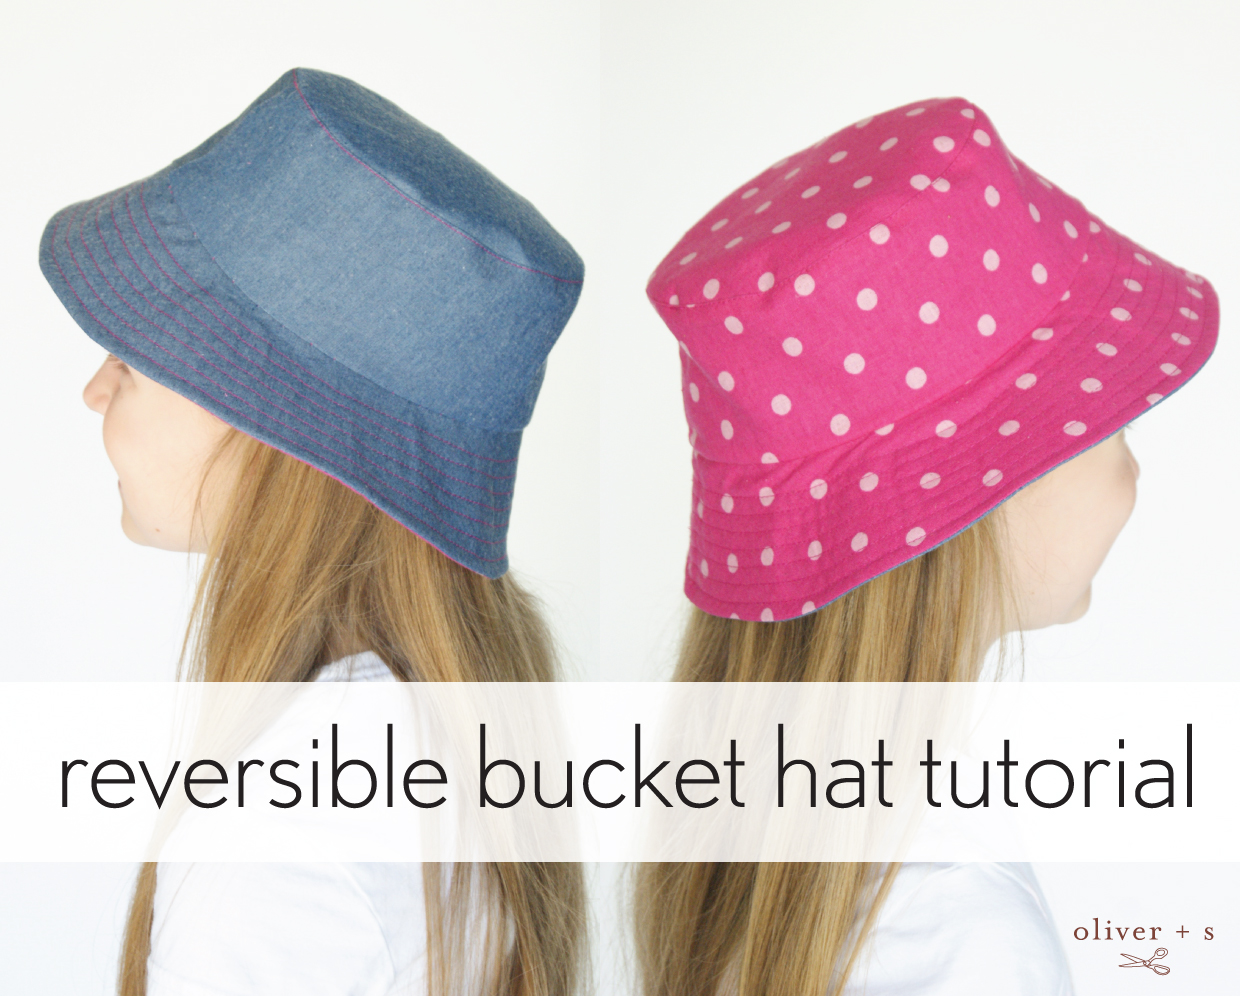
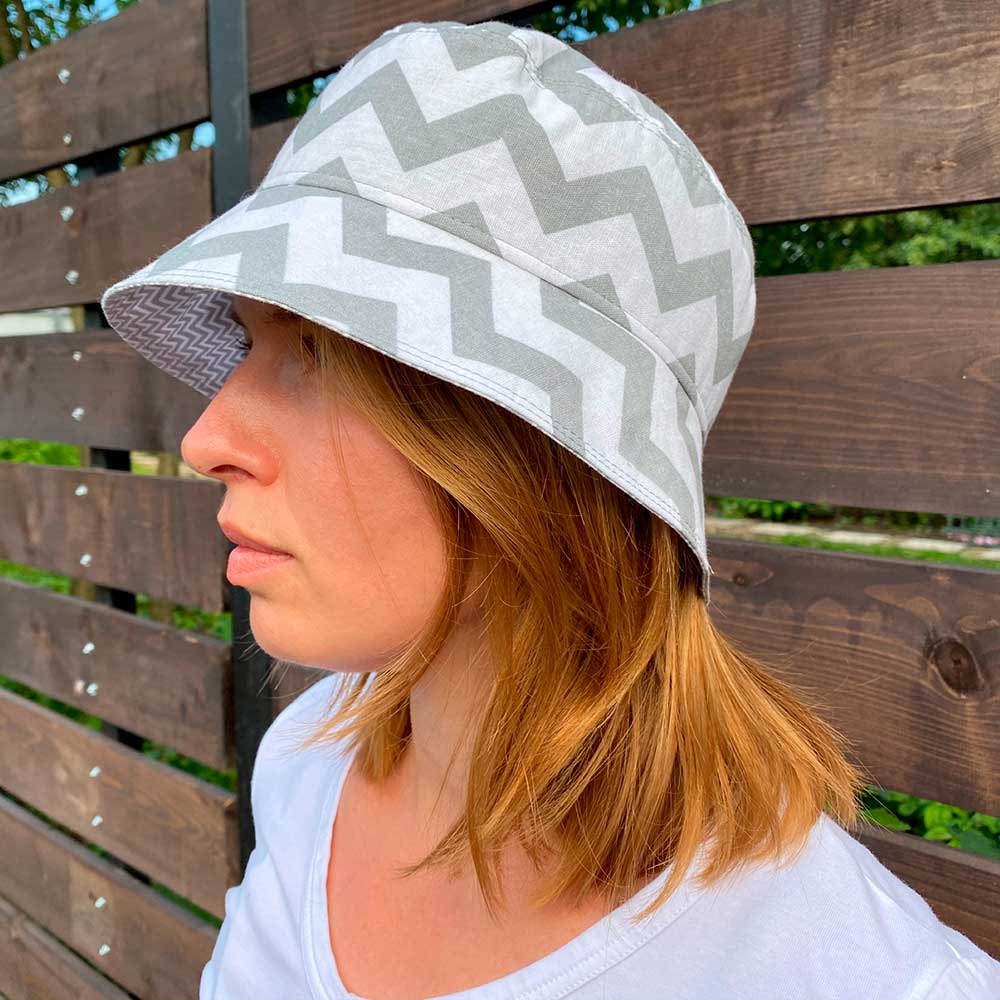
Reversible Bucket Hat Tutorial Blog Oliver + S
Pin it all the way around with right sides facing in, making sure to align the seams. Time to fit the brim to the other.
Print The Free Pdf Paper Pattern, Pick Your Fave Fabrics And Follow This Sup.
Web sew the side seams with a 3/8 (1cm) seam allowance. Line up the brim seams with those of the crown and pin them together on the wrong side of the fabric. 1 yard italian honey peach and arctic purse. Web sew the trim to the hat about 1/8” from the folded edge.
Print Out The Pattern And Tape The Respective Pieces Together At The Large Triangles.
Web how to make a bucket hat. Make sure when positioning the crown and brim pieces that the “fold line” edges of the pattern are placed along a folded edge of your fabric. Pin the brim to the crown+top piece. Sew the seam allowance in place using 1/8 seam allowance on either side of the seam.
1 Yard Stratton White Solid Organic Cotton Twill.
Iron your fabric smooth and pin the bucket hat pattern on top of one of your fat quarters. Pin it all the way around with right sides facing in, making sure to align the seams. Place lining bucket hat brim pieces together and sew side seams. When the fabric is cut, you should be able to open.
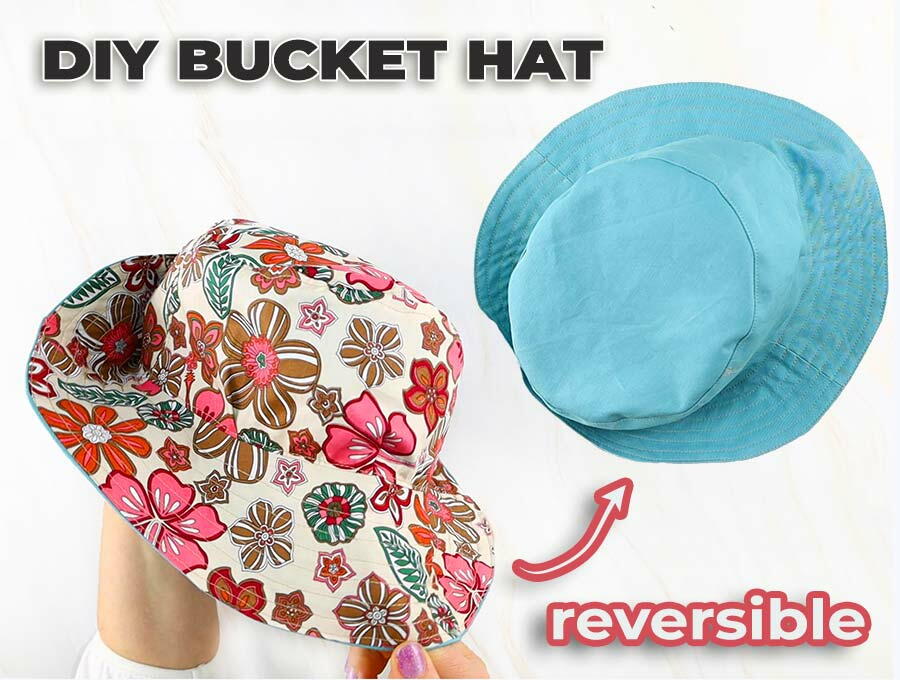
Web This Diy Reversible Bucket Hat Pattern For Adults Is So Easy To Whip Up At Home.
Web purchase materials used below: Sew on the hat brim using a 3/8″ seam allowance. You should have 4 side pieces, 4 brim pieces and 2 crown pieces. Put the two 'hats' together with the right sides facing each other, with the side seams on the brim aligned.