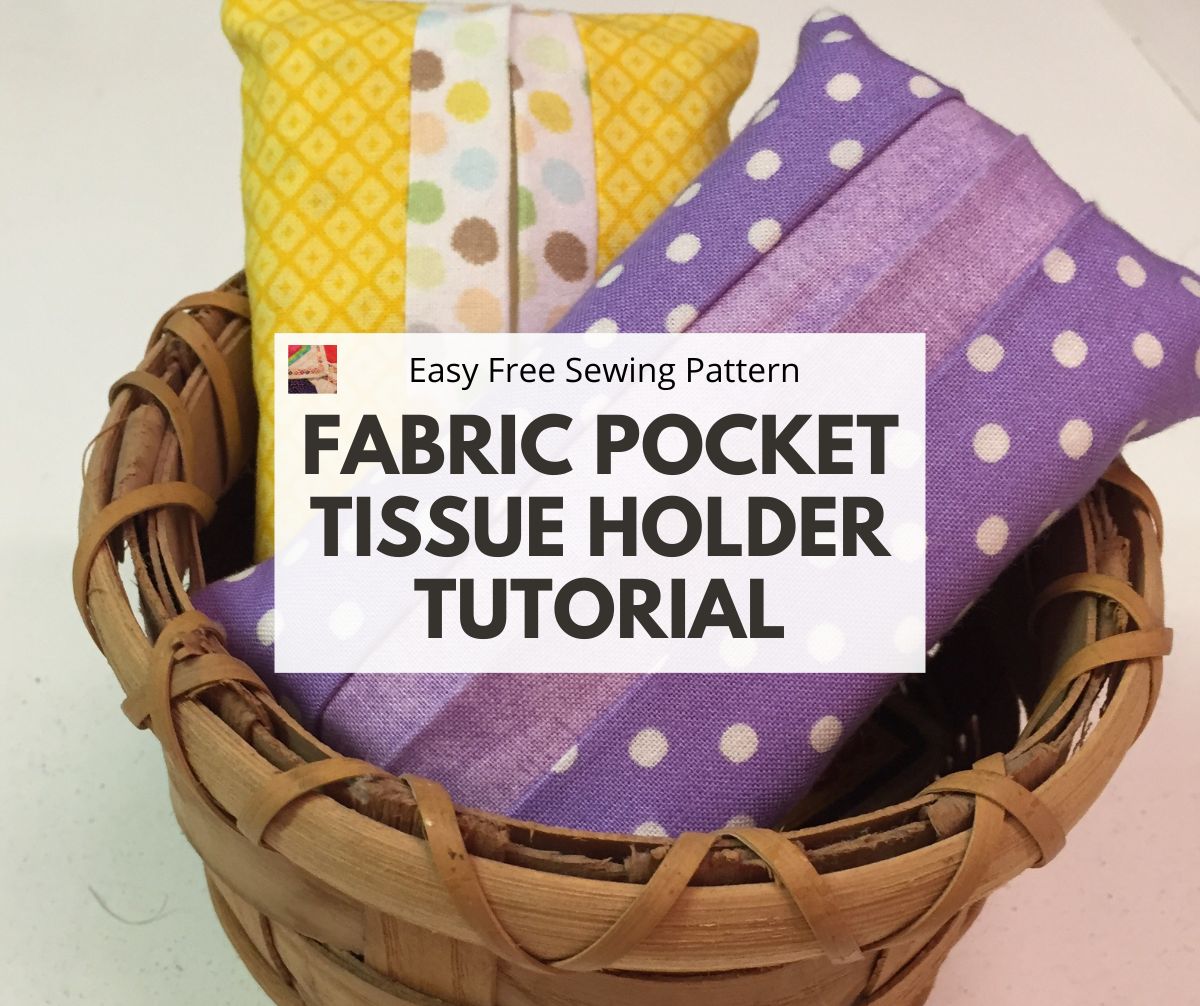
Free Pattern For Tissue Holder - This easy peasy sewn accessory takes just 10 minutes to. Web with the fabric you want to be on the outside of your pocket tissue holder facing you, fold the bottom edge up at 1½”, measuring both sides with a tape measure. 2) to 5) lay the folded fabric pieces on as shown, making sure the folded edge is always to the middle. Whether you suffer from seasonal allergies or simply get a little emotional from time to time, that doesn't mean you can't sniffle in style. Designed for travel or pocket tissues, this free tissue holder pattern will look amazing. Sew them together using a 1/4″ seam allowance. Sew the rickrack in place, right along the line you drew. Once you figure out exactly how to make these easy to sew tissue holders, you’ll want to make up several. And it’s the perfect time to make this cute little tissue holder to hang on the go. I get some amazing looks when i pull a coordinated tissue holder from my own bag.
How to Make a Fabric Pocket Tissue Holder
Approximately 5″ x 3″ (13 cm x 7.5 cm). You will notice that the lining fabric is larger than the outer fabric. The following two.
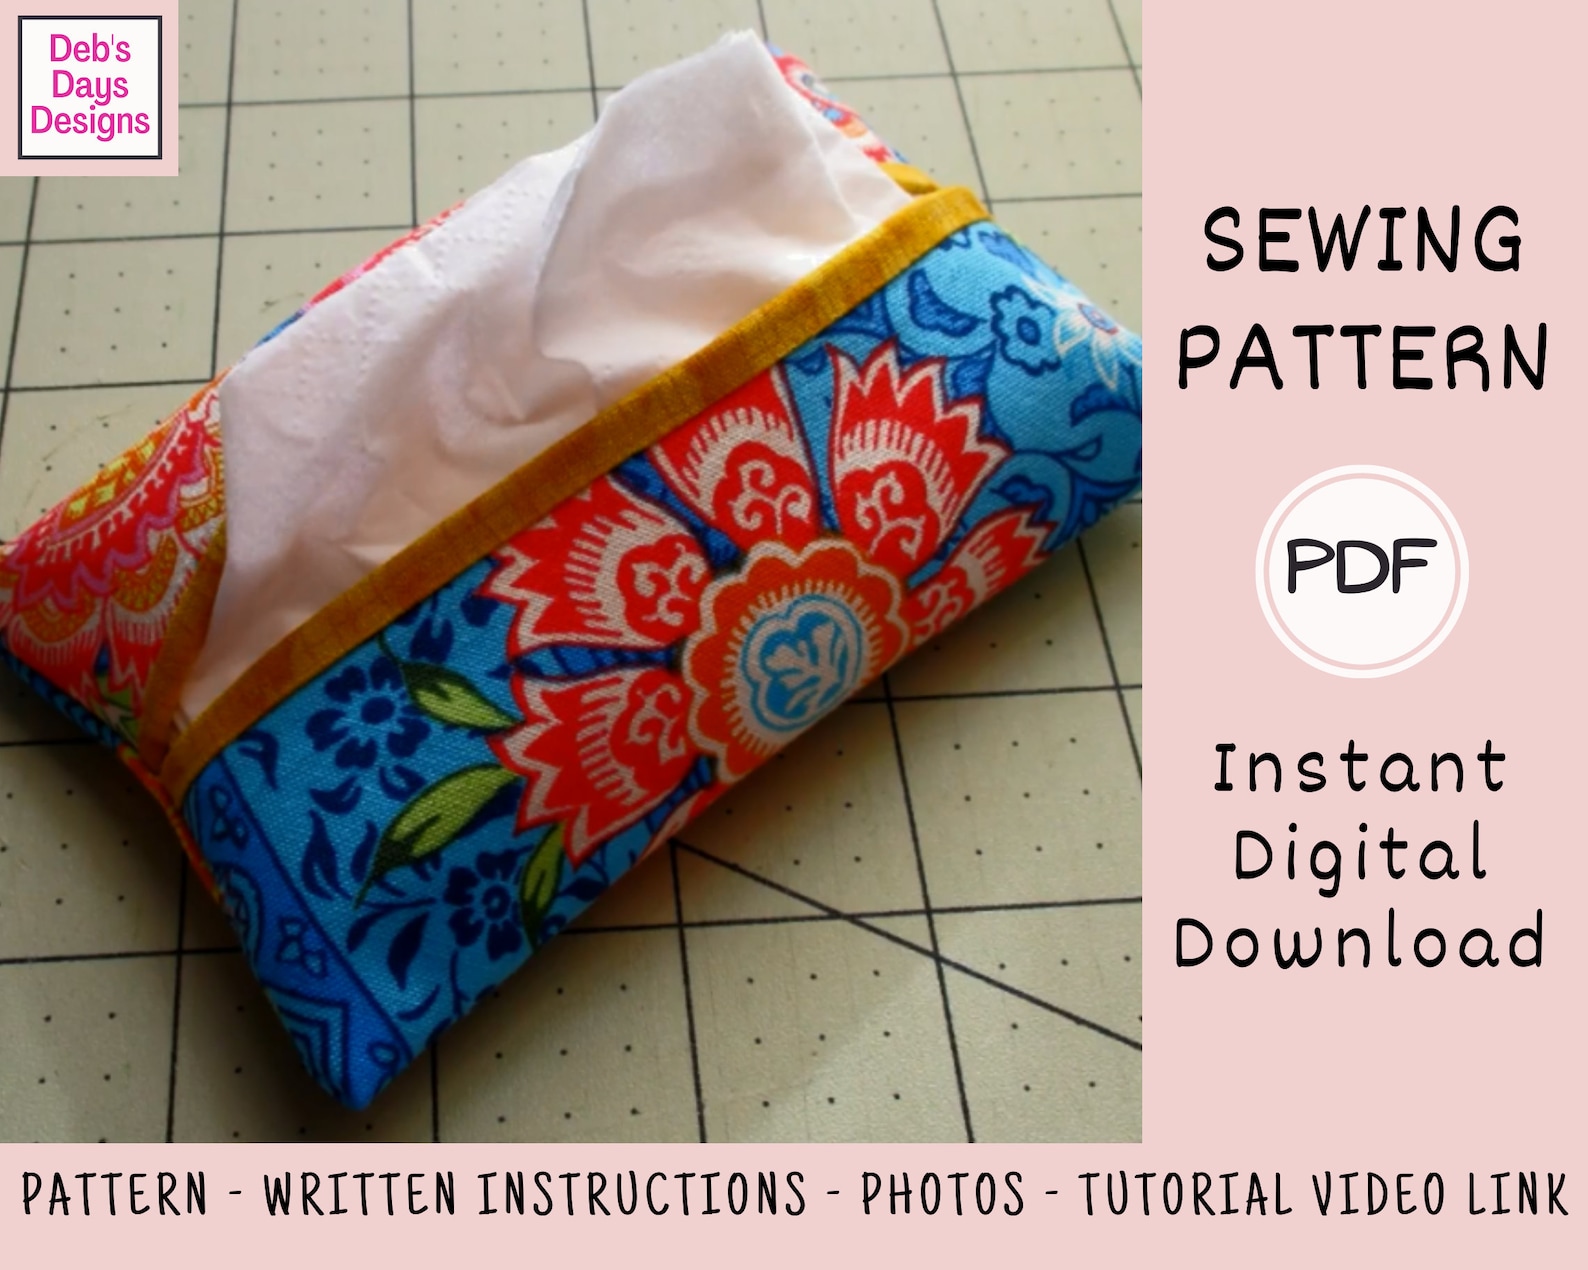
Fabric Pocket Tissue Holder PDF Sewing PATTERN Instant Etsy
I have shared some purse diy tutorials before, and if you love big handbags, i also shared some projects of sew bags tutorials. Turn piece.
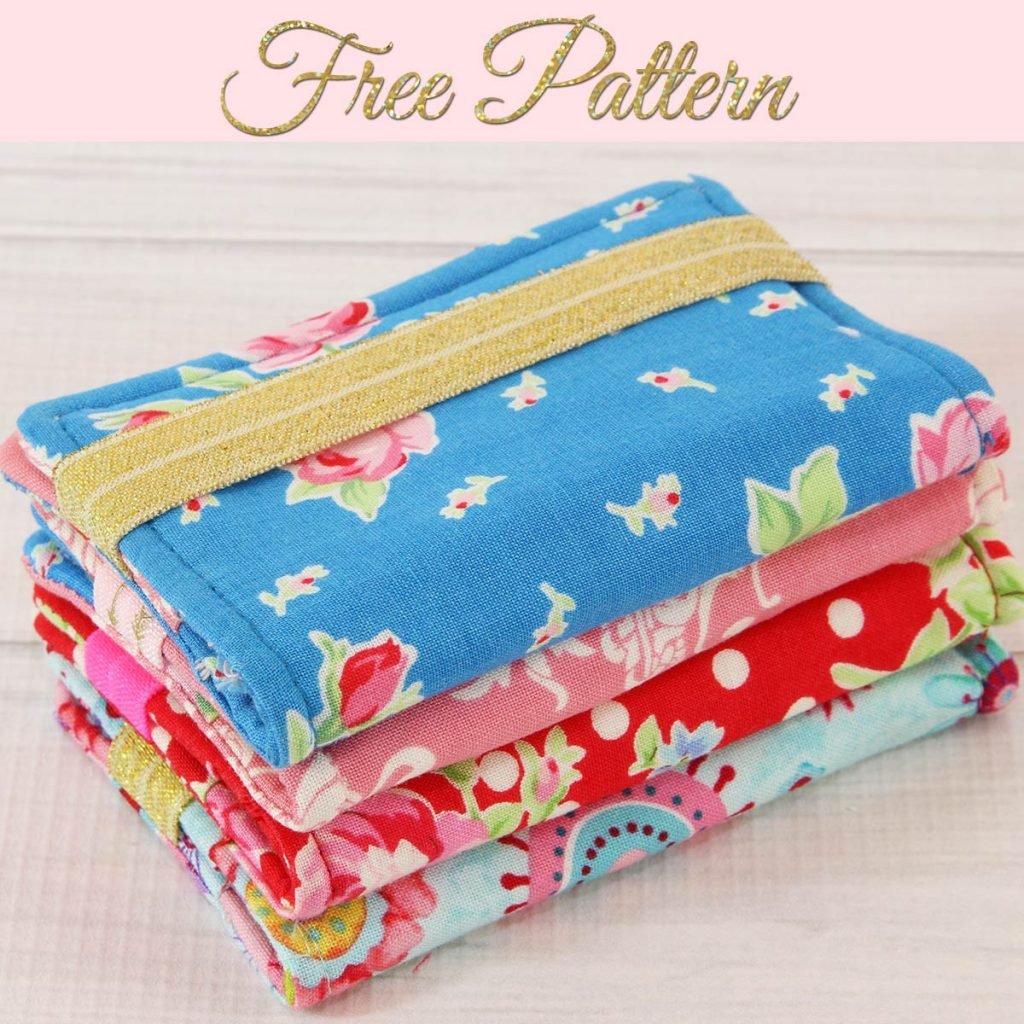
DIY Tissue Holder Free Pattern for Pocket Tissues TREASURIE
Every time i make a bag, i like to include a coordinated tissue holder with it. You don’t want to risk scorching the tissue paper..

Free Plastic Canvas Patterns For Tissue Box Covers Ideas
Web this easiest pocket pack tissue holder is the easiest tissue holder you can make totally out of fabric scraps. Web the folded fabric tissue.

tissue holder sewing pattern
In my example the red and white fabric is the outer fabric and the solid red is the lining fabric. Web face mask sewing patterns.

Free Pattern For Tissue Holder Designed For Travel Or Pocket Tissues
All you need to get started is: Web with the fabric you want to be on the outside of your pocket tissue holder facing you,.
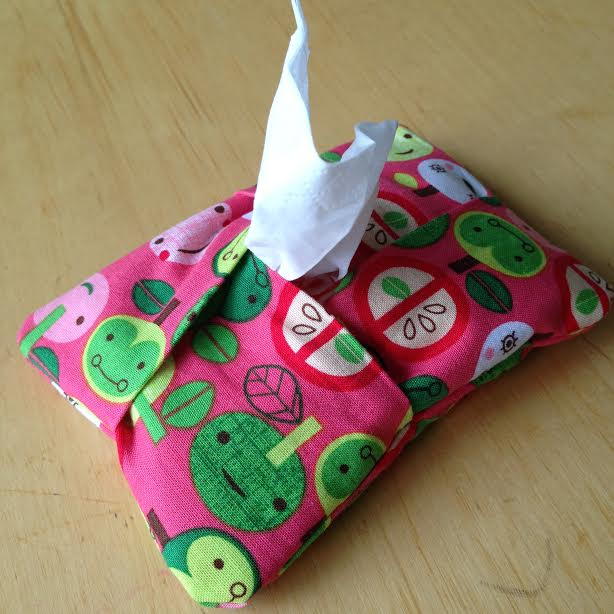
5 Minute Tissue Holder (Free Sewing Tutorial)
Designed for travel or pocket tissues, this free tissue holder pattern will look amazing. Chain 15, then starting from the 2nd chain from the hook,.

clare's craftroom easy tissue holder tutorial
Sew them together using a 1/4″ seam allowance. Web the opening is nicely finished. You can choose whether to meet the edges exactly in the.

Free Pattern For Tissue Holder Designed For Travel Or Pocket Tissues
Web this easiest pocket pack tissue holder is the easiest tissue holder you can make totally out of fabric scraps. The following two photos show.

Make a Pocket Tissue Holder Sew Very Crafty
2) to 5) lay the folded fabric pieces on as shown, making sure the folded edge is always to the middle. 6) lift the corner.
For Example, If You Need To Trim 1/4” From The Length, Trim 1/8” From Each End.
With yarn needle and matching yarn, sew both edges together. Turn piece right side out and insert pocket tissue. This easy peasy sewn accessory takes just 10 minutes to. Designed for travel or pocket tissues, this free tissue holder pattern will look amazing.
You Might Also Like Citrus Fruit Potholder Free Knitting Pattern.
6) lift the corner of the first piece and tuck the. Then sew all the top and bottom seams. In my example the red and white fabric is the outer fabric and the solid red is the lining fabric. You can choose whether to meet the edges exactly in the middle (left picture) or overlap the edges by about 1/4 of an inch (right picture)
Web Crochet Tissue Pouch Written Instructions:
Every time i make a bag, i like to include a coordinated tissue holder with it. All you need to get started is: Open the piece up and flip it right side out. Approximately 5″ x 3″ (13 cm x 7.5 cm).
Click Below Link For Free Pattern…
Fold the bottom edge up so the pocket tissue holder measures 3″. Web lay the remaining unfolded 6x4 pieces on the table right side up, this is the back of the tissue pouch. When you turn a corner right side out, the seam at the corner is subject to stress as you poke it out. Use a stitch marker as these are continuous rounds until the rows start again.