Free Easy Crochet Penguin Pattern - Each outer corner of the feet should start one stitch to the side of where the white ends on round 16 of the body. Right here you can see how to make this amigurumi toy. You’ll also want to use the invisible decrease and basic sewing skill. Make a mc and ch 3 (counts as the 1st dc), work 15 dc into mc, sl st into first dc (top of ch 3.) you should have 16 stitches total. Make 1 ch in the same stitch where you joined, and 1 ch in the next front loop stitch. To make this tulip from craft passion, you will need yarn (whatever color you prefer), a hook, stuffing, floral wires, hot glue, and a pair of pliers. The left wing (on the right when facing the penguin): Only sew about 4 stitches of the wing to the body so that the wing can stick out a little bit. With the yarn needle and the tail, sew the wings to the body. Web take a look.
Crochet Penguin Amigurumi Free Pattern Amigurumi
This measurement does not include the bow tie. The left wing (on the right when facing the penguin): Even the pompoms are perfect! It’s easy.
Crochet an amgurumi penguin Easy and cute crochet penguin pattern
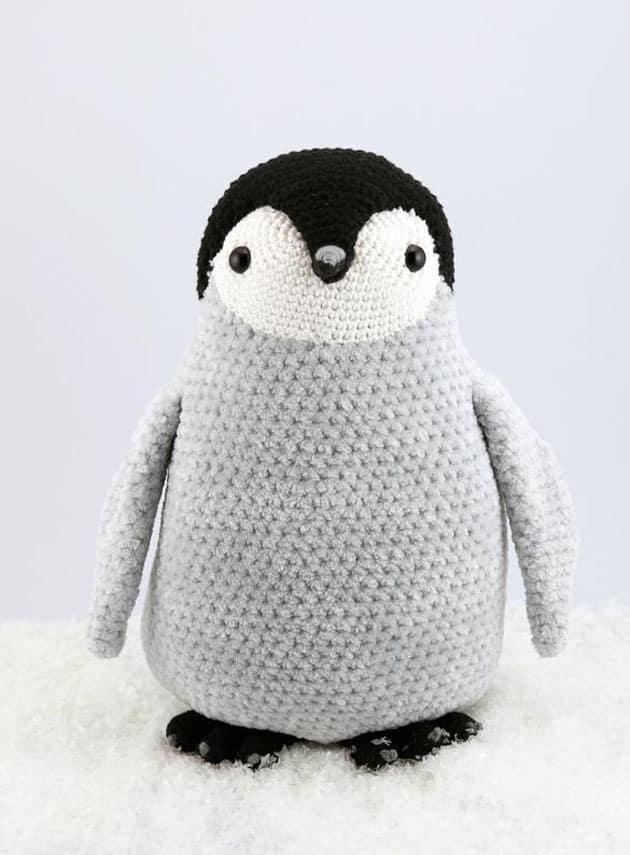
Web penguin amigurumi free crochet pattern. 50 grams black, 50 grams white, and 25 grams yellow. Make a mc and ch 3 (counts as the.

Adorable Amigurumi Penguins with Free Crochet Patterns Crochet
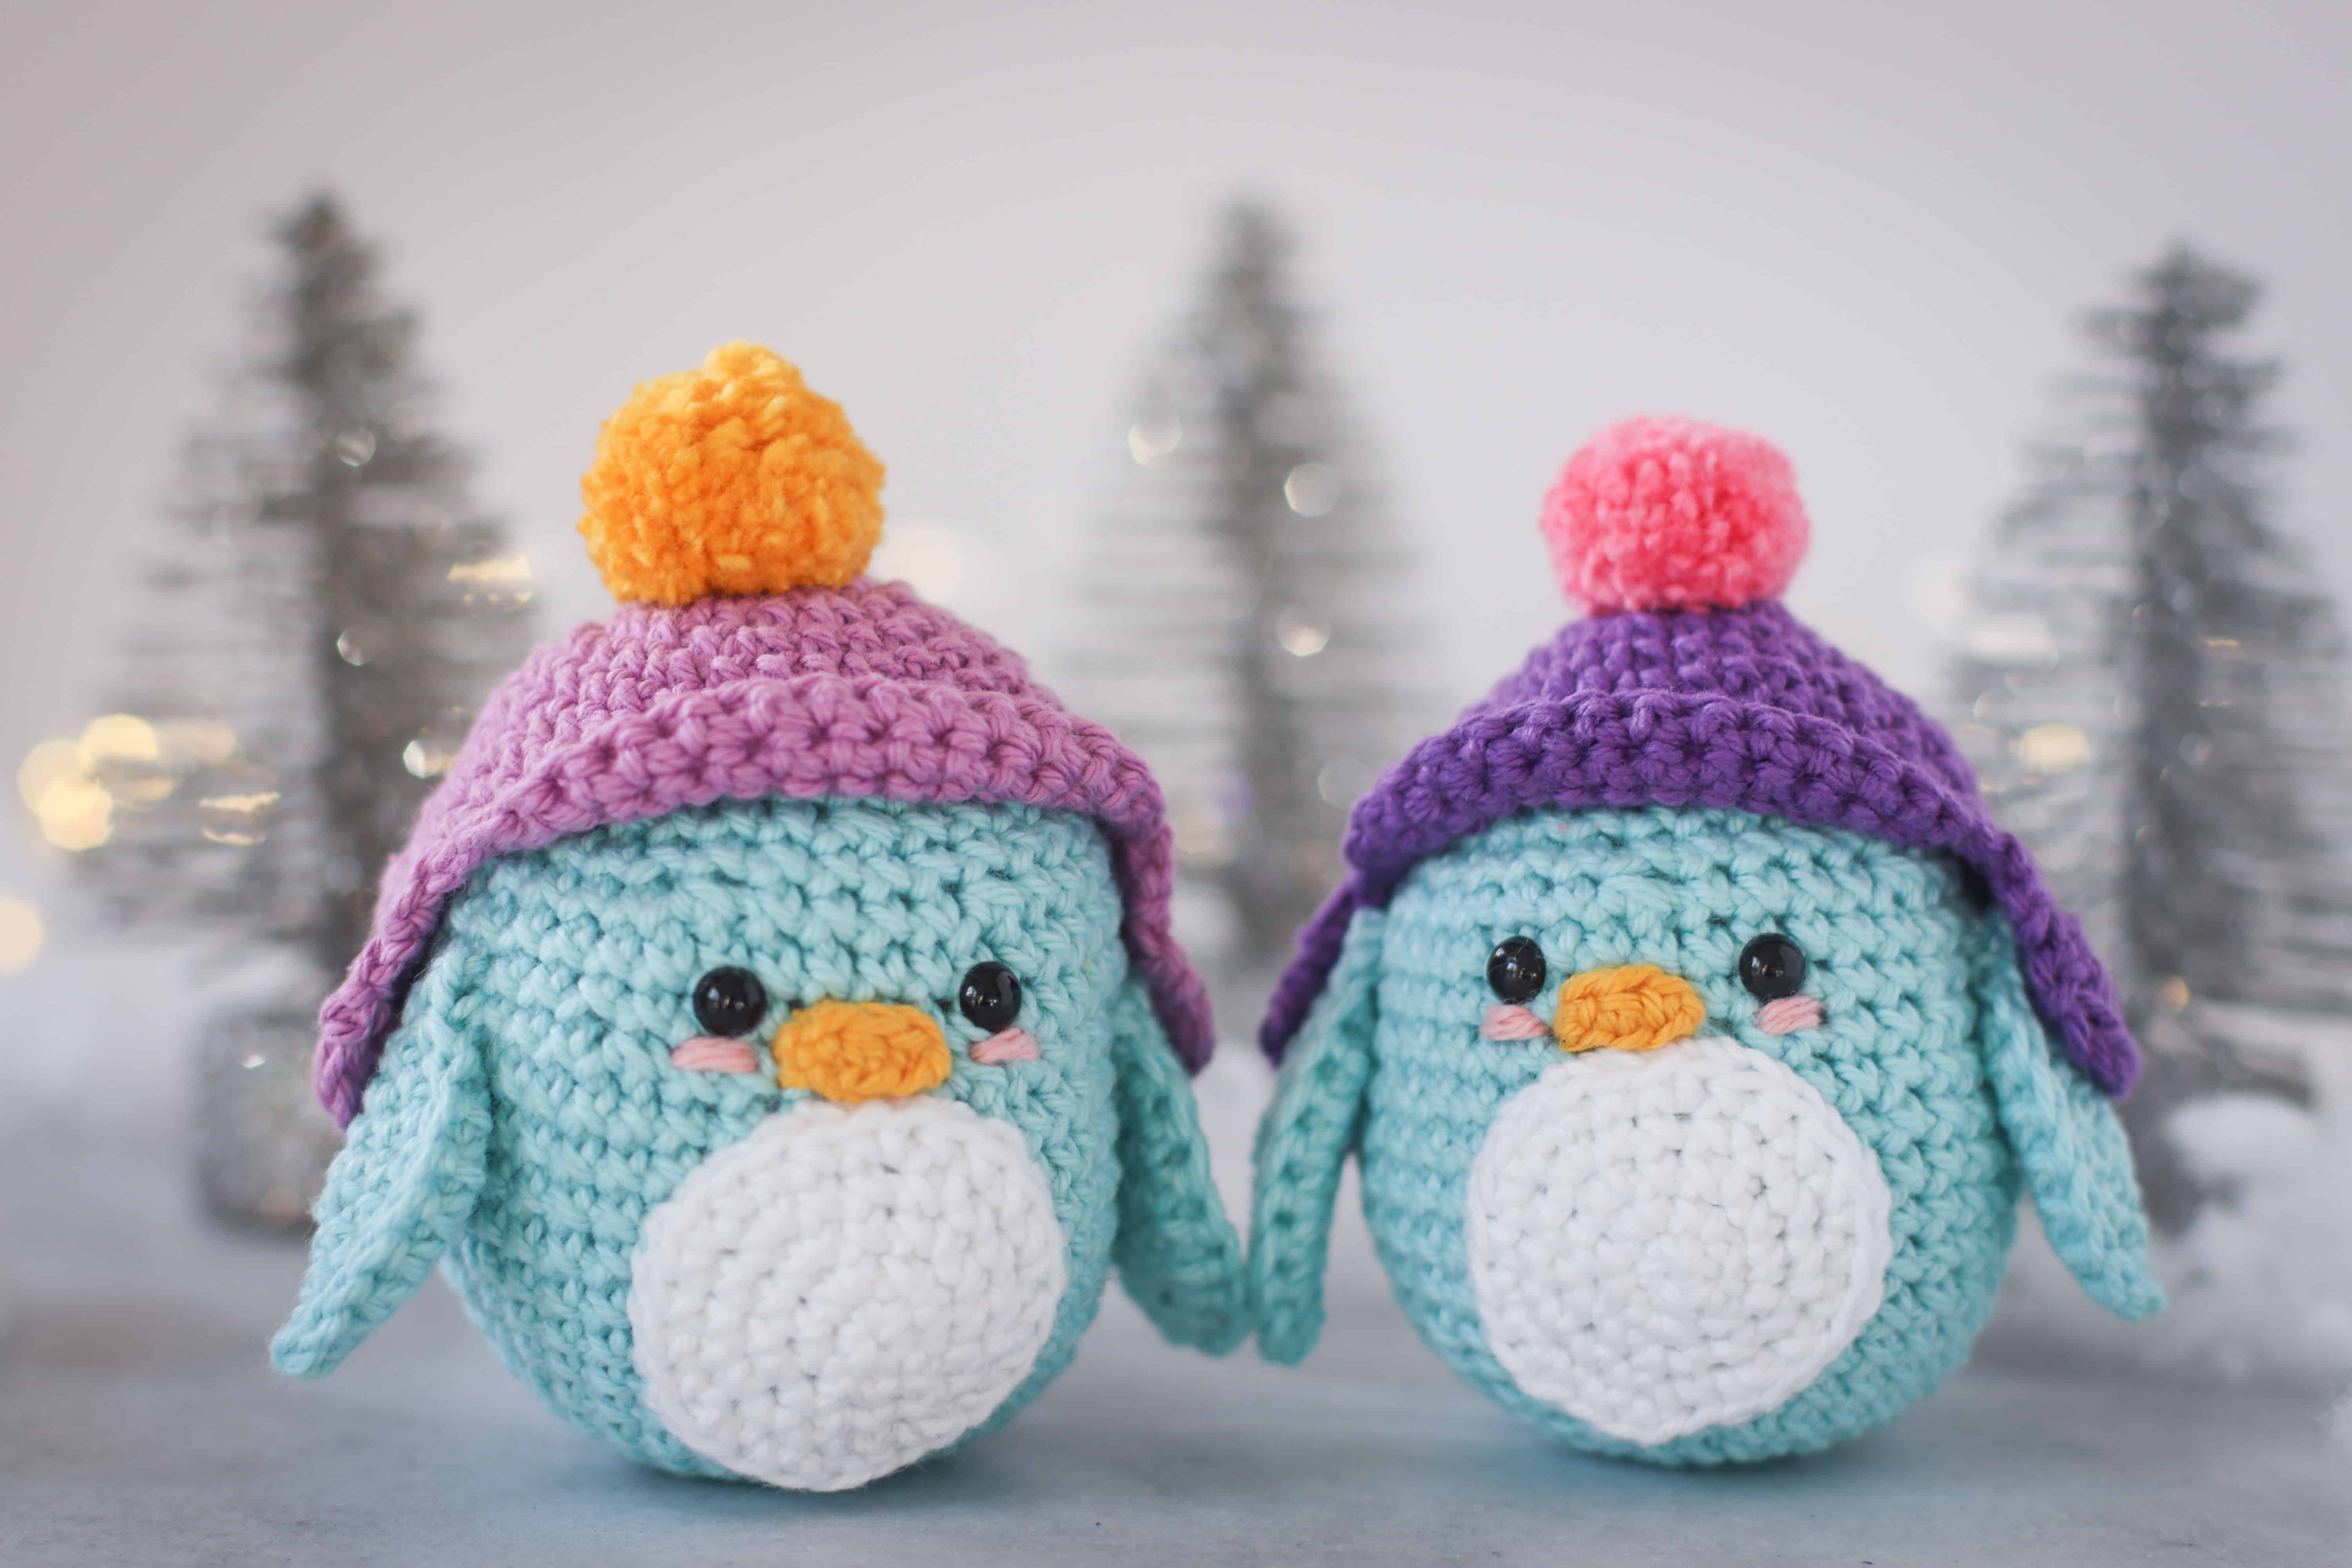
Web chilly the penguin free crochet pattern. For rounds 3 through 6, chain 2, double crochet in each stitch around, then slip stitch to join..
Crochet an amgurumi penguin Easy and cute crochet penguin pattern
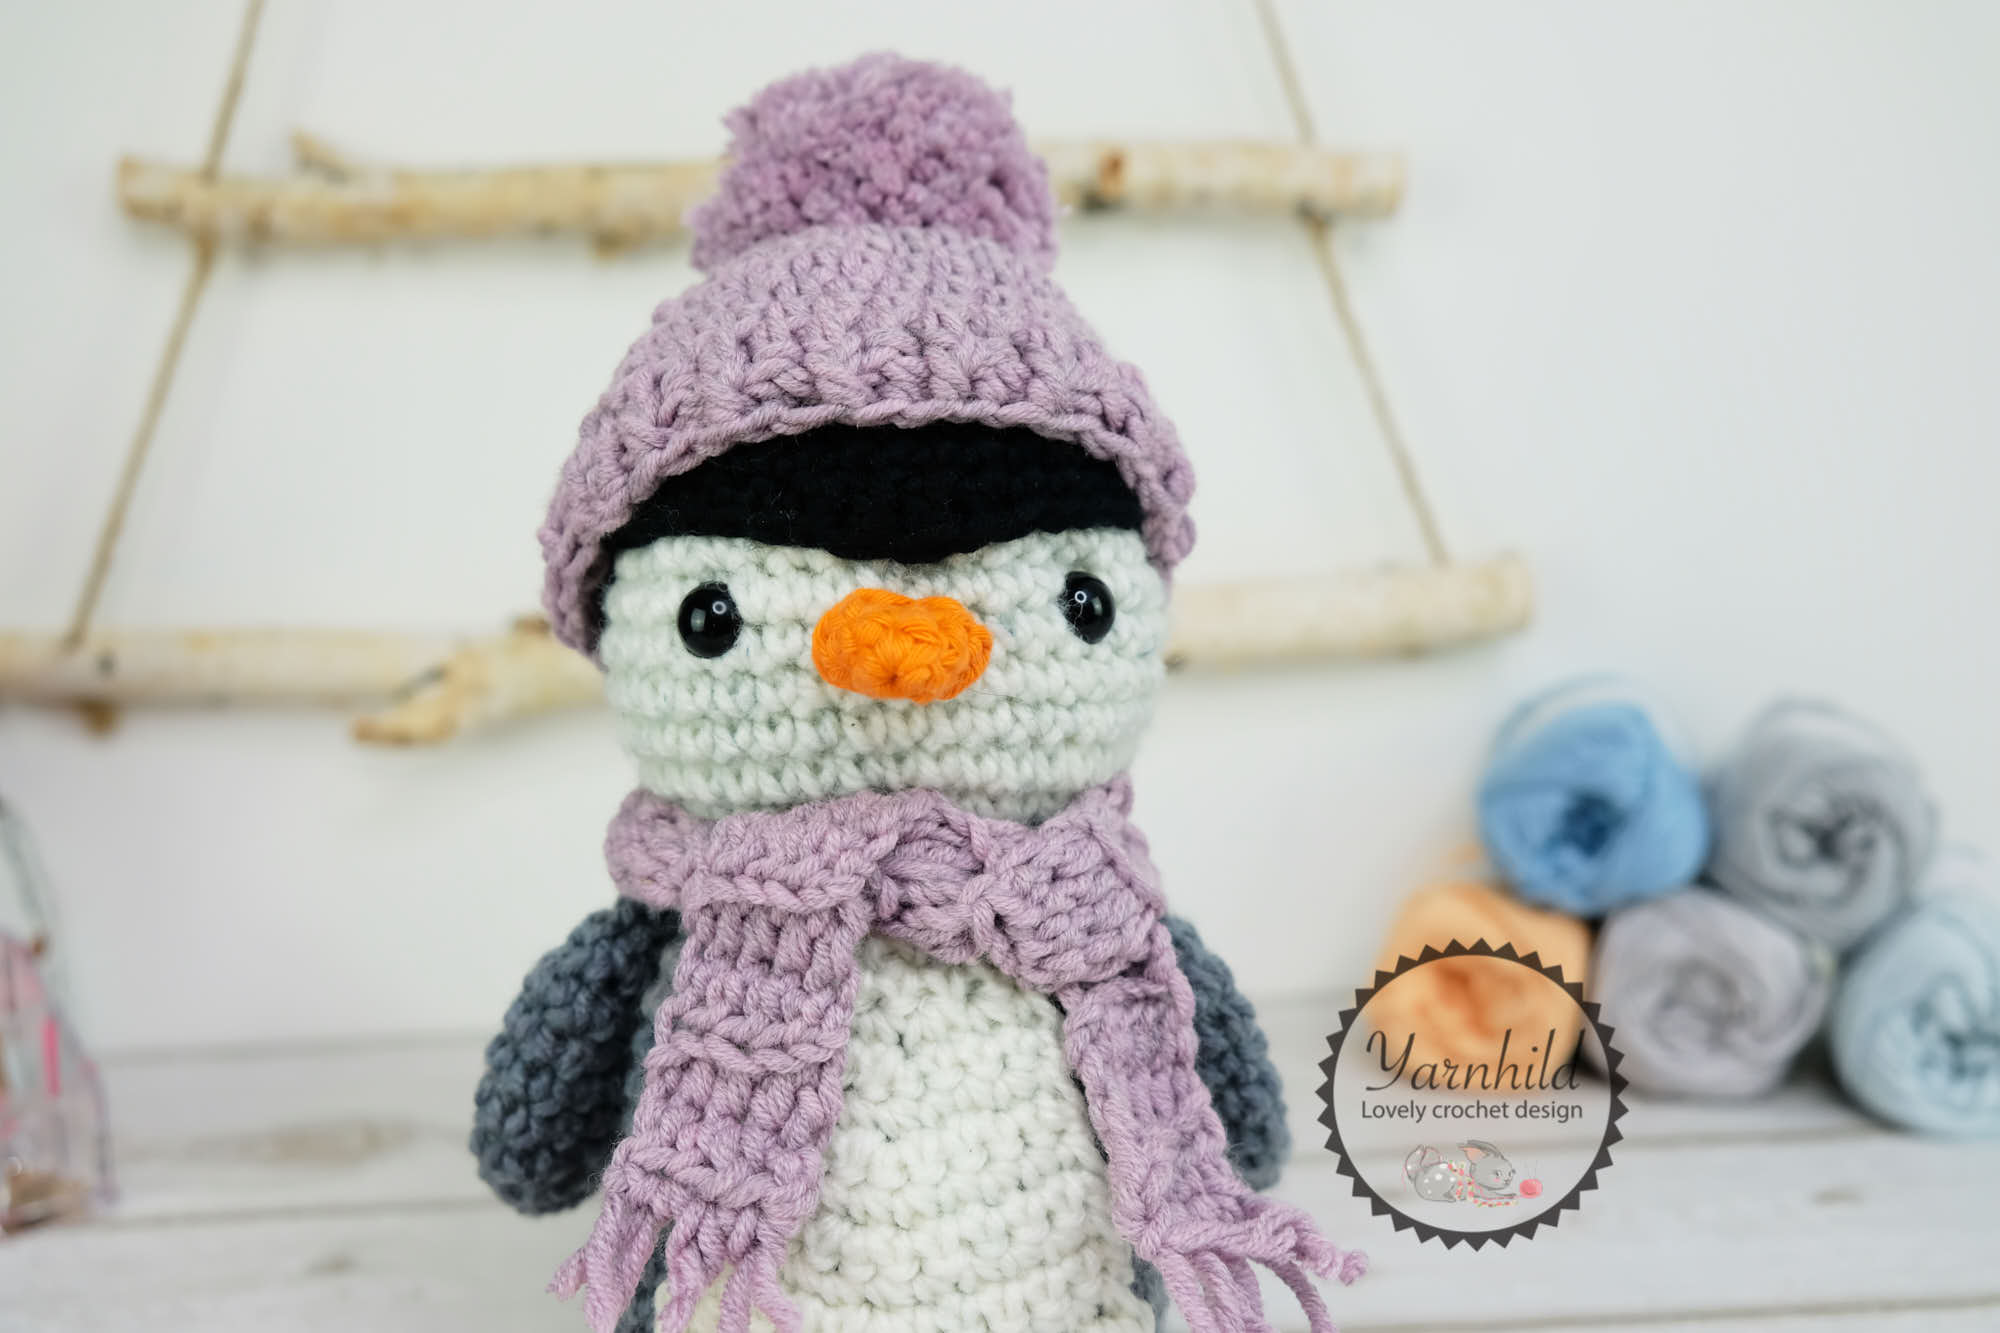
Web stitch the beak on between the eyes. If you have been familiar with a tapestry (or intarsia) crochet technique and how color change works,.
Crochet an amgurumi penguin Easy and cute crochet penguin pattern
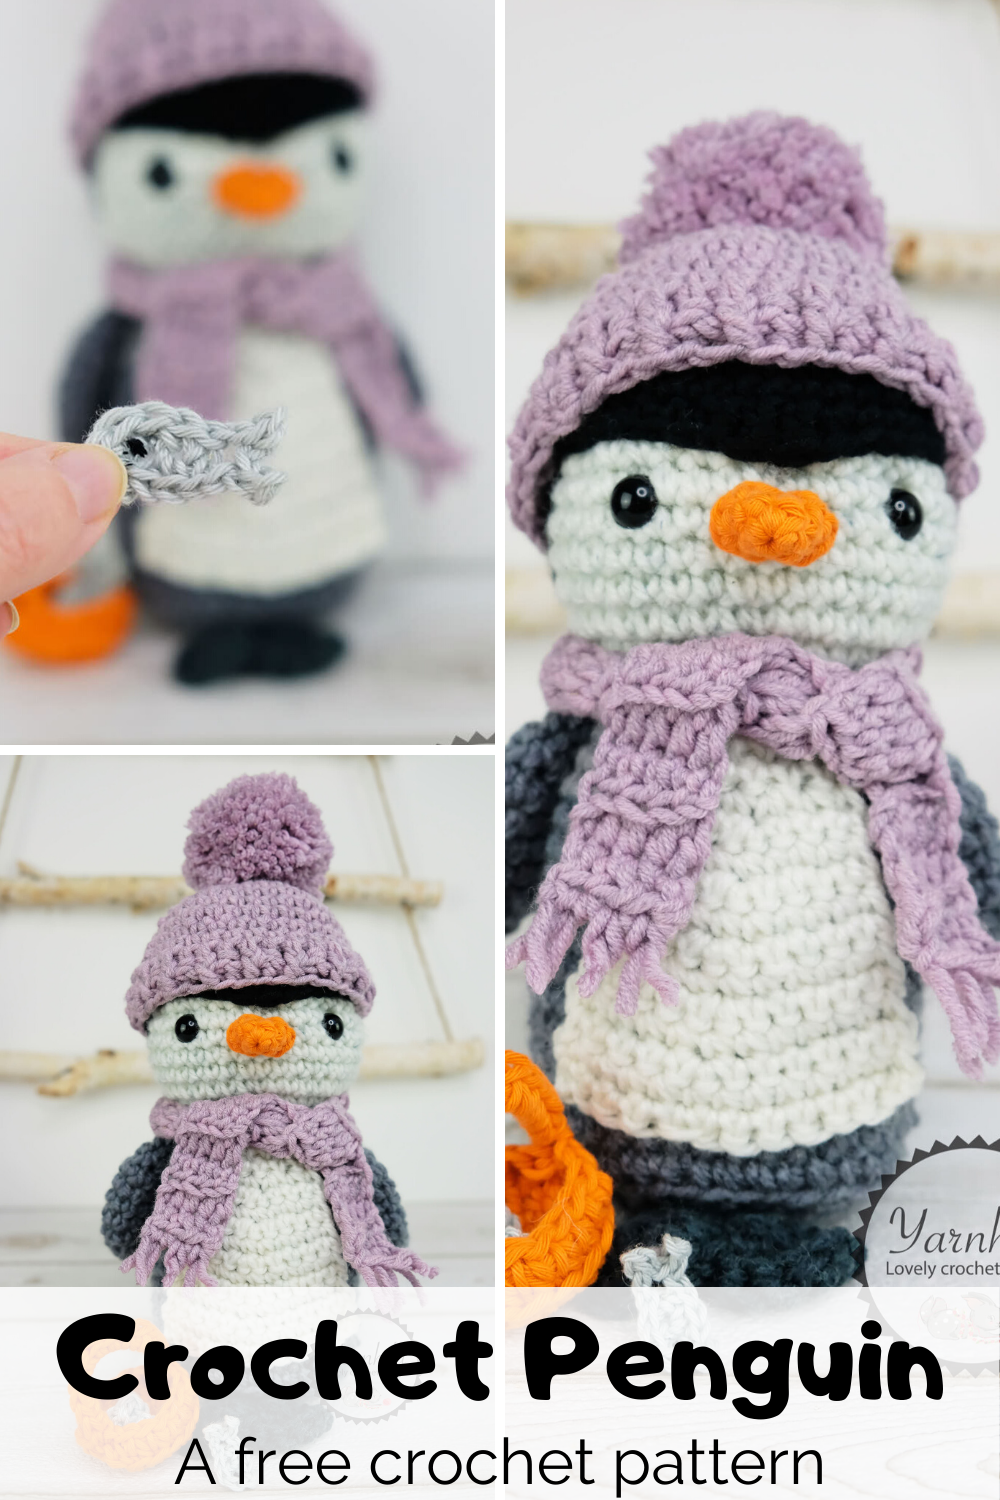
Stitch the flippers in place, with the curve of the flipper facing forwards. Web meet chilly the penguin through this crochet pattern. Add the pom.
Crochet Penguin Amigurumi Free Pattern Amigurumi
50 grams black, 50 grams white, and 25 grams yellow. The left wing (on the right when facing the penguin): (1) cut the yarn, and.

AMIGURUMI PENGUIN FREE PATTERN
Do not stuff the hat. You can also try using worsted weight yarn & a 4 or 4.5mm hook, but the plushie size will vary.
19 Cute Penguin Crochet Patterns Amigurumi Tips A More Crafty Life
Web this easy crochet penguin free pattern is a great amigurumi project for beginners! Only sew about 4 stitches of the wing to the body.

Tiny Penguins Crochet penguin, Christmas crochet patterns, Christmas
Lion brand 24/7 cotton and patons astra yarn hook: Finally, use the tail yarn from the nose and sew the nose in place just where.
Little Winter Penguin Free crochet penguin pattern Thoresby Cottage
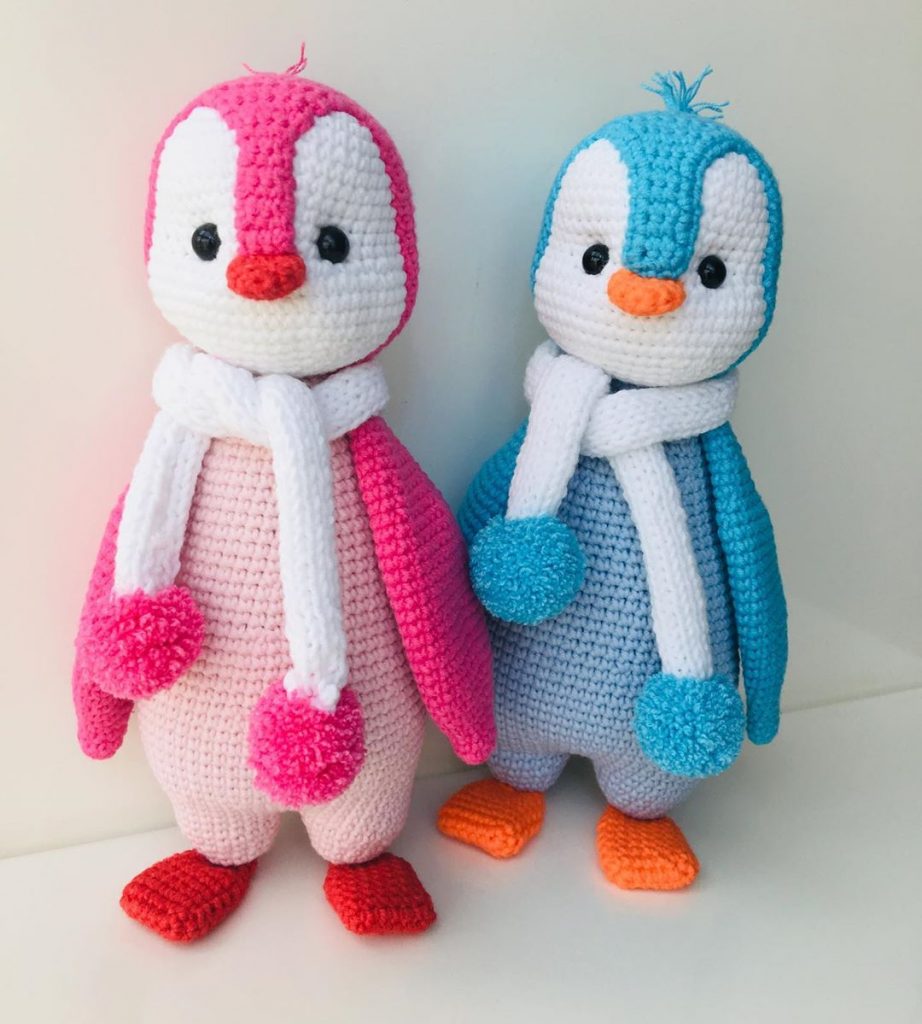
After all, it’s quite cold where penguins live, you know! If you think about making an unforgettable gift to a kid you love, jennifer percival’s.
With The Yarn Needle And The Tail, Sew The Wings To The Body.
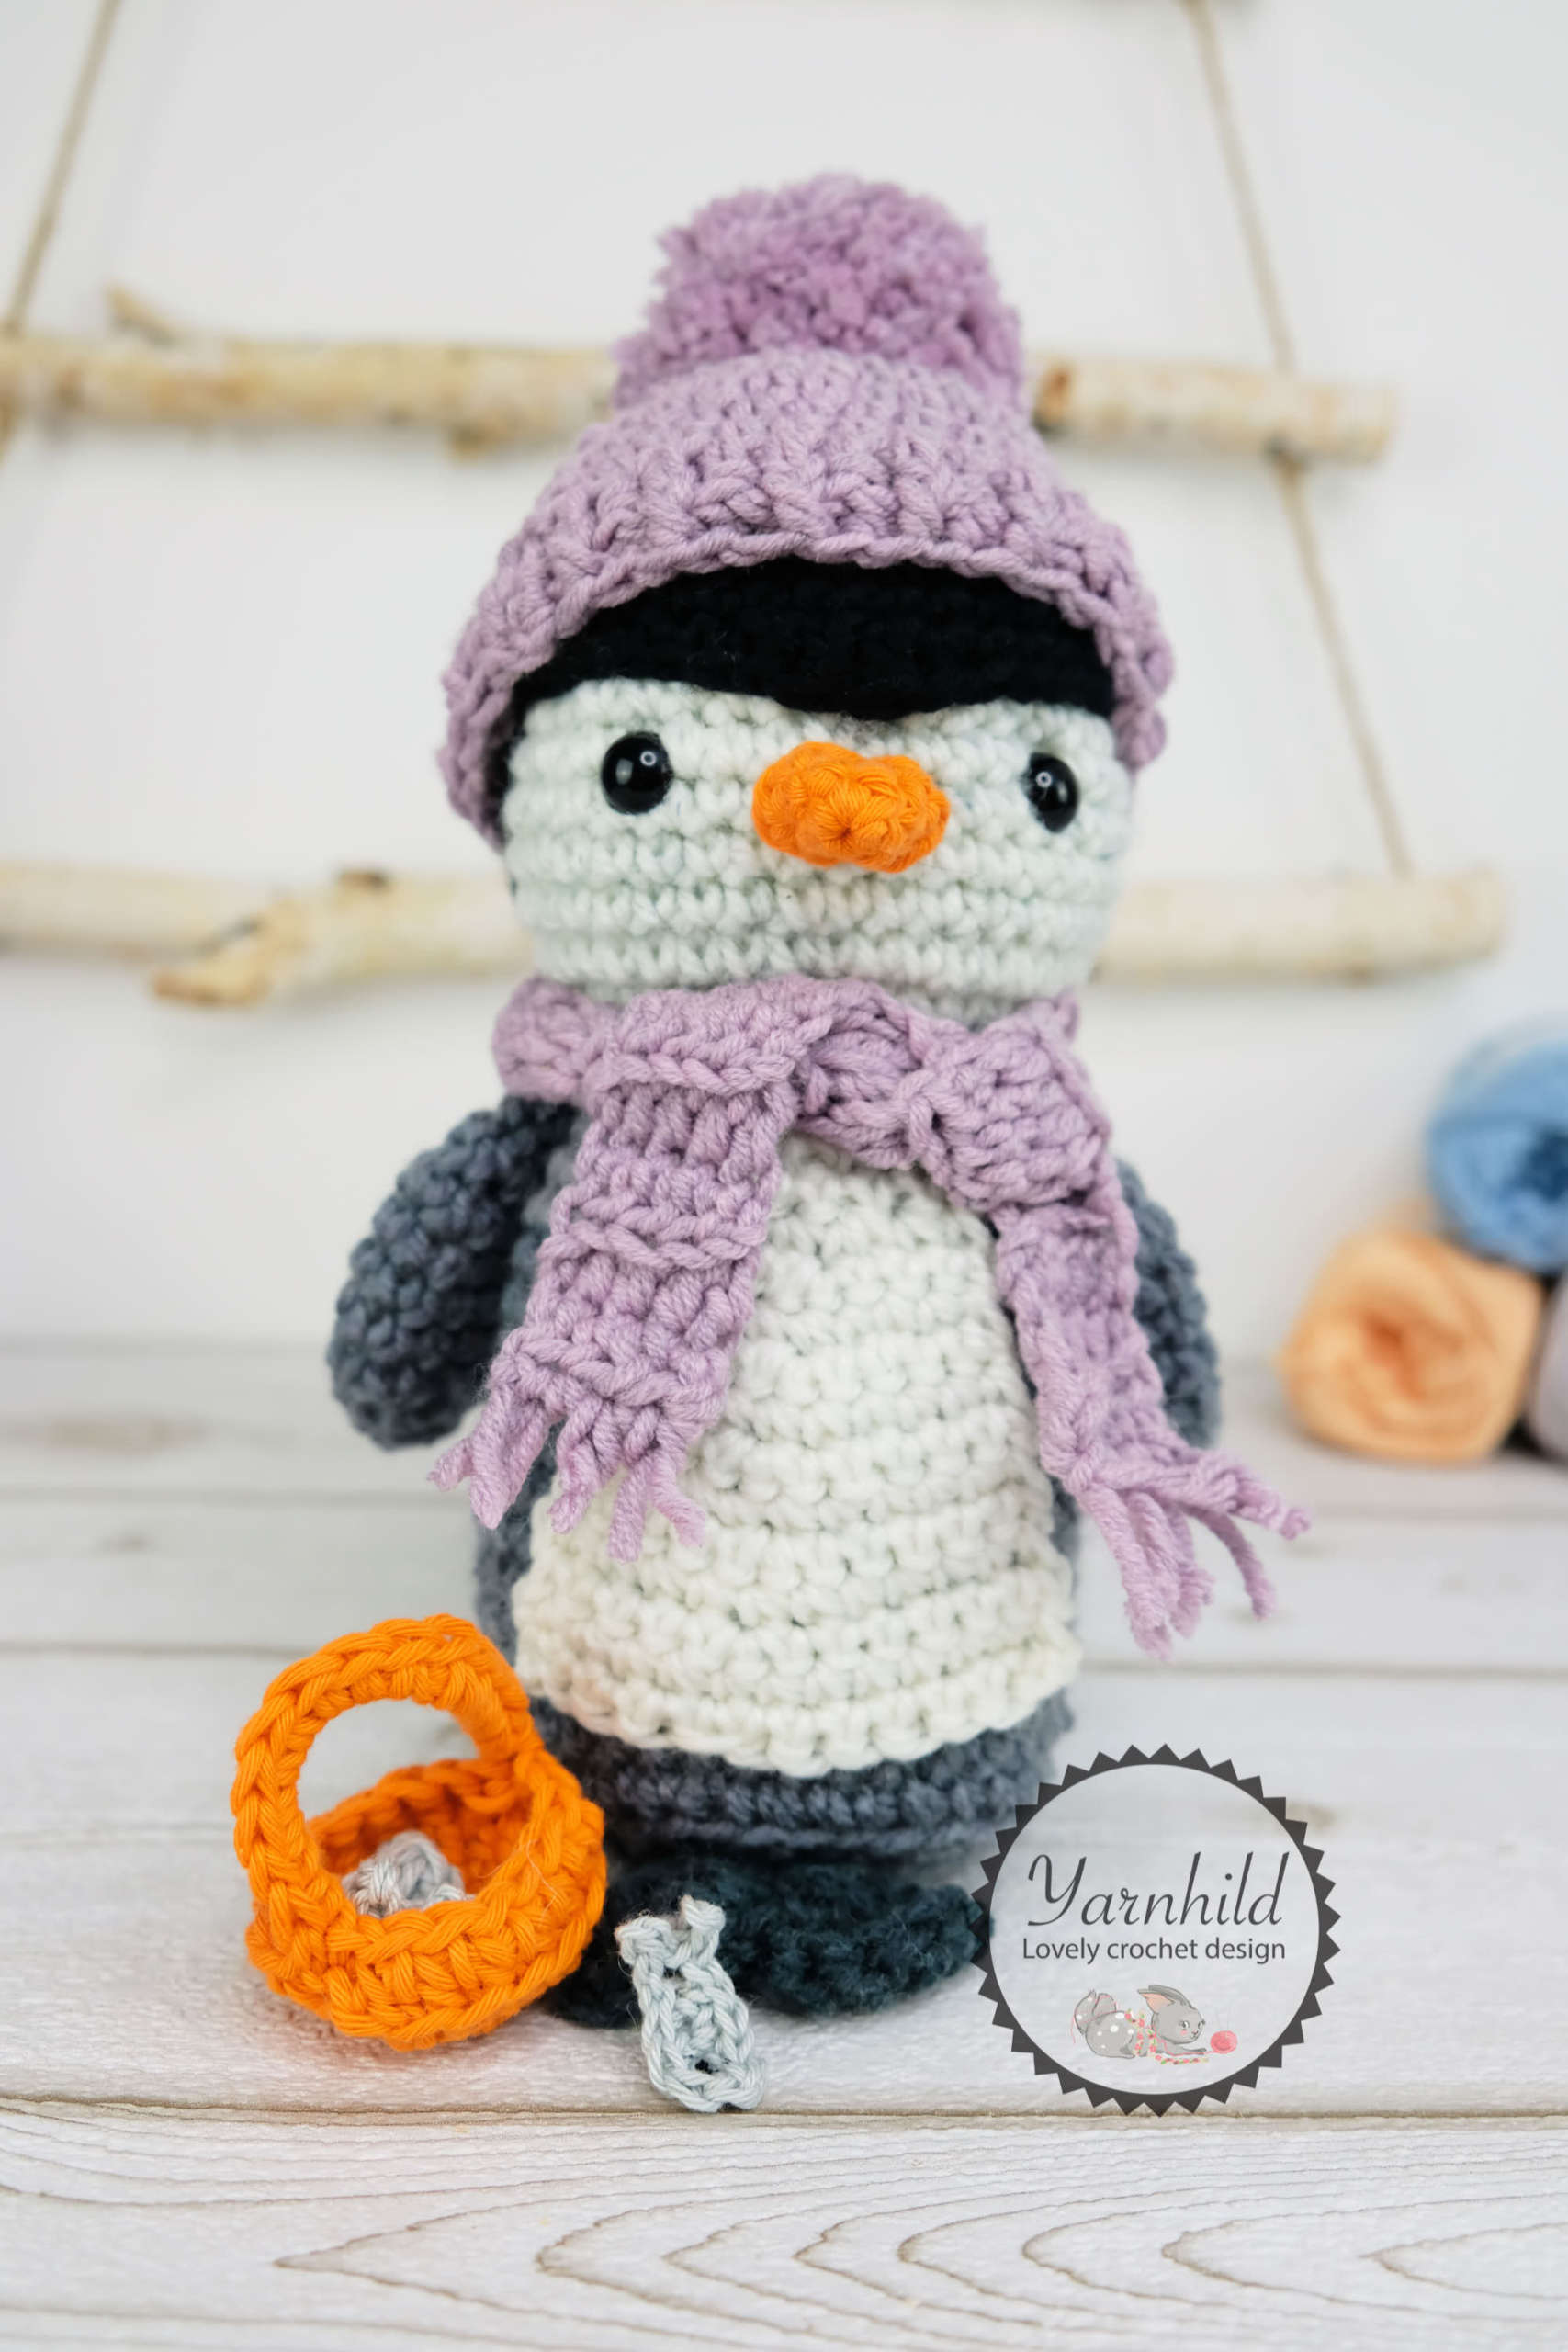
Sew the feet between rounds 17 and 18 (or one row beneath where the white meets the blue). Even the pompoms are perfect! Despite being made with thin sport weight yarn, poppy is nearly 9 inches tall. Do not stuff the hat.
Despite The Many Supplies, This.
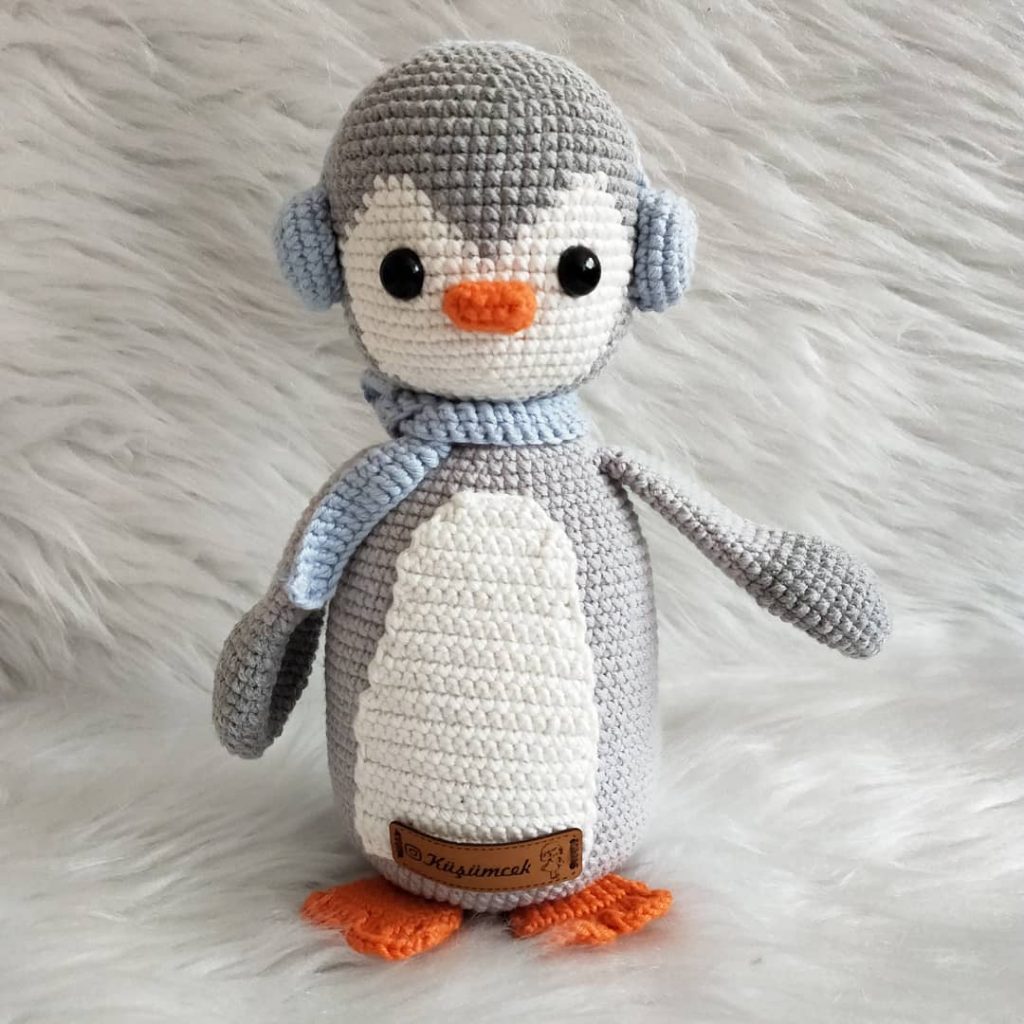
Web penguin amigurumi free crochet pattern. The pattern uses us crochet terminology and required stitches include the single crochet, slip stitch, half double crochet, double crochet, and triple crochet. Add the pom pom to the hat and turn up the front of the hat. You only need simple supplies and basic sewing tools to complete this free crochet penguin pattern.
The Pattern Is Suitable For Intermediate Crocheters But Enjoyable For All.
To make this tulip from craft passion, you will need yarn (whatever color you prefer), a hook, stuffing, floral wires, hot glue, and a pair of pliers. Earmuffs and a scarf are necessary to keep him warm and cozy. Ch 2 (does not count as a stitch), work a puff stitch into every st around, sl stitch into top of the first puff stitch. Web use sport weight yarn and a size c (2.75 mm) crochet hook to make danny the baby penguin.
Chilly Is A Fantastic Addition To Any Amigurumi Collection And Makes A Heartwarming Present.
Web cut the yarn, and fasten off. The left wing (on the right when facing the penguin): Web april 25 is world penguin day, a day to raise awareness of the challenges facing penguins. If you need more clarification on how to attach the feet, please visit 1:09:16 of the video tutorial.