Free Car Seat Poncho Pattern - After finishing your rows for the hood, slip stitch the top together by folding the hood piece in half and seaming one side together from the edges/corners to the fold. The description therefore starts at 12mo here. Let’s make a hood for this car seat poncho! Fold in the edges of the neck hole inward and clip or pin around. To do this, put the hood around the outside of the poncho and, with right sides together, pin and sew the hood to the poncho. If you would prefer a full circle poncho check out this pattern. Ch 2, 10 hdc in magic circle. Fold over 5/8″ and use a zig zag stitch, make sure to catch the edge of the fabric to stop any potential fraying. Such a great way to keep your child warm while still being buckled in safely. Web for detailed blog instructions with photos, click here:

Carseat poncho using the Riding Hood pattern from SUAT Patrones de
Cut the cowl piece, 21″ wide and 18″ long. Cut an 18” x 18” square out of your fleece fabric. Web find the middle of.

THE BEST Car Seat Poncho Tutorial fleecelined and hooded!! Baby
The description therefore starts at 12mo here. ===== baby car seat poncho free crochet pattern. Click the link below for the free. Locate the center.

Snuggle Bunny Poncho FREE VERSION Goober Pea Designs Poncho
Fold the poncho piece in half lengthwise. Using 4 stitch markers, mark the location where you would like your arm holes to be. A few.

Diy fabric car seat poncho free sewing patterns Artofit
This free crochet pattern for a poncho is great for babies and small kids to wear in their car seats, but the tutorial can be.

THE BEST Car Seat Poncho Tutorial Fleecelined! {Reality Daydream
This crochet pattern is suitable for a beginner. In my opinion the height chart in the pattern is more. The description therefore starts at 12mo.

Crochet Car Seat Ponchoa classy, cute, and free tutorial Car seat
Ch 2, 10 hdc in magic circle. Web this pattern is available for free. Web this project was inspired by: Then sew across the folded.

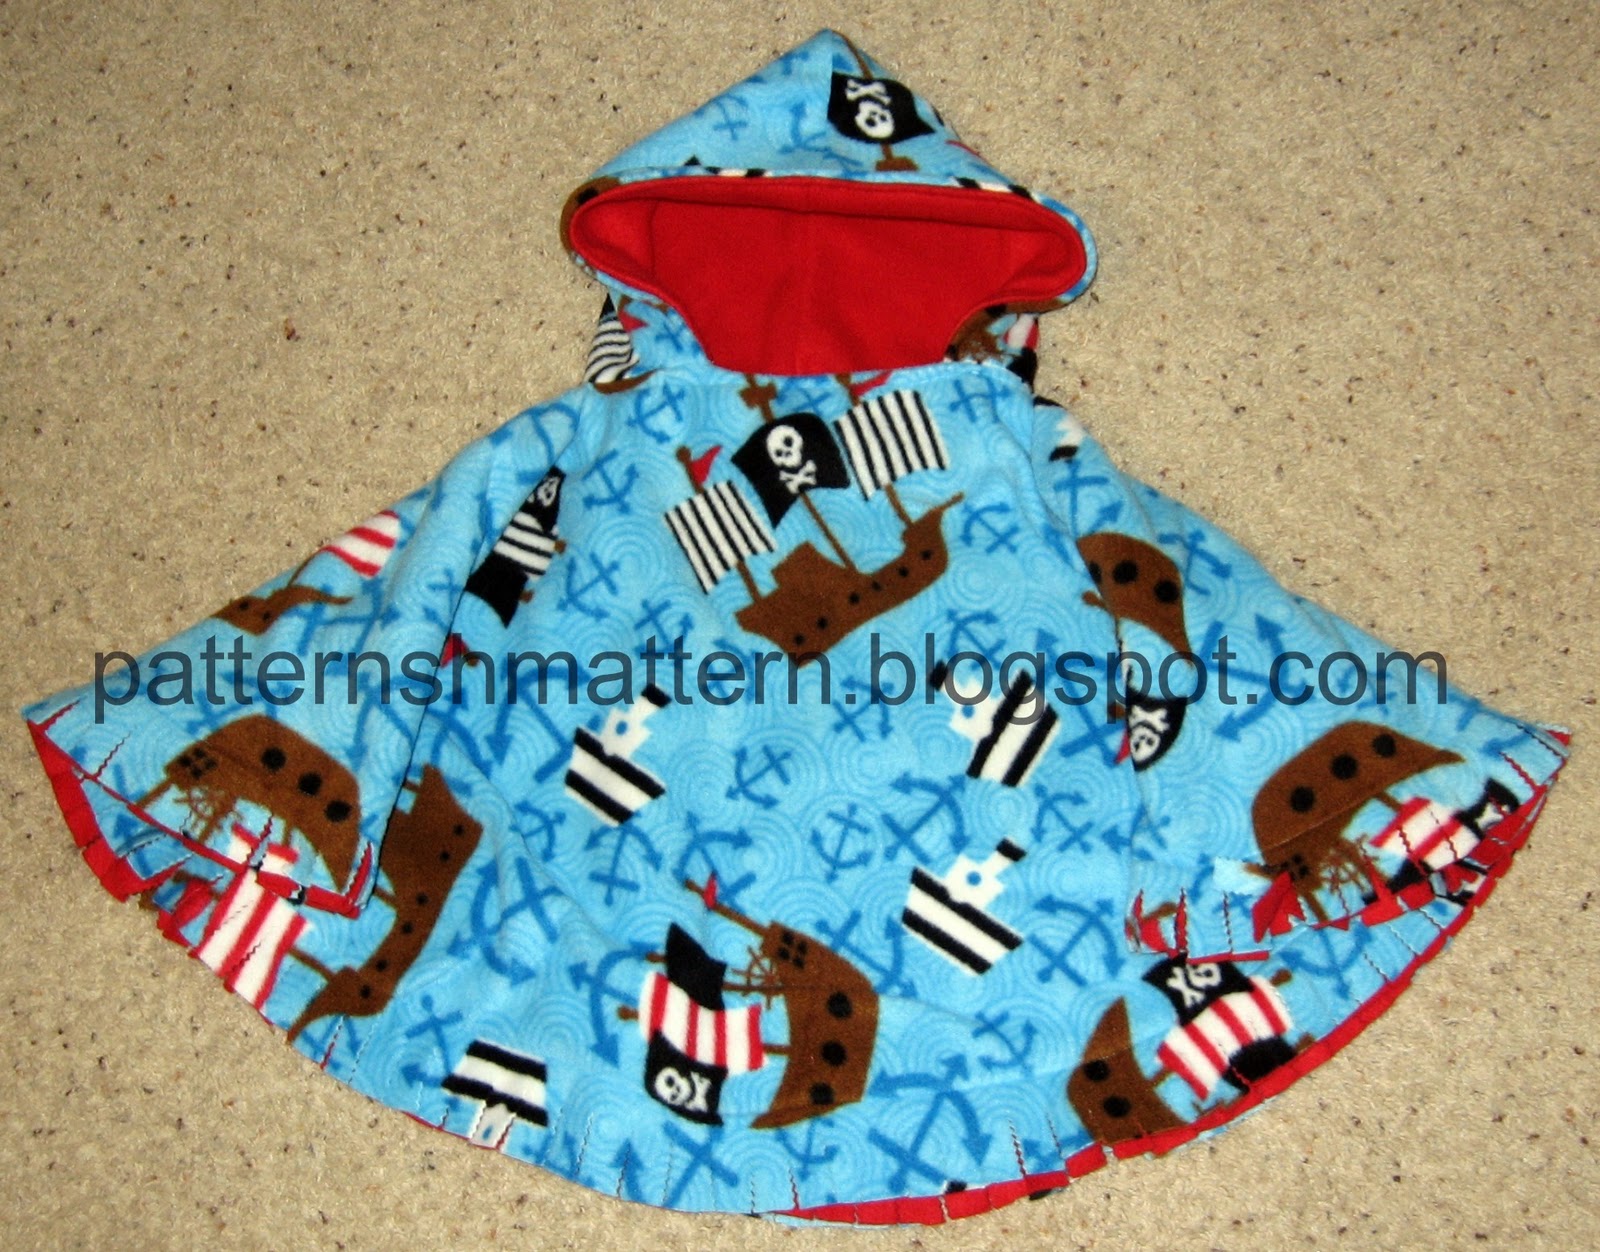
Pattern Shmattern Reversible Car Seat Poncho Tutorial
Pull the strap across to the opposite side of the v to locate the desired position of the button. Web attach to the first st.

Free Car Seat Poncho Pattern Web This Free Crochet Car Seat Poncho
Fold the poncho piece in half lengthwise. Next, cut a square fleece piece, 36″ x 36″ for the main body of the poncho. Web car.
Free Printable Car Seat Poncho Pattern
If your child is larger than you will need a little more material. Of category 6 yarn (loops and threads copenhagen pictured). Car seat ponchos.

Car Seat Poncho Pattern 7thongs
You still need to fold your fabric twice for the main poncho and trace the pattern from the double. Web find the middle of the.
You Still Need To Fold Your Fabric Twice For The Main Poncho And Trace The Pattern From The Double.
Attach to the first st of the round with a sl st. ===== baby car seat poncho free crochet pattern. In my opinion the height chart in the pattern is more. Next, attach the hood to the poncho body.
Fold Over 5/8″ And Use A Zig Zag Stitch, Make Sure To Catch The Edge Of The Fabric To Stop Any Potential Fraying.
Fold the poncho piece in half lengthwise. Locate the center of your poncho (figure 1). Reversible car seat poncho tutorial. Pull the strap across to the opposite side of the v to locate the desired position of the button.
Web Turn The Edge Of The Hood Over.
For instructions on how to assemble the pattern click here. Of category 6 yarn (loops and threads copenhagen pictured). Attach snaps to create sleeve effect. Well then you can have yourself a car seat fleece reversib.
Web Attach To The First St Of The Round With A Sl St.
Web for detailed blog instructions with photos, click here: If your child is larger than you will need a little more material. Cut an 18” x 18” square out of your fleece fabric. Then fold the hemmed edges in toward each other with the pretty side of the fabric on the inside.